
Gather Your Ingredients
The first step to crafting these delightful treats involves assembling your ingredients. You'll need 2 cups of heavy cream for a rich and creamy texture,
along with 1 can (14 ounces) of sweetened condensed milk to achieve the desired sweetness. Furthermore, 1/2 cup of unsweetened cocoa powder will provide the chocolatey flavor we're aiming for, and 1 teaspoon of vanilla extract to enhance the overall taste profile. Don't forget to have a pinch of salt to balance the flavors and ensure that the sweetness isn't overpowering. Finally, you will need popsicle molds and popsicle sticks to make your popsicles.
Mixing the Chocolate
In this crucial step, the chocolate base is prepared. Begin by whisking the heavy cream in a large bowl until it thickens and soft peaks form. Then, slowly introduce the sweetened condensed milk and continue to whisk until everything is thoroughly combined. Afterward, sieve the cocoa powder to remove any lumps that could impact the final texture. Sprinkle the cocoa powder, vanilla extract, and the pinch of salt into the creamy mixture, gently folding the ingredients together with a spatula. Ensure the mixture is smooth and all the ingredients are well-incorporated; a well-mixed base is important for evenly flavored popsicles.
Pour Into Molds
Once the mixture is prepared, it's time to transfer it into the popsicle molds. Carefully pour the chocolate mixture into the molds, leaving a little space at the top to allow for expansion during freezing. Be sure to fill each mold to the appropriate level to ensure the popsicles have a uniform size and shape. If you are using molds with lids, secure them now. However, if your molds don’t have lids, you can use aluminum foil to cover the molds, and then insert the popsicle sticks through the foil. This helps keep the sticks in place as the popsicles freeze.
Insert Popsicle Sticks
Now is the time to add the popsicle sticks. If the molds have lids with slots for the sticks, simply insert the sticks into these slots. If you're using a different type of mold, gently insert the popsicle sticks into the mixture once the molds are filled. Make sure the sticks are centered within the molds for a balanced popsicle. If you are using foil, place it over the filled molds and gently insert the sticks through the foil, ensuring they are well-positioned within the chocolate mixture. Correct stick placement is essential to ensure they are supported when frozen, and to provide easy handling.
Freeze and Wait
This step is all about patience, as the mixture will need time to freeze completely. Place the filled popsicle molds in the freezer. It’s best to freeze them for at least 4-6 hours, or ideally overnight, for the best results. The freezing time may vary depending on your freezer's temperature, so make sure the popsicles are completely solid before attempting to remove them. Ensure there are no distractions, let the process run its course to ensure the popsicles are completely frozen.
Unmold Your Popsicles
Once the popsicles are completely frozen, it’s time to take them out of the molds. To do this, run the molds under warm water for a few seconds. This helps to gently loosen the popsicles from the molds without melting them. If the popsicles are difficult to remove, hold the molds under the warm water for a few more seconds, and carefully pull on the popsicle sticks until they slide free. Be gentle to avoid breaking the frozen treats. Another method is to dip the molds in a bowl of warm water for a few seconds.
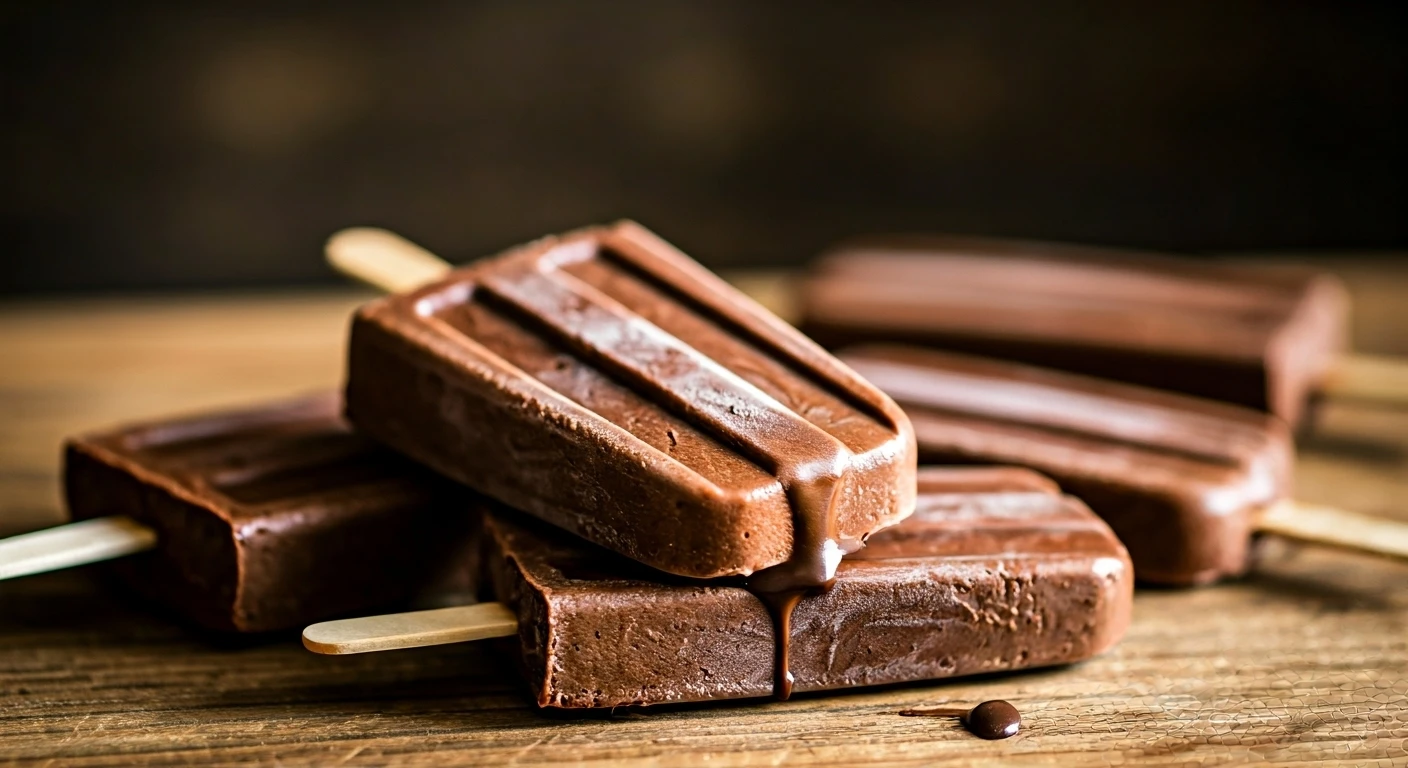
Enjoy Your Treats!
Finally, you're ready to relish your homemade chocolate popsicles. Serve the popsicles immediately and enjoy the refreshing, chocolatey flavor. If you want to store the popsicles, wrap each one individually in plastic wrap or place them in a freezer bag to prevent freezer burn. They can be stored for up to a few weeks. Consider experimenting with different additions, like adding chocolate chips, chopped nuts, or a drizzle of melted chocolate for an extra treat. Enjoy this fantastic, straightforward recipe.