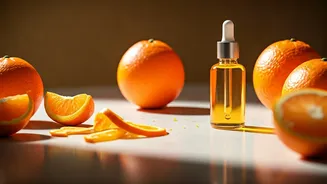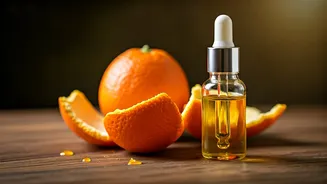


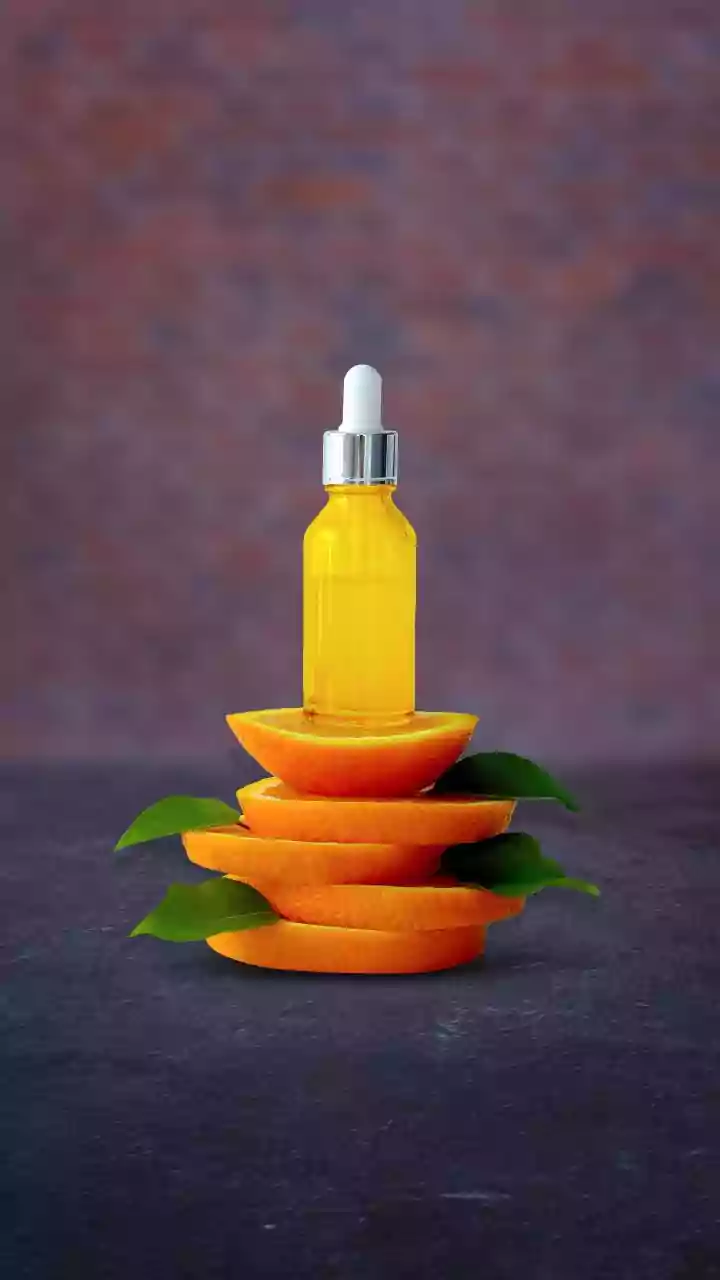

Why Orange Peels?
Orange peels are a powerhouse of skincare benefits, primarily due to their high concentration of Vitamin C. This potent antioxidant is vital for combating
free radicals, those unstable molecules that accelerate skin aging by damaging cells. Beyond protection, Vitamin C stimulates collagen production, a key protein responsible for maintaining skin's firmness and elasticity, thus reducing the appearance of fine lines and wrinkles. Furthermore, natural compounds within orange peels possess mild bleaching properties that can help diminish the visibility of dark spots and hyperpigmentation, leading to a more even skin tone. The citric acid present also acts as a gentle exfoliant, sloughing away dead skin cells to reveal a brighter, smoother complexion underneath. Embracing this DIY serum offers a cost-effective way to enjoy these advantages without resorting to expensive commercial products, while simultaneously contributing to waste reduction by repurposing what is typically discarded.
Essential Ingredients Needed
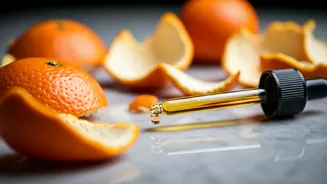
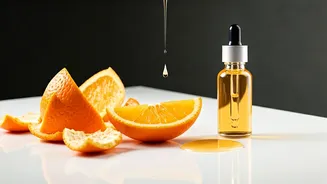
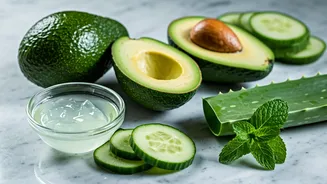
To craft this revitalizing serum, you'll need a few readily available components. Start with two to three organic oranges; choosing organic is paramount to avoid any pesticide residues that could irritate your skin. Supplement this with two tablespoons of rose water, or in a pinch, plain distilled water. For a soothing and hydrating base, incorporate one tablespoon of pure aloe vera gel. A half teaspoon of vegetable glycerin will act as an excellent humectant, drawing moisture into your skin. Finally, add the contents of two Vitamin E capsules to provide an extra antioxidant boost and help extend the serum's shelf life by delaying oxidation.
Step-by-Step Creation Process
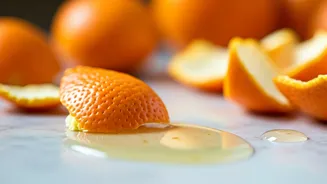
The journey to your homemade serum begins with preparing the peels. Thoroughly wash your organic oranges and carefully peel them, making a concerted effort to remove as much of the bitter white pith as possible, as this can affect the final product's taste and texture. Spread the peels flat on a tray and allow them to dry completely, either by leaving them in the sun for several days or, for a quicker method, baking them in an oven set to its lowest temperature for an hour or two. Once dry, grind the peels into a super fine dust. Sieve this powder to eliminate any gritty particles, ensuring a smooth texture. Next, combine one tablespoon of this citrus powder with two tablespoons of rose water in a small bowl. Cover and let it steep for four to six hours. This steeping period is essential for extracting the water-soluble Vitamin C. After steeping, strain the mixture through cheesecloth or a coffee filter, squeezing out all the liquid. Discard the leftover pulp. In a separate bowl, mix this infused liquid with your aloe vera gel and vegetable glycerin. Pierce the Vitamin E capsules and squeeze the oil into the mixture. Whisk everything together vigorously until the aloe vera dissolves and the serum achieves a slightly cloudy, gel-like consistency.
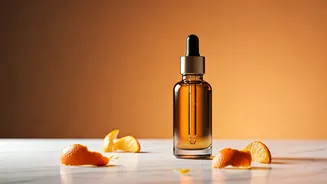
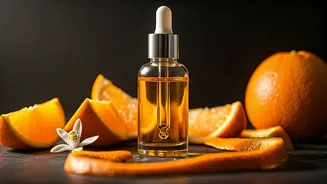
Storage and Application
Proper storage is crucial for preserving the potency of your homemade serum. Transfer the finished product into a dark glass dropper bottle, preferably amber or cobalt blue, as this type of glass protects the delicate Vitamin C from degrading due to light exposure. Since this serum contains no artificial preservatives, it must be stored in the refrigerator to prevent the growth of mold and bacteria. To use, cleanse your face thoroughly and then apply three to four drops of the serum, gently massaging it upwards onto your skin. Follow this with your preferred moisturizer. If applying in the morning, it is absolutely vital to finish with a broad-spectrum sunscreen, as Vitamin C can increase your skin's sensitivity to UV rays, and sun exposure will rapidly diminish the serum's antioxidant benefits. Ensure you use the serum within 7 to 10 days, as it is prone to oxidation.
A Realistic Outlook
While the allure of DIY skincare is strong, it's important to manage expectations. Natural Vitamin C, especially in a water-based homemade extract, is inherently unstable and can degrade over time. If your serum develops a dark yellow or brown hue or begins to emit an unpleasant odor, it has oxidized and should be discarded immediately; a fresh batch will be needed every seven to ten days. Furthermore, homemade serums may not penetrate the skin barrier as deeply as professionally formulated clinical treatments. They primarily offer surface-level brightening and hydration, providing a gentler approach to skin improvement. As with any new skincare product, especially one containing natural acids, it is always recommended to perform a patch test on your jawline 24 hours prior to full facial application to check for any adverse reactions or sensitivity. This DIY serum is intended for cosmetic purposes and is not a substitute for professional medical advice or treatment for any skin concerns.