
Gather Your Supplies
Before embarking on the popsicle-making journey, it is essential to assemble all necessary components. You'll need the ingredients, naturally, which are
straightforward: about 1 ½ cups of milk, preferably whole milk for richness; ½ cup of cocoa powder for that rich chocolate flavor; ½ cup of granulated sugar to control the sweetness, alter it based on personal taste preferences; a pinch of salt to balance the flavors and enhance the sweetness; and a teaspoon of vanilla extract for the aroma and taste. Along with these, you will need popsicle molds, either the classic ones or any other shape you prefer; popsicle sticks for ease of consumption; and, a saucepan to combine and heat the ingredients.
Combine Ingredients, Heat
In the saucepan, the journey begins. Start by combining the milk, cocoa powder, granulated sugar, and salt. Use a whisk to thoroughly mix the ingredients, guaranteeing that the cocoa powder fully dissolves into the milk, avoiding any lumps that could spoil the final texture. Then, place the saucepan over medium heat. Continuously stir the mixture as it gently warms, allowing the sugar to dissolve completely. This is not a race; the objective is to meld all flavors and textures, not to boil the mixture. The key is to bring the mixture to a simmer, but be careful not to let it boil, as this can impact the final product.
Add Vanilla, Cool
Once the chocolate mixture reaches a gentle simmer, turn off the heat. This is the moment to introduce the vanilla extract. Stir in the teaspoon of vanilla extract, which not only imparts a delightful aroma but also enhances the overall flavor profile of the chocolate popsicles. After adding the vanilla, let the mixture cool. You can speed up the cooling process by transferring the mixture to a heat-safe bowl or container. Place the container in the refrigerator for about an hour. This cooling stage is critical because it allows the flavors to meld, and it prevents the popsicles from melting quickly as they freeze.
Pour Into Molds
After the chocolate mixture has cooled, it is time to transfer it to the popsicle molds. Carefully pour the chocolate mixture into each mold, filling them almost to the top, allowing a little space for expansion during freezing. To avoid spills, a funnel can be useful. Once the molds are filled, place the lids on the molds. Make sure the lids fit tightly to prevent leaks and to secure the popsicle sticks properly. If your molds do not come with lids that hold the sticks, insert the popsicle sticks into the molds.
Freeze Steadily
Now comes the waiting game, or the most critical part - freezing. Place the filled popsicle molds into the freezer. The freezing time will vary depending on the freezer's temperature and the size of the molds. Usually, it takes at least 4 to 6 hours, or preferably, freeze them overnight for the best results. Avoid the temptation to open the freezer frequently during the freezing period, as this can disrupt the freezing process. The popsicles are ready when they are completely solid. Make sure you check that they are entirely frozen before removing them from the molds.
Unmold Carefully
Once the popsicles are completely frozen, carefully remove them from the molds. This step can be made easier by running the molds under warm water for a few seconds. This helps loosen the popsicles, making them easier to pull out without breaking. Grab each popsicle stick and gently pull the popsicle out of the mold. If the popsicle still feels difficult to remove, re-submerge the mold in warm water for a few more seconds and try again. Work efficiently, as the popsicles will begin to melt once they are out of the freezer and exposed to room temperature.
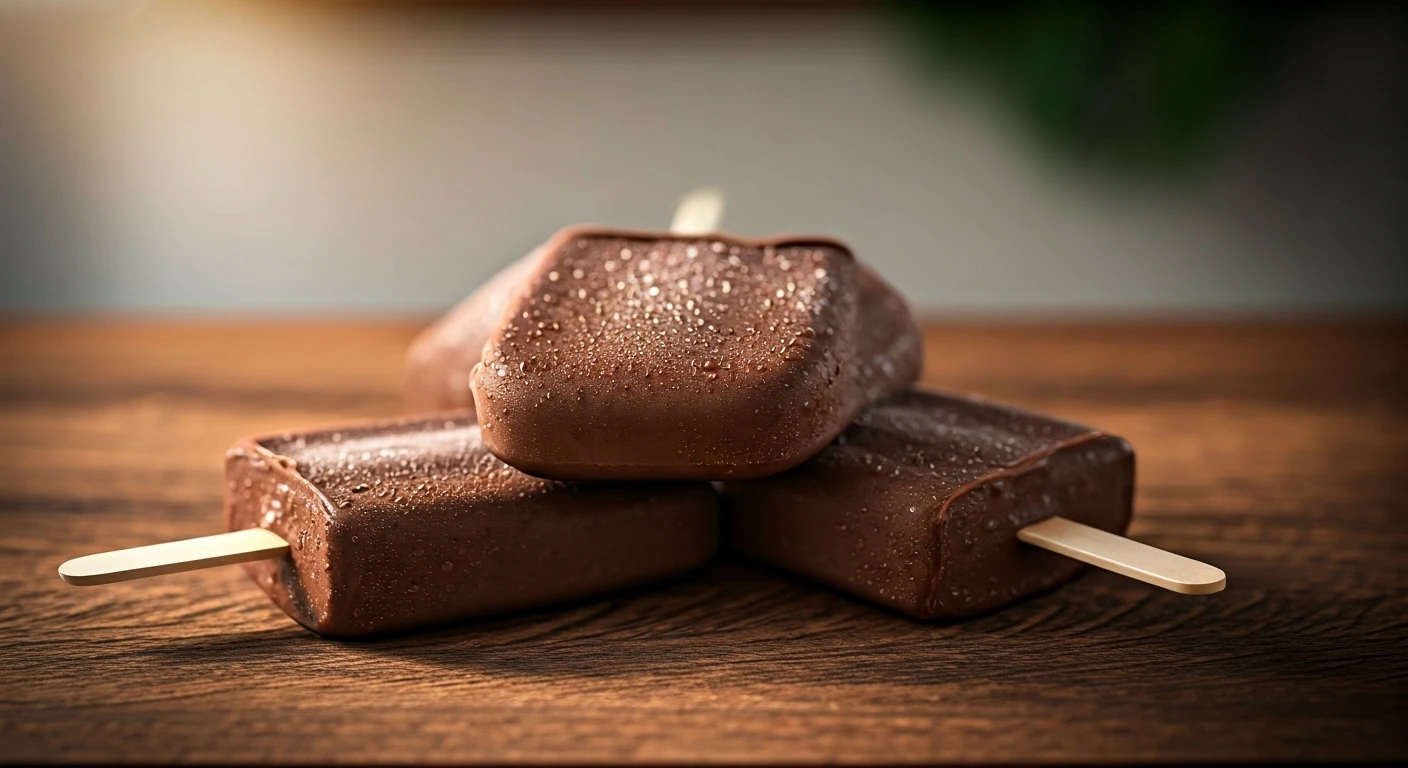
Serve & Enjoy!
Finally, the moment of enjoyment has arrived! After successfully unmolding the chocolate popsicles, they are ready to be savored. Serve the popsicles immediately, or if you prefer, you can wrap them individually in plastic wrap and return them to the freezer for later enjoyment. Consider arranging the popsicles on a serving dish and sharing them with friends and family, who would be delighted to taste your delicious homemade creations. The simple joy of creating your own popsicles, from start to finish, makes this an experience that is rewarding. Enjoy every refreshing bite!
![[WATCH] 'Real Madrid, Ramadan and rest' - Mohammed Siraj how last-minute World Cup call-up changed February plan](https://g-mob.glance-cdn.com/public/fc/image/ByYT_LEmlrD0.webp)