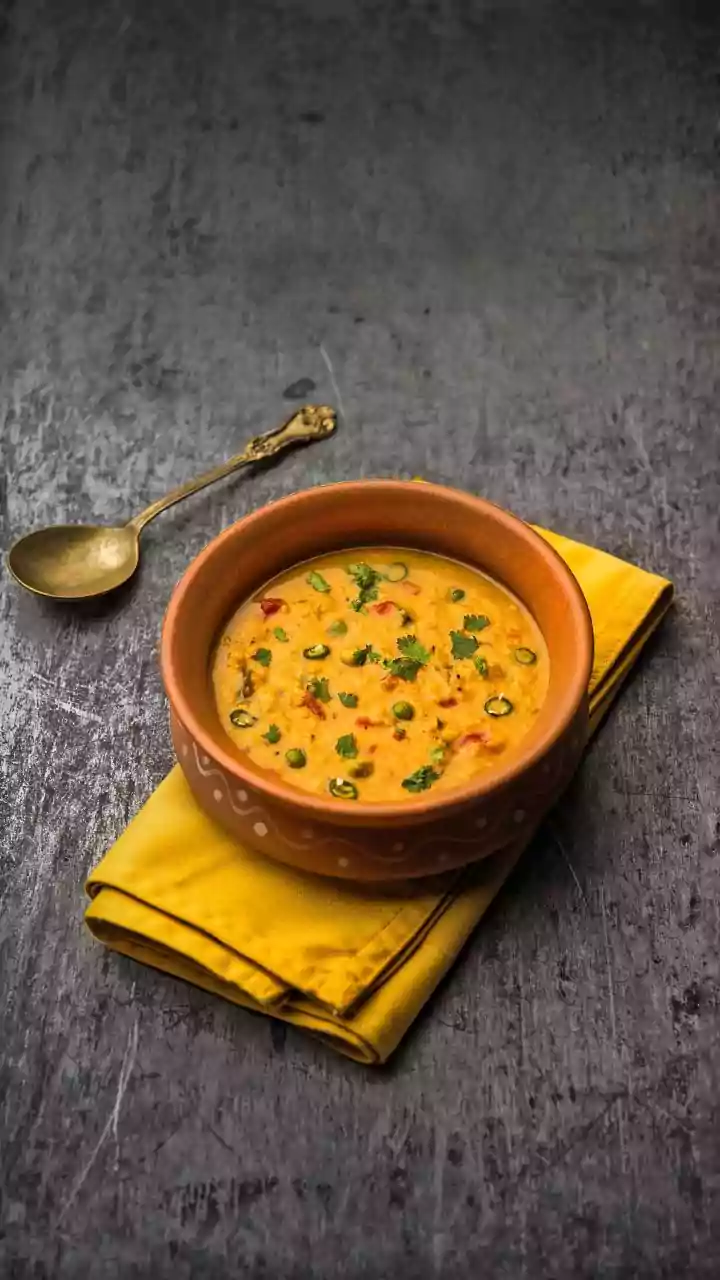


Composition is Key
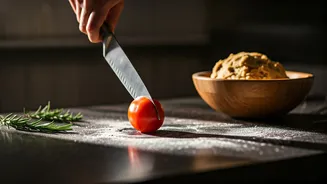
Effective composition is the cornerstone of compelling food photography. It involves arranging the elements within a frame to create visual interest and
guide the viewer's eye. The use of the rule of thirds is a fundamental technique; imagine dividing your frame into nine equal parts using two horizontal and two vertical lines. Placing key elements of your food, like the main subject, along these lines or at the intersections can create a more balanced and dynamic image. Consider negative space, the empty areas around your subject, as it plays a crucial role. It gives the subject room to breathe and prevents the image from feeling cluttered. Experiment with different angles. A top-down shot can work well for dishes like pizzas or flatbreads, while a 45-degree angle often highlights the textures and layers of food. Leading lines, such as cutlery or the edges of a table, can direct the viewer's gaze toward the focal point. Furthermore, symmetry and asymmetry are two different compositional approaches. A symmetrical composition can convey order and balance, whereas asymmetry can create a sense of movement and dynamism. Each choice dramatically impacts the overall appeal and message of your photograph. Understanding these concepts enables you to craft engaging food photos.
Lighting: Your Best Friend
Lighting is arguably the most crucial aspect of food photography, directly affecting the mood, tone, and overall quality of the image. Natural light is typically the preferred choice for its soft and flattering qualities. Position your food near a window, ideally facing the window to catch the light. Diffuse the light using a sheer curtain or a diffuser to soften harsh shadows. Overcast days are ideal as the clouds act as a natural diffuser, creating an even, gentle light source. If natural light isn't an option, artificial lighting is necessary. A softbox is a valuable tool for mimicking natural light, producing soft, diffused lighting that minimizes harsh shadows. Alternatively, use reflectors, such as white foam boards, to bounce light back onto the food and fill in shadows. Avoid using the camera's built-in flash, as it tends to create harsh, unflattering light and often results in washed-out images. Experiment with different light directions – side lighting can emphasize texture and dimension, while backlighting creates a halo effect and adds a sense of warmth. Consistent lighting is crucial to achieving professional-looking results; maintain the same light setup throughout the shoot to ensure uniformity.
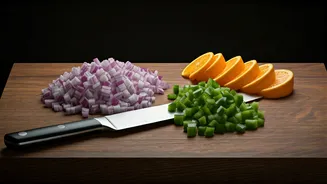
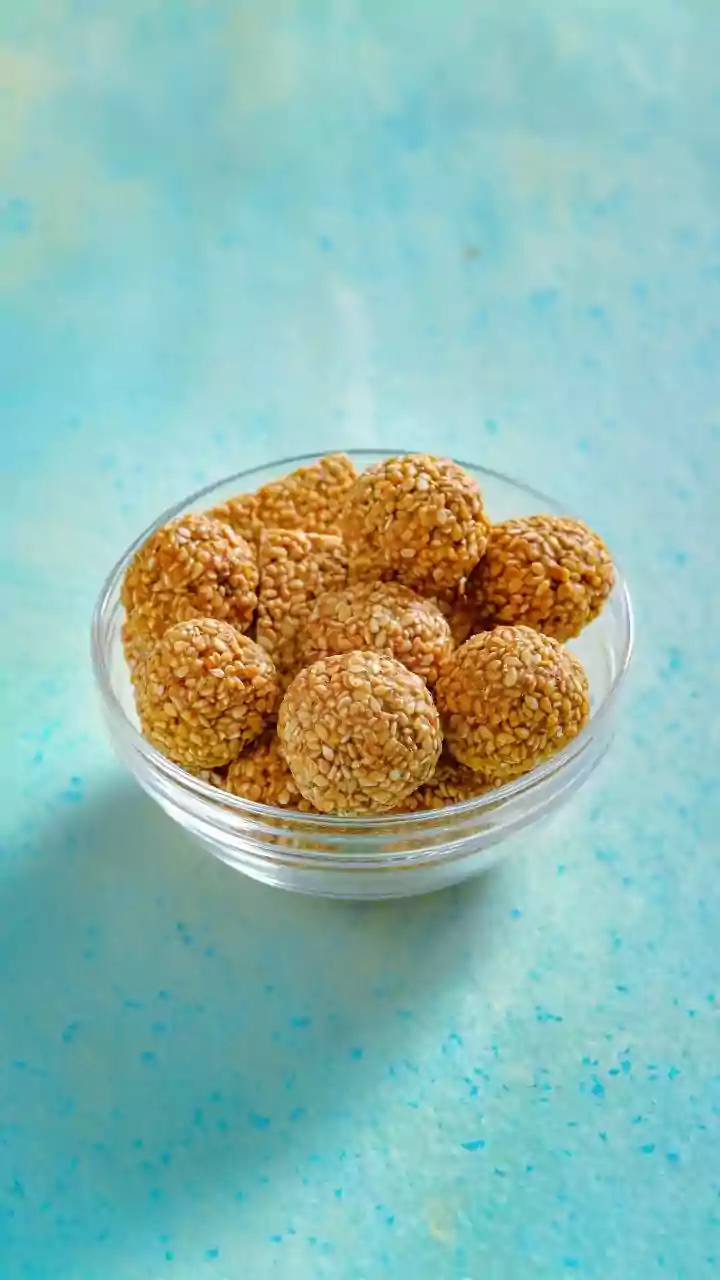
Styling for Appeal
Food styling is the art of making food visually appealing, enhancing its natural beauty to tell a story and entice the viewer. Start by considering the overall aesthetic; decide on a color palette, a mood, and a narrative you want to convey. Simple is often best; avoid overcrowding the frame with too many props. Choose props that complement the food without distracting from it. Consider the textures, shapes, and colors of both the food and the props. For instance, rustic wooden boards pair well with hearty dishes, while sleek, modern plates can complement minimalist presentations. Use garnishes strategically. Fresh herbs, a sprinkle of spices, or a drizzle of sauce can add a pop of color and visual interest. Pay attention to details like the angle of a fork or the way a napkin is arranged. These small touches contribute to the overall visual harmony. Control the elements; keep food looking fresh; a small bowl of ice cubes can prevent melting. Before shooting, wipe off any smudges or drips. When shooting beverages, add condensation to the glass with a spray bottle of water for a refreshing appeal.
Camera and Gear
While a professional camera can enhance the quality of food photography, high-quality images can be achieved using a smartphone. The key is to understand the equipment and how to use it effectively. If using a DSLR or mirrorless camera, use a macro lens to capture fine details and textures. A wide aperture (low f-number, such as f/2.8 or f/4) creates a shallow depth of field, blurring the background and drawing attention to the subject. A tripod is essential for stability, especially in low-light conditions. It ensures sharp images and allows you to experiment with different compositions without camera shake. Explore the camera's manual mode to adjust settings like aperture, ISO, and shutter speed. This gives you complete control over the image. A reflector and diffuser set is a basic investment. Smartphone users can utilize their device's portrait mode for background blur. Many phones now offer options for manual adjustments within their camera apps. Clean your lens frequently to prevent smudges and dust from affecting image clarity. Experiment with different camera angles, and try various shooting perspectives, such as from above, side-on, or at an angle, to vary the look. Consider purchasing accessories such as a small table for setting up your food shoots.
Editing and Post-Processing
Post-processing is crucial for refining your food photographs and bringing out their full potential. Basic editing tools like brightness, contrast, and saturation are important; these adjust the overall tone and color of the image. Adjust the white balance to ensure the colors look natural and accurate. For example, if a photo taken indoors has a yellowish tinge, adjusting the white balance will correct it. Use cropping to refine the composition; remove distracting elements and create a more visually appealing frame. Retouch minor imperfections. Remove any unwanted blemishes, smudges, or dust particles. Soften highlights and shadows; bring out details in both the light and dark areas of the image. Experiment with color grading. Change the overall color palette. The right color grading can enhance the mood and impact of the image. Use photo editing software; applications like Adobe Lightroom or Snapseed are excellent for post-processing; these tools provide advanced editing options to bring out the best in food photography. Save in high-resolution formats. This preserves the quality of your images. Always back up your photos after editing. Regular backups prevent losing all of your hard work.