
Gather Your Ingredients
The first step involves gathering all the necessary components to make chocolate popsicles. The essentials typically include good-quality chocolate, which
can be either dark, milk, or a blend, depending on the preference. Also needed are a liquid base, such as milk (dairy or non-dairy), cream, or even coconut milk for a richer texture. Sweeteners, like granulated sugar, honey, or maple syrup, are added according to the desired sweetness level. A pinch of salt is also useful, as it enhances the chocolate flavor and balances the sweetness. It's also common to incorporate flavor enhancers such as vanilla extract or cocoa powder to intensify the chocolate notes. Ensure you have popsicle molds and sticks ready to use for the freezing process.
Melt the Chocolate
Once the ingredients are gathered, the next step involves melting the chocolate. This can be done using a double boiler or the microwave. When using a double boiler, gently heat water in the bottom pot, and place the chocolate in the top pot, stirring until it melts smoothly. If using a microwave, place the chocolate in a microwave-safe bowl and heat in short intervals, stirring between each, to prevent burning. The goal is to achieve a smooth, melted chocolate consistency. This allows it to blend properly with the other ingredients, setting the base for the popsicle's flavor profile. Ensure the melted chocolate is not too hot to avoid curdling when combined with the liquid base.
Combine the Liquids
After melting the chocolate, the subsequent step is to mix the liquid components. This usually includes milk (or a milk substitute), cream, or other liquids such as water. When adding the liquids to the melted chocolate, mix them gradually to avoid lumps, ensuring a uniform consistency. This step is critical for the texture of the popsicles. If opting for a richer texture, you might want to use heavy cream or even coconut milk. For a lighter popsicle, milk can be used instead. It’s important to ensure that the mixture is smooth before the next step, providing a consistent base for the chocolate flavor.
Add Sweeteners and Flavor
This step involves introducing the sweetening elements, such as sugar, honey, or maple syrup, along with any flavor enhancements. The quantity of the sweetener should be adjusted according to individual preferences. A pinch of salt is added, which serves to balance the sweetness and enhance the chocolate's flavor. Additionally, this is when extra flavors such as vanilla extract, a small amount of instant coffee, or even a dash of cinnamon can be introduced. These additions significantly impact the final taste of the popsicle. Blend the ingredients thoroughly to make sure the sweetener dissolves well and the additional flavors distribute evenly, achieving a perfect flavor balance.
Mix All Ingredients
With all of the components prepared, it is now time to combine everything. Pour the liquid mixture slowly into the melted chocolate, mixing continuously to prevent any clumps from forming. A whisk or a blender is effective in achieving a smooth consistency. Make certain that the mixture blends well, as this will affect the ultimate texture and flavor of the popsicles. At this point, one might also evaluate and modify the level of sweetness or add more flavor to personalize the final outcome. A uniformly mixed base is the foundation for a delightful and evenly flavored popsicle.
Pour into Molds
Once the mixture is thoroughly blended, the next step is to pour it into popsicle molds. These molds can be made from various materials, and their designs vary. The filling should be done gently to avoid any spillage. Overfilling should be avoided, as the mixture will expand during the freezing process. After filling the molds, insert the popsicle sticks into the center of each mold, ensuring they are held securely. Proper insertion of the sticks ensures the popsicles are easy to handle once frozen. If the sticks are not staying upright, you can wait a little while for the mixture to begin setting slightly before inserting them. Ensure that there is enough space around each stick to allow the popsicles to release without any problems when removed.
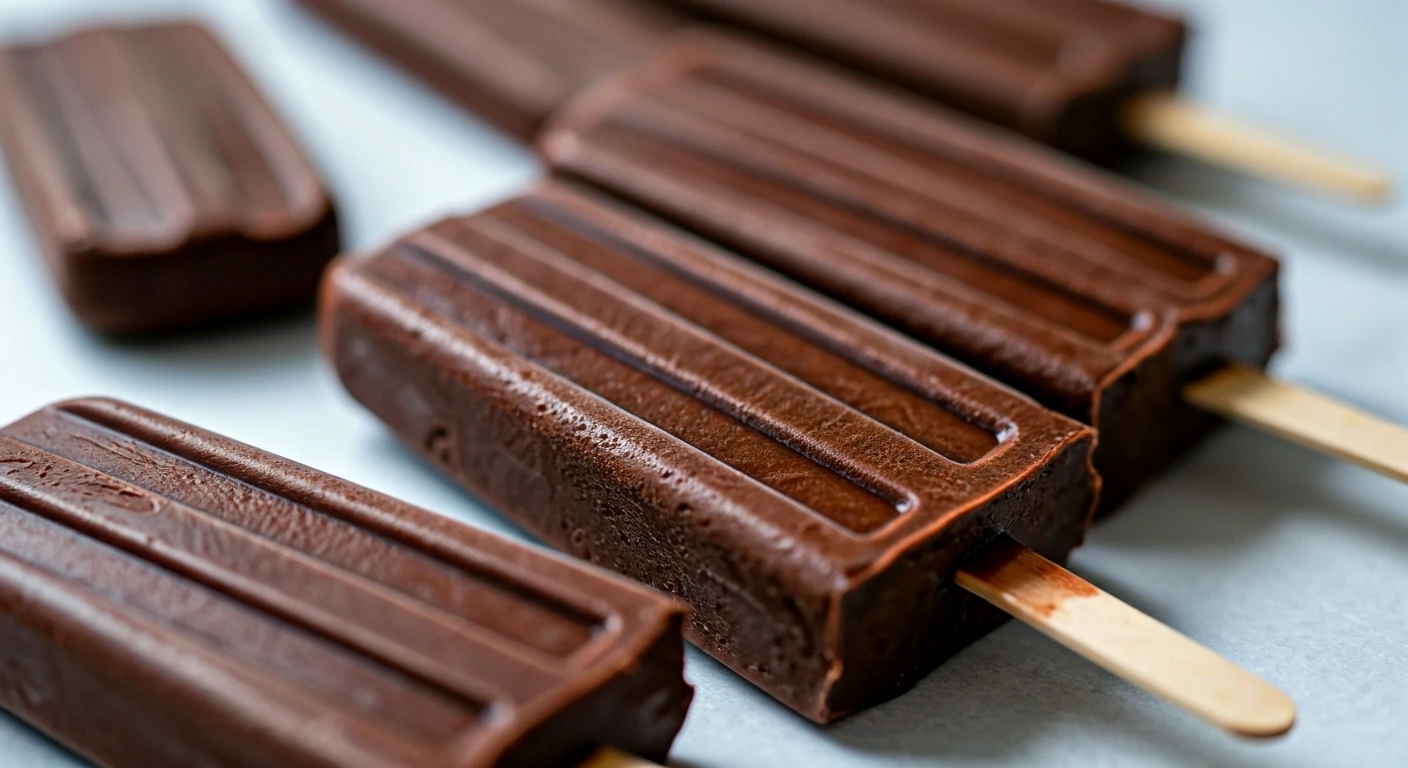
Freeze to Perfection
The final step is to freeze the filled molds until the popsicles are firm. This usually takes several hours, typically overnight, for a perfect solid texture. Place the filled molds in the freezer, ensuring they are positioned on a level surface to prevent any spillage. As the mixture freezes, it solidifies, transforming into a refreshing popsicle. After the freezing period, the popsicles should be fully frozen. To remove them, run the molds under warm water for a few seconds to loosen the popsicles. The popsicles are now ready to enjoy. For best results, keep the popsicles frozen until ready to serve to maintain their ideal texture and flavor.