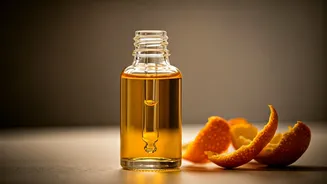


Why Orange Peels Shine
Orange peels are a treasure trove for your skin, primarily due to their abundant Vitamin C content. This powerful antioxidant acts as a shield against
damaging free radicals, which are notorious for accelerating skin aging. Beyond protection, Vitamin C stimulates collagen production, crucial for maintaining skin's elasticity and firmness, helping to ward off sagging. Furthermore, these peels possess natural brightening agents that can effectively diminish dark spots and promote a more even complexion. The inherent citric acid also contributes by gently exfoliating the skin, sloughing away dead cells to reveal a fresher, smoother layer beneath. Crafting this serum at home offers a cost-effective way to achieve these benefits, diverting waste and providing a natural alternative to expensive commercial products. It’s suitable for most skin types, though a patch test is always recommended for those with sensitivities.
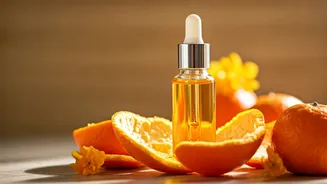
Gather Your Goodies
To embark on this natural skincare journey, assemble a few readily available components. Begin with 2 to 3 organic oranges; opting for organic is paramount to bypass potential pesticide residues often found on conventionally grown produce. Next, you'll need 2 tablespoons of rose water to serve as a soothing base. If rose water isn't on hand, distilled water can be substituted. Incorporate 1 tablespoon of pure aloe vera gel, a fantastic ingredient for its hydrating and calming properties. To boost moisture retention, add ½ teaspoon of vegetable glycerin, a potent humectant. Finally, for an enhanced antioxidant punch and to help prolong the serum's freshness, include the contents of 2 Vitamin E capsules. These simple additions create a powerful, skin-loving concoction.
Crafting the Serum
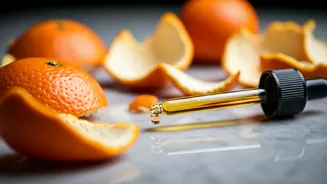
The process begins with meticulously preparing your orange peels. First, ensure the oranges are thoroughly washed. Carefully peel them, making an effort to remove as much of the bitter white pith as possible, as this can affect the final product's taste and texture. Spread the peels out on a tray and allow them to dry completely; this can take a few days in the sun or can be expedited by baking them in the oven at its lowest setting for an hour or two. Once dry, grind the peels into a very fine powder, ideally using a blender or food processor. Sieve this powder to eliminate any coarse particles, ensuring a smooth consistency. Next, combine a tablespoon of this orange peel powder with two tablespoons of rose water in a small bowl. Cover and let this mixture steep for 4 to 6 hours to effectively extract the water-soluble Vitamin C. Strain the liquid through a cheesecloth or coffee filter, squeezing out all the infused liquid and discarding the solids. To this potent liquid, add the aloe vera gel and vegetable glycerin. Pierce the Vitamin E capsules and squeeze their oil into the mix. Whisk everything together until the aloe vera is fully dissolved and the mixture achieves a slightly cloudy, gel-like appearance.
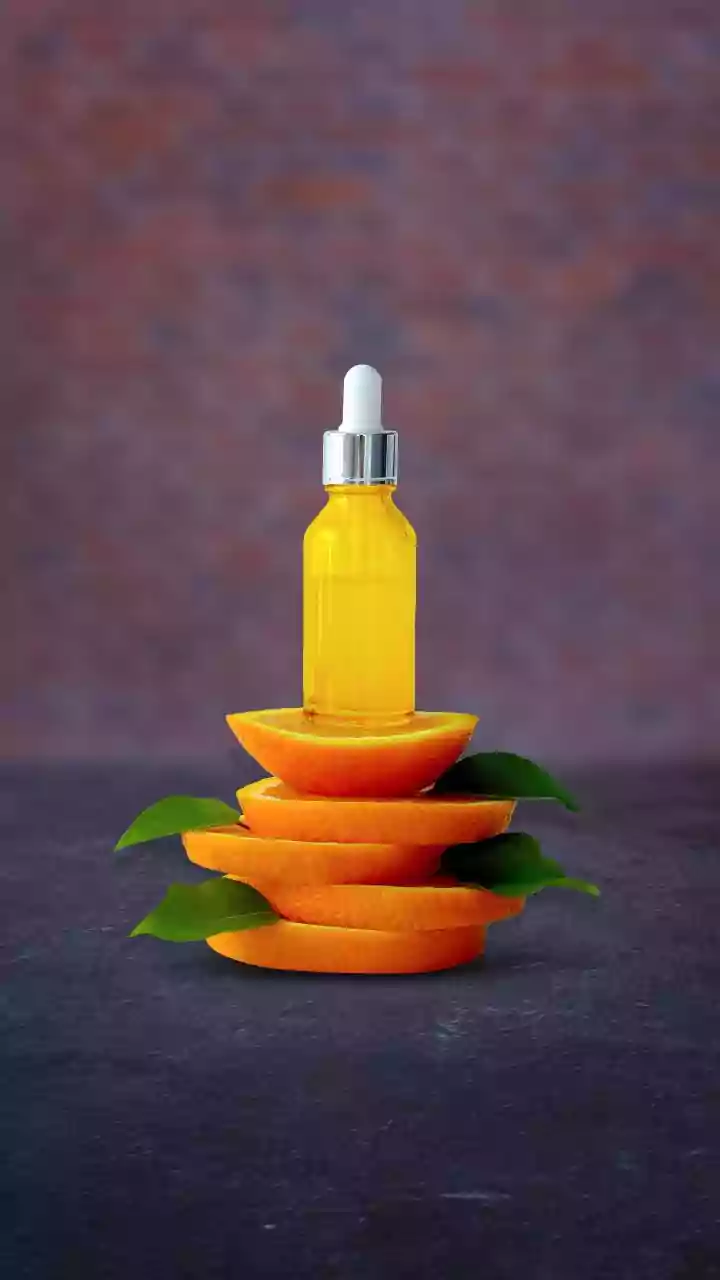
Storage and Application
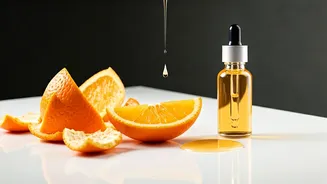
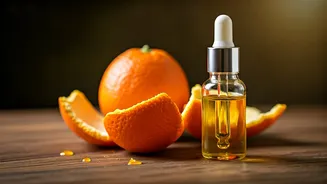
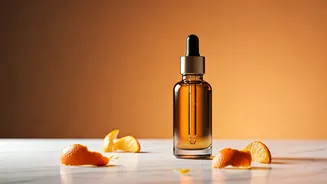
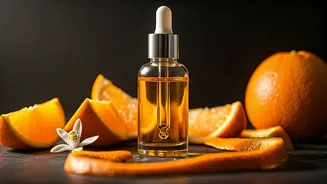
Once your revitalizing serum is ready, it's crucial to store it correctly to preserve its potency. Transfer the serum into a dark glass dropper bottle, such as amber or cobalt blue, as this type of glass protects the delicate Vitamin C from light, which can cause it to degrade rapidly. Since this homemade serum lacks chemical preservatives, refrigeration is essential to prevent the growth of mold and bacteria. To use, cleanse your face thoroughly and apply 3-4 drops of the serum, gently massaging it in an upward motion. Always follow up with your preferred moisturizer. If applying in the morning, finishing with a broad-spectrum sunscreen is absolutely non-negotiable. Vitamin C can increase your skin's sensitivity to UV rays, and unprotected sun exposure will quickly neutralize the antioxidants, diminishing the serum's benefits. Adhering to these storage and application guidelines ensures you maximize the serum's effectiveness.
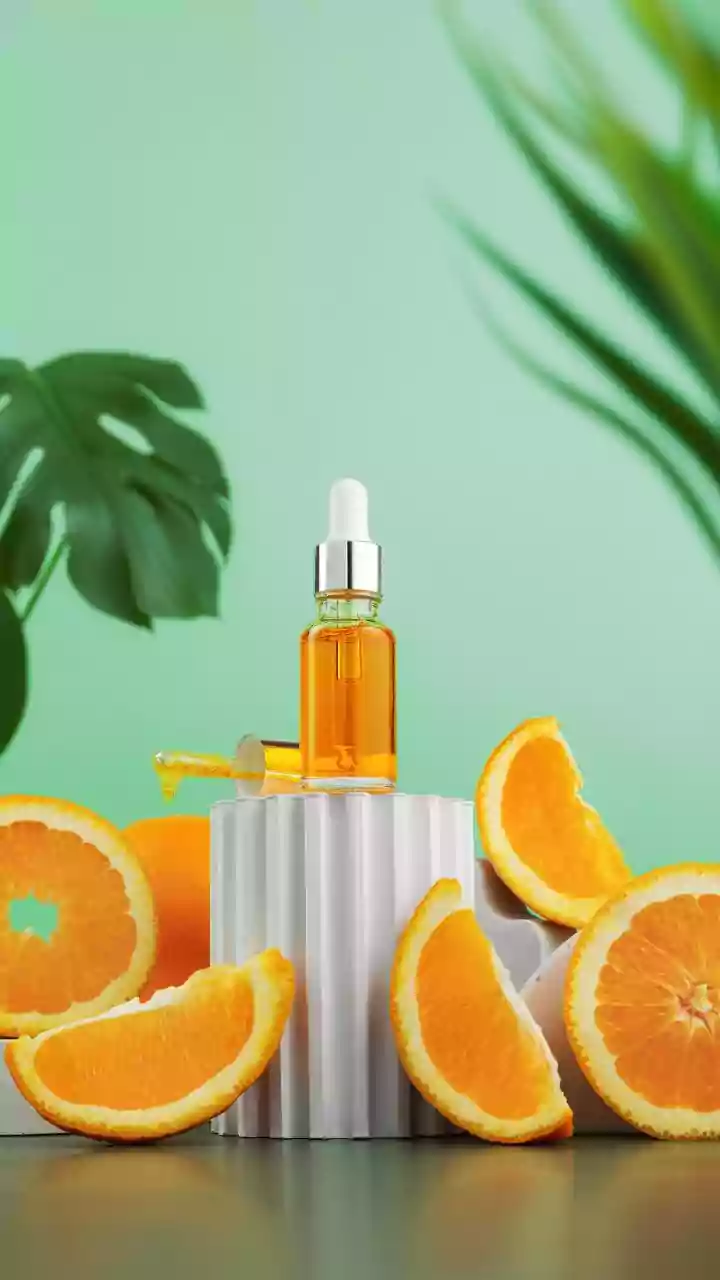
A Realistic Perspective
While the allure of DIY skincare is strong, maintaining realistic expectations is key. The natural Vitamin C found in this serum is inherently unstable and prone to oxidation. If your serum develops a dark yellow or brown hue or begins to emit an unpleasant odor, it has likely oxidized and should be discarded immediately. For optimal results, it's best to prepare fresh batches every 7 to 10 days. Furthermore, it's important to understand that homemade water-based extracts may not penetrate the skin barrier as deeply as professionally formulated clinical serums. This DIY version offers a wonderful surface-level enhancement, providing brightening and hydration benefits through a gentler approach. Prior to full facial application, always perform a patch test on your jawline 24 hours in advance to check for any adverse reactions. This serum is a complementary skincare step and not a substitute for professional dermatological advice.