
Choosing The Right Flour
The foundation of a perfect roti starts with the right flour. Look for whole wheat flour, also known as atta, specifically designed for making rotis or chapati.
This type of flour has a higher gluten content, which contributes to the elasticity and softness of the roti. Ensure the flour is fresh for optimal results. Avoid using flour that is too old, as it can impact the dough's texture. Consider sifting the flour before kneading to remove any impurities and aerate it, leading to a lighter roti. Experimenting with different brands can help you find the one that yields the best results for your preferences. The quality of the flour significantly impacts the final texture; therefore, make sure to pick high-quality whole wheat flour for making the softest rotis.
Kneading the Dough
Proper kneading is a crucial step in achieving soft rotis. Start by adding warm water gradually to the flour, mixing it with your hands or a stand mixer until a dough starts to form. The water's temperature is important; it should be warm, not hot, to activate the gluten in the flour. Once the dough comes together, knead it thoroughly for at least 5-7 minutes. This process develops the gluten, making the dough elastic and easy to roll out. The dough should be soft and pliable but not sticky. If it feels too dry, add a little more water, a teaspoon at a time. After kneading, cover the dough with a damp cloth or plastic wrap and let it rest for at least 20-30 minutes. This rest period allows the gluten to relax, resulting in softer rotis. Avoid over-kneading, as it can make the dough tough. Achieve the right consistency by kneading it just enough to make it soft, supple, and easy to work with.
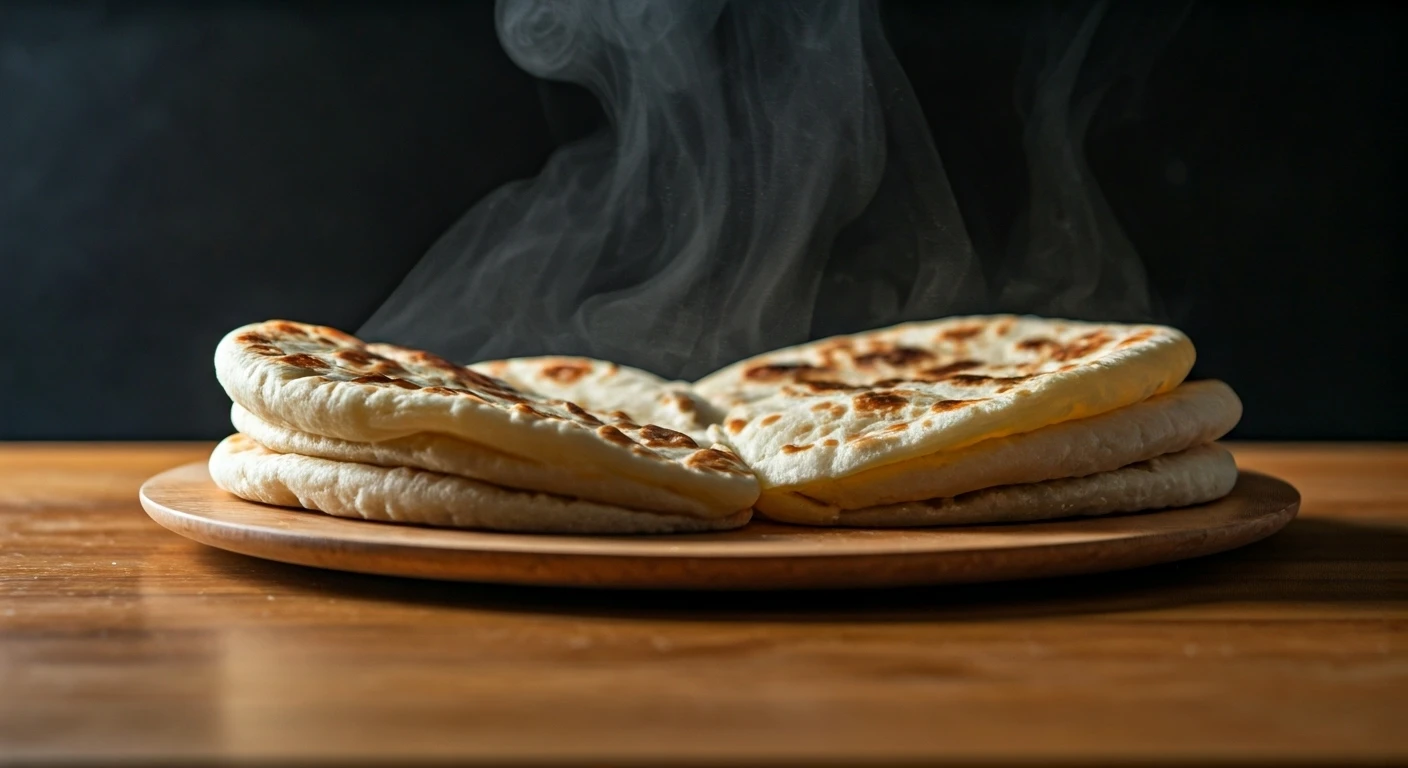
Rolling and Cooking
The rolling and cooking process plays a significant role in ensuring the softness of your rotis. Divide the rested dough into equal-sized balls. Dust a clean surface with a little dry flour and flatten each dough ball using a rolling pin into a round shape. Aim for a uniform thickness to ensure even cooking. Now, heat a tawa or griddle over medium heat. Once hot, place the rolled-out roti on the tawa. Cook for about 30-45 seconds on each side, or until light brown spots appear. Use a spatula to gently press the roti to puff it up. Once the roti puffs up, flip it over and cook for a few more seconds. This puffing up indicates that the roti is cooked through and will be soft. Apply a little ghee or oil on both sides of the roti after cooking, if desired. This adds flavor and helps retain moisture, thus keeping the roti soft for hours.
Storing for Freshness
Proper storage is essential to keep your rotis soft and fresh for a longer period. Once cooked, immediately stack the rotis and wrap them in a clean, dry cotton cloth or a roti warmer. This will trap the moisture and prevent the rotis from drying out. Avoid storing the rotis in airtight containers, as they may become soggy. If you are not planning to eat the rotis immediately, let them cool slightly before storing. You can also place a piece of kitchen paper between the rotis to absorb any excess moisture. For longer storage, you can wrap the rotis individually in foil or plastic wrap and refrigerate them. Before serving refrigerated rotis, gently warm them on a tawa or in a microwave to restore their softness. By following these simple storage techniques, you can ensure that your rotis remain soft and delicious, even hours after they are made.