
Gear Up for Success
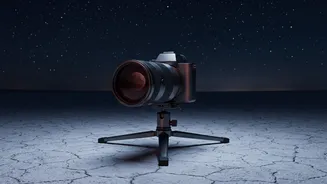
Before you touch any settings, getting your equipment right is half the battle. You don't need a space telescope, but a few key items are non-negotiable for sharp eclipse photos. First, a sturdy tripod is essential. As the eclipse progresses and the moon
darkens, you'll need to use slower shutter speeds. Any camera movement, even from pressing the shutter button, will result in blur. A tripod keeps your setup perfectly still. Second, use a telephoto lens, ideally with a focal length of 200mm or longer, to make the moon appear large and detailed in your frame. Finally, to avoid camera shake when you take a picture, use a remote shutter release or your camera’s built-in self-timer (a 2- or 10-second delay is perfect). And don't forget spare batteries and memory cards; cold nights can drain batteries quickly.
Take Control: Switch to Manual
To get the best results, you must switch your camera’s mode dial to Manual (M). This gives you independent control over the three most important settings: aperture, shutter speed, and ISO, collectively known as the exposure triangle. Your camera's automatic or scene modes are designed for typical lighting conditions and will struggle with the extreme contrast and changing brightness of an eclipse. In manual mode, you are the one telling the camera how much light to let in and for how long, which is crucial as the moon moves from a bright disc into the deep red of Earth's shadow.
Aperture: Control Light and Sharpness
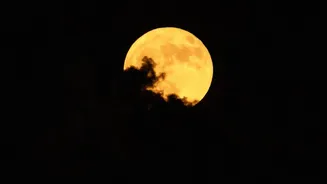
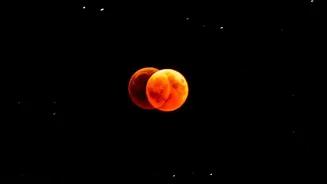
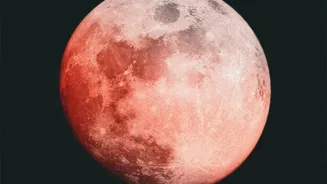
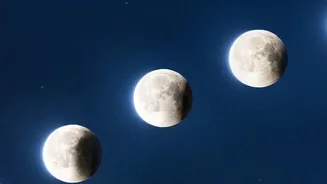
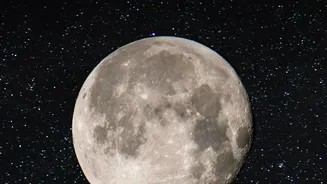
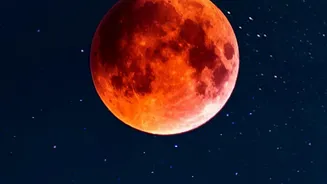
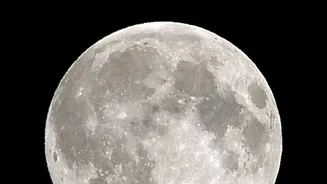
Aperture (or f-stop) controls the size of the opening in your lens. For a bright, full moon at the start of the eclipse, a mid-range aperture like f/8 or f/11 is a great starting point. This range is often the 'sweet spot' for many lenses, delivering excellent sharpness across the frame and minimizing optical imperfections. As the moon gets dimmer during totality (the 'blood moon' phase), you may need to use a wider aperture (a lower f-number, like f/4 or f/2.8) to let in more light, but start with f/8 for maximum clarity during the partial phases.
Shutter Speed: Freeze the Moment
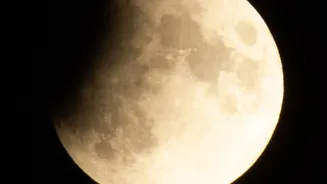
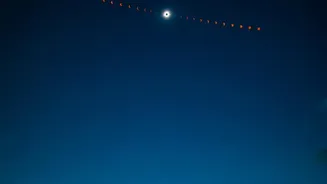
Shutter speed determines how long the sensor is exposed to light. This is the setting you will change most frequently throughout the eclipse. When the moon is full and bright, you can use a relatively fast shutter speed, such as 1/125s or 1/250s, to get a crisp shot. However, as the Earth's shadow covers the moon, its brightness drops dramatically. During totality, you will need to slow your shutter speed significantly, to perhaps 1/15s or even a full second or two, to capture the faint, reddish light. Be careful not to go too slow with a long telephoto lens, as the moon's own movement across the sky can cause motion blur in exposures longer than a few seconds.
ISO: Adjust Your Camera's Sensitivity
ISO measures your camera's sensitivity to light. For the bright, early stages of the eclipse, keep your ISO low—at 100 or 200—to ensure the cleanest, most detailed image with the least amount of digital noise. As the eclipse reaches totality and the scene becomes very dark, you will need to increase your ISO to compensate. Depending on your camera's capabilities, you might need to go to ISO 800, 1600, or even 3200 to get a good exposure with a reasonable shutter speed. Higher ISOs introduce more grain or 'noise', so only raise it as much as necessary.
Focusing and Final Touches
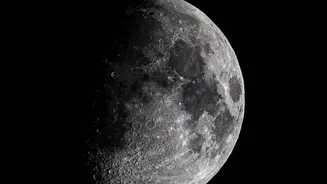
Autofocus systems often struggle to lock onto the moon, especially when it's dim. Switch your lens to manual focus (MF). Use your camera's Live View function on the rear screen, digitally zoom in on the edge of the moon, and carefully turn the focus ring until the craters appear as sharp as possible. Once focus is set, don't touch it again. It's also highly recommended to shoot in RAW format instead of JPEG. RAW files capture much more information, giving you far greater flexibility to adjust brightness, contrast, and color when you edit your photos later. Set your white balance to a fixed setting like 'Daylight' to keep the colors consistent.