

Your Essential Toolkit
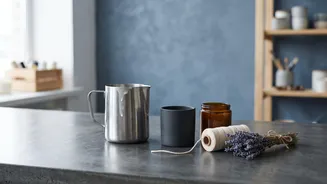
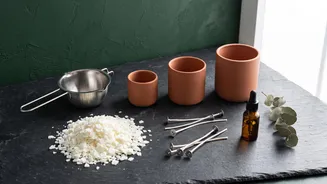
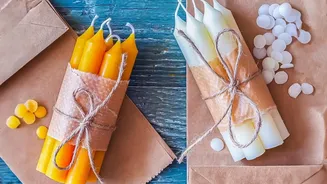
Before you can start creating, you’ll need to gather a few key supplies. Think of this as your creative launchpad. You will need wax, wicks, and containers. For wax, soy wax flakes are a fantastic choice for beginners because they burn cleanly and are easy
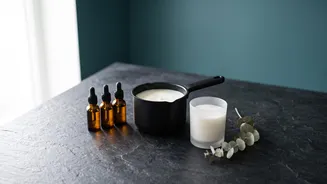
to work with. Beeswax is another natural option with a lovely subtle honey scent. For wicks, choose ones with a metal base for easy placement. The container can be almost any heat-safe jar, teacup, or vessel that sparks your joy. You will also need a pot for melting wax (a double boiler setup is safest), a thermometer to monitor temperature, and something to hold your wick in place, like a clothespin or chopsticks.
Choosing Your Wax and Wick
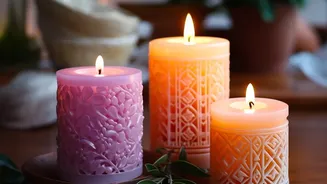
The type of wax you choose affects your candle's appearance, burn time, and scent throw. Soy wax is a popular, beginner-friendly choice that holds colour and fragrance well, resulting in a soft, pastel finish. Paraffin wax is known for producing more vibrant, bold colours and a strong scent. Beeswax offers a beautiful natural golden glow and a sweet aroma on its own. The wick is just as important. A wick that's too small for your container will 'tunnel', leaving unused wax along the sides, while a wick that's too large will create smoke. As a general rule, the wider your container, the thicker your wick needs to be. Many suppliers provide guides to help you match your container diameter to the right wick size.
The Art of Adding Colour
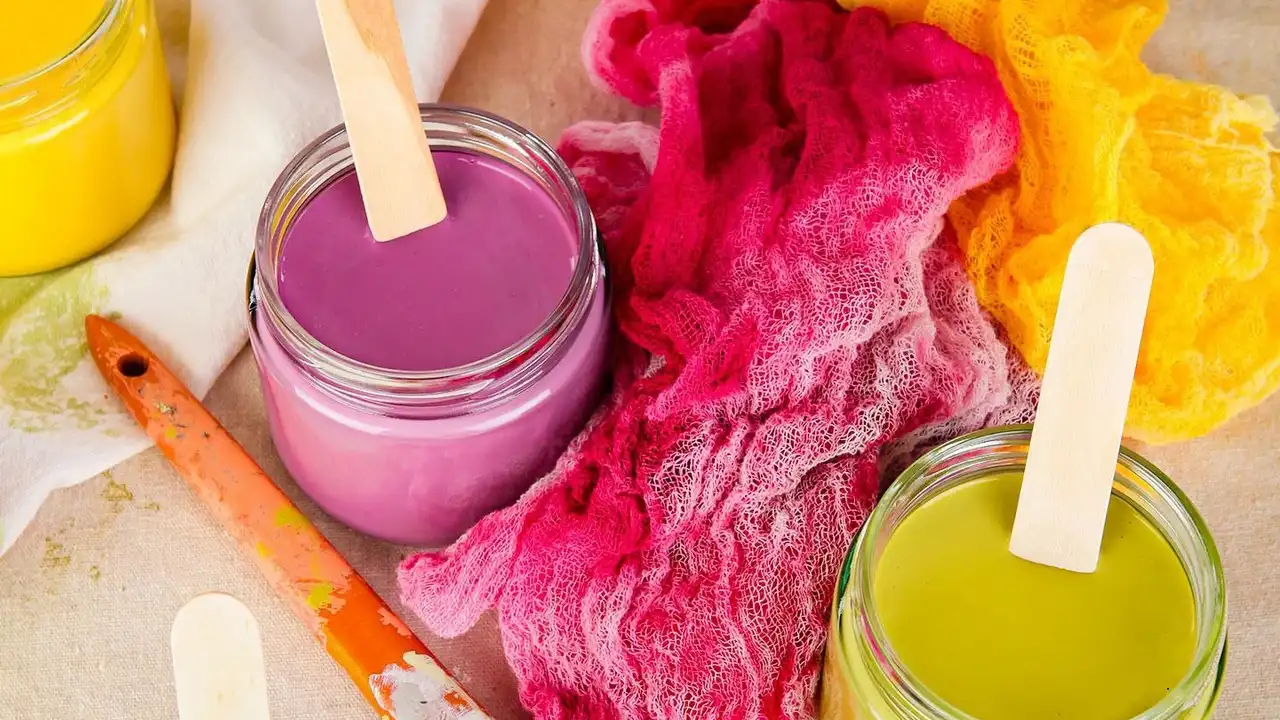
This is where your candle truly becomes your own. There are several types of candle dyes, each offering a different effect. Dye blocks or chips are solid chunks of concentrated colour that you shave or break into your melted wax. Liquid dyes are also highly concentrated and easy to mix for custom shades; just a few drops can go a long way. It's important to use dyes specifically made for candles, as other colourants like water-based food colouring will not mix with the oil-based wax. To get the colour just right, add a small amount of dye to your hot wax, stir thoroughly, and then drop a little bit of the coloured wax onto a white paper towel to see its true, cooled-down shade. You can always add more dye to achieve a deeper colour.
A Step-by-Step Guide to Pouring
With your supplies ready, it's time to make your candle. First, prepare your container by wiping it clean and securing the wick to the bottom centre using a wick sticker or a dab of hot glue. Use a clothespin or similar tool to hold the top of the wick perfectly straight. Next, gently melt your wax flakes in a double boiler until the liquid is smooth and clear. Once melted, add your candle dye and any fragrance oil you desire, stirring gently but thoroughly. The ideal temperature for adding dye and fragrance is typically around 85°C (185°F). Let the wax cool slightly before pouring it slowly and steadily into your prepared container. Allow the candle to cool and harden completely for at least 24 hours before trimming the wick and lighting it.
Safety is Non-Negotiable
Working with hot wax requires caution. Always melt wax in a well-ventilated area to avoid inhaling strong fumes. Never leave melting wax unattended on the stove. Protect your work surface with newspaper or cardboard, and wear clothing you don't mind getting a little messy. Hot wax can cause serious burns, so handle your melting pot with care, and never pour water on a wax fire — smother it with a lid instead. Once your candle is made, always follow basic fire safety: trim the wick before each use, never leave a burning candle unattended, and keep it away from children, pets, and flammable objects.
Beyond Colour: Further Personalisation
Dyes are just the beginning of your creative journey. Once you master the basics, you can experiment with more advanced techniques. Try creating layered candles by pouring different coloured waxes and letting each layer cool before adding the next. You can also decorate the outside of your candle jars with paint or custom labels. For a more decorative (but non-burnable) candle, you can add dried botanicals like flower petals or herbs to the top layer of wax after it has partially cooled. You can even repurpose beautiful old jars, tins, or mugs as unique candle containers, giving them a second life.