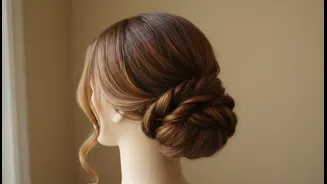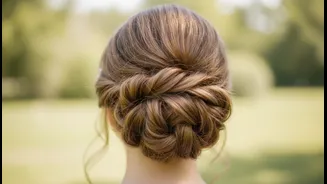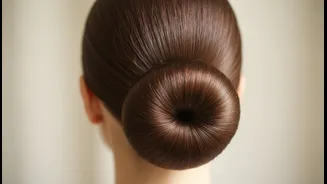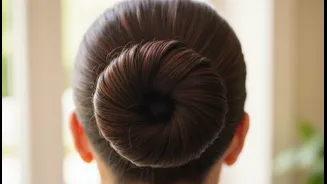





The Foundation of a Flawless Bun
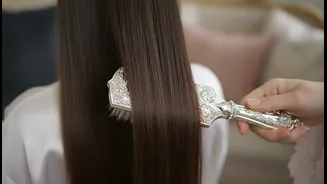
Before you even think about hair ties and bobby pins, the first and most critical step is creating a smooth, tangle-free canvas. Brushing your hair thoroughly before styling is not just about neatness; it's about structure. When you gather hair that's
full of knots and tangles, you create lumps and bumps at the base that are impossible to hide. A detangled base ensures the hair will lie flat against your scalp, creating that sleek, polished silhouette that defines an elegant low bun. Furthermore, this simple act makes the hair significantly easier to manage, twist, and pin securely into place. It also helps distribute your scalp's natural oils from root to tip, which adds a natural, healthy shine to your finished style.
Choosing the Right Tool for the Job
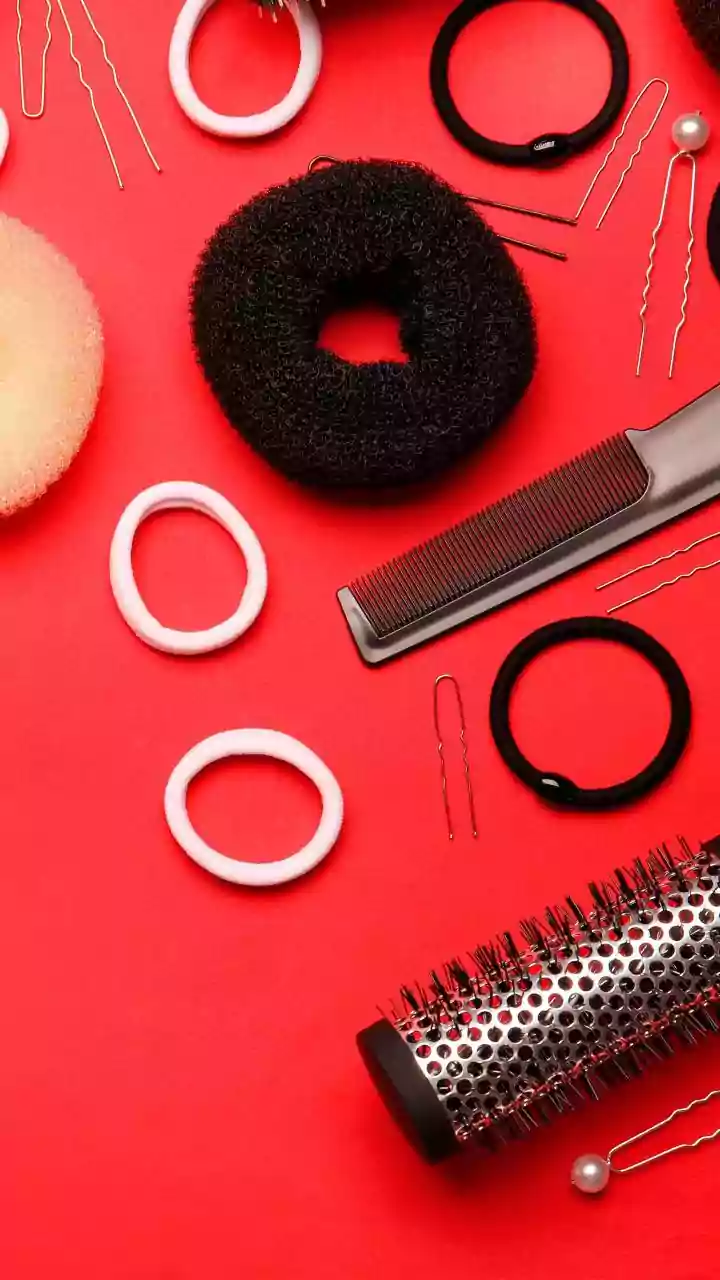
Not all brushes are created equal, and the right one depends on your hair type. For straight to wavy hair, a paddle brush is excellent for covering large areas quickly and smoothing strands. If your goal is a super sleek finish, a boar bristle brush is your best friend. These brushes are fantastic for smoothing the hair cuticle, reducing frizz, and adding a glossy shine by distributing natural oils. For those with thick or curly hair that's prone to serious knots, a dedicated detangling brush with flexible bristles is essential to work through tangles without causing breakage. Some stylists also recommend a mixed bristle brush (nylon and boar) for thick hair, as it can detangle while it smooths.
The Correct Brushing Technique
How you brush is as important as what you brush with. To minimize damage and breakage, always start from the ends of your hair and work your way up toward the roots. Holding a section of hair firmly as you brush the ends prevents you from yanking on your scalp. Once the lower sections are detangled, you can then make long, smooth strokes from root to tip. This gentle approach is far more effective and less damaging than trying to force a brush through knots from the top down. For extra stubborn tangles, a detangling spray can provide slip and make the process easier.
Gathering the Perfect Ponytail Base
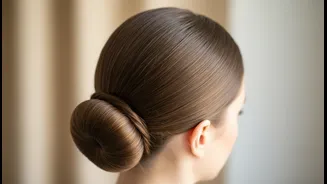
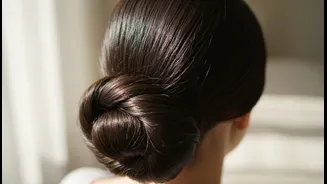
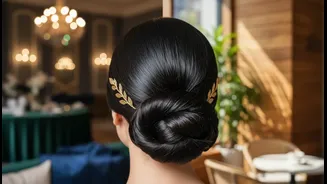
Once your hair is completely smooth, it’s time to create the low ponytail that will serve as the anchor for your bun. Decide on your part—center or side—and use a comb for a clean line. Use your boar bristle or smoothing brush to gather all your hair at the nape of your neck. Keep the tension even as you brush to avoid any bumps. For an ultra-sleek look, you can apply a small amount of styling gel or mousse along your hairline and brush it back. Secure the ponytail tightly with a hair tie. Using a bungee tie can help keep the base perfectly smooth and tight without creating a bump where the elastic is tied.
Twisting and Securing the Bun
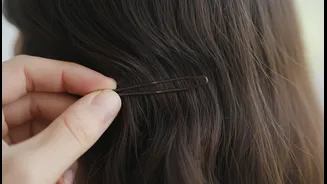
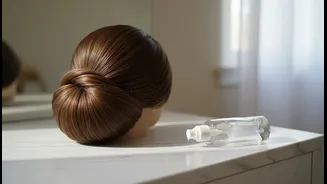
With a smooth, tight ponytail in place, forming the bun is simple. Twist the length of the ponytail firmly, and then coil it around the base of the hair tie. Tuck the ends underneath the bun. Now it's time to secure your work. While another hair tie can be used, bobby pins or U-shaped hair pins offer a more secure and discreet hold. Insert pins around the edges of the bun, making sure to catch hair from the bun and anchor it to the base hair against your scalp. A good tip is to wiggle the pin back and forth as you push it in for extra grip.
Finishing Touches for All-Day Hold
The final step is to lock in your style and tame any remaining flyaways. A light mist of a strong-hold hairspray will keep everything in place. For a perfectly clean hairline, you can spray a small amount of hairspray onto a clean toothbrush or a spoolie and gently brush down any baby hairs or flyaways. For a softer, more romantic look, you can gently pull out a few face-framing tendrils before you spritz with hairspray. A touch of shine spray or dry oil can also be added for a glossy, high-fashion finish.