

The Magic of a Refrigerator Pickle
Forget complex canning and sterilization. Quick pickling, also known as refrigerator pickling, is a straightforward method of preserving vegetables in a vinegar-based brine. Unlike long-term canning, which requires specific equipment and procedures for shelf
stability, quick pickles are made to be stored in the fridge and eaten within a few weeks. This makes it a perfect entry point for anyone new to pickling. The process is fast, the results are almost immediate, and it’s an incredibly effective way to reduce food waste by giving wilting vegetables a delicious new purpose. In under an hour, you can have a crisp, flavour-packed condiment ready to go.
Your Simple Pickling Toolkit
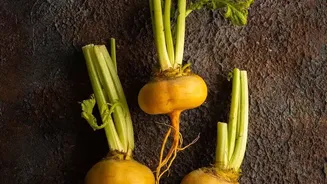
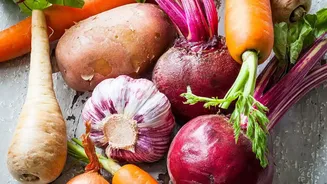
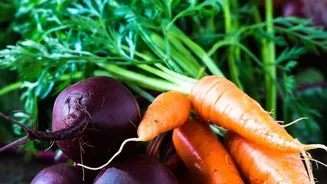
You don’t need any special equipment to start. All that’s required is a knife for chopping, a small saucepan for the brine, and a clean glass jar with a lid to store your creation. The ingredients are just as basic. You’ll need your vegetables—radishes, carrots, and turnips are fantastic candidates, but this works for onions, cucumbers, and even cauliflower too. The other key components are vinegar, water, salt, and a sweetener like sugar. Kosher or pickling salt is recommended over table salt, which can contain anti-caking agents that cloud your brine.
The Universal Brine Recipe
The foundation of any good quick pickle is the brine. While ratios can vary, a great starting point is the classic 3-2-1 formula: three parts vinegar, two parts water, and one part sugar. Another common ratio is an even 1:1 of vinegar to water, with salt and sugar added to taste. For a pint jar, a good measure is often one cup of vinegar, one cup of water, one tablespoon of kosher salt, and one tablespoon of sugar. For the vinegar, distilled white vinegar offers a clean, neutral taste that won't alter the vegetables' colour. Apple cider vinegar provides a slightly sweeter, mellower flavour, while rice vinegar is also a mild and popular choice. Simply combine the vinegar, water, sugar, and salt in a saucepan and heat gently, stirring until the sugar and salt have completely dissolved.
Step-by-Step to Perfection
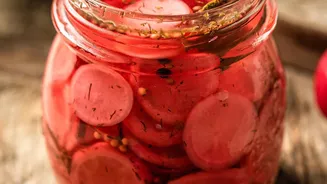
First, prepare your vegetables. Wash and trim them, then slice them into your desired shape. Thin rounds, matchsticks (julienne), or small batons all work well. The thinner you slice the vegetables, the faster they will pickle. Pack the sliced vegetables tightly into your clean jar. Next, carefully pour the hot brine over the vegetables, ensuring they are completely submerged. If any pieces are floating, you can press them down gently with a spoon. Let the jar cool to room temperature on the counter before sealing it with a lid and transferring it to the refrigerator. While you can technically eat them after an hour, the flavours will be even better after 24 hours.
Customise Your Creation
Once you’ve mastered the basic brine, the real fun begins. Aromatics are your key to creating unique flavour profiles. You can add whole spices like black peppercorns, mustard seeds, coriander seeds, or a pinch of red pepper flakes for heat. Smashed garlic cloves, sprigs of fresh dill, or slices of ginger also add incredible depth. There are no firm rules, so feel free to experiment with combinations that appeal to you. For a batch of pickled carrots, you might add dill and mustard seeds, while pickled radishes could be enhanced with garlic and peppercorns.
Putting Your Pickles to Use
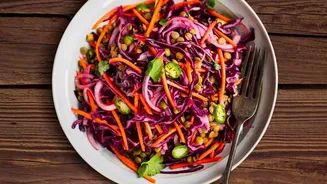
Quick-pickled vegetables are incredibly versatile. Their bright, acidic crunch provides a perfect contrast to rich, heavy dishes. Use them to liven up sandwiches, burgers, and tacos. Toss them into salads and grain bowls for a pop of flavour and texture, or serve them as a simple side dish to accompany grilled meats or curries. A small bowl of mixed pickled vegetables can also be a fantastic addition to a cheese plate or charcuterie board, cutting through the richness with a refreshing bite. They are the ultimate condiment for adding a final, zesty touch to almost any meal.