


Gathering Your Supplies
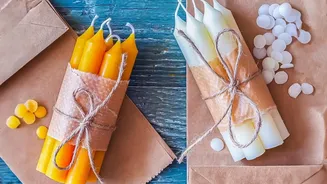
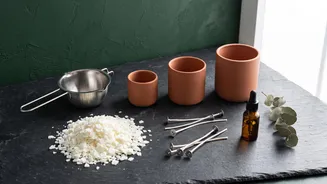
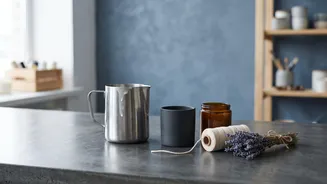
Before you begin, you'll need a few key items. Having everything ready makes the process smooth and enjoyable. You'll need wax, wicks, fragrance oils, and heat-proof containers. For tools, gather a pouring pot, a larger pot to create a double boiler,
a digital kitchen scale, a thermometer, and something to hold the wick in place, like clothespins or wick bars. Protecting your workspace with newspaper is also a wise step.
Choosing the Right Wax
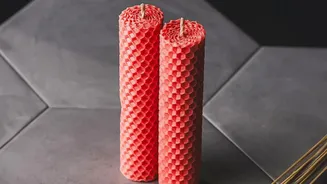
The type of wax you choose is the foundation of your candle. For beginners in India, soy wax is a fantastic starting point. It's a natural product derived from soybeans, burns cleanly, and holds fragrance well. Paraffin wax is another popular option; it's affordable and known for having a strong scent throw, meaning it fills a room with fragrance effectively. Beeswax offers a luxurious, natural honey aroma and a long burn time but can be more expensive. Many makers start with soy wax for its user-friendly properties and eco-conscious appeal.
Wicks: The Engine of Your Candle
A wick might seem like a small detail, but it's crucial for a perfect burn. Its job is to draw melted wax up to the flame. The right wick size depends on the diameter of your container, the type of wax, and the amount of fragrance oil you use. If the wick is too small, the candle will 'tunnel', leaving unused wax on the sides. If it's too large, it can create excess smoke and soot. As a starting point, check the wick supplier’s guide for your jar size and wax type, and don't be afraid to test a few different sizes to see what works best.
Adding a Personal Scent
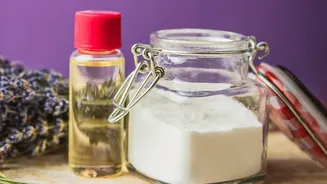
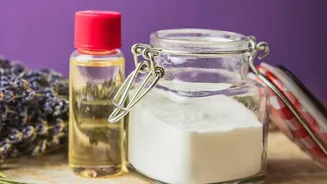
Fragrance is what gives your candle its personality. You'll be working with fragrance oils, which are specially formulated for candles. A common question is how much to use. A reliable starting point for soy wax is a 6% fragrance load, which translates to about 1 ounce of fragrance oil per pound of wax. You should always measure your fragrance oil and wax by weight using a digital scale for consistent results. While some waxes can hold up to 10% fragrance, adding too much can cause burning issues, so it's best to start conservatively.
The Step-by-Step Process
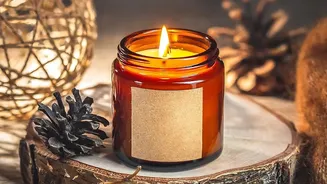
First, prepare your container by securing the wick to the bottom centre using a wick sticker or a dab of hot glue. Use a clothespin or wick bar to keep the wick straight and centred at the top. Next, measure your wax flakes and melt them gently in a double boiler. Use a thermometer to monitor the temperature. Once the wax is fully melted and reaches the temperature recommended by the manufacturer (usually around 85°C), add your pre-weighed fragrance oil and stir gently but thoroughly for about two minutes. Let the wax cool slightly before pouring it slowly into your container.
Patience and Curing
After pouring, let the candle sit undisturbed until it's completely solid. This can take several hours. Once solid, trim the wick to about a quarter of an inch. Now comes the hardest part: waiting. This is called 'curing'. Curing allows the fragrance oil to fully bind with the wax, resulting in a much stronger scent when the candle is lit. For soy wax, a cure time of one to two weeks is recommended for the best scent throw. Your patience will be rewarded with a beautifully fragrant candle.
Safety is Paramount
Working with hot wax requires caution. Always melt wax in a well-ventilated area and never leave it unattended on a heat source. Wear protective gear like an apron and closed-toe shoes to guard against splashes. Keep flammable materials away from your workspace, and ensure you have a fire extinguisher nearby as a precaution. Once your candle is made, always place it on a stable, heat-resistant surface when burning and never leave a lit candle unattended.