



Why Homemade is Worth It
Beyond the sheer joy of creating something delicious from scratch, making Kaju Katli at home gives you complete control. You choose the quality of the cashews, adjust the sweetness to your liking, and ensure there are no hidden preservatives or additives.
Homemade Kaju Katli has a freshness and richness of flavour that packaged sweets often struggle to match. While it might seem intimidating, the process is straightforward once you understand a few key techniques, turning a handful of basic ingredients into an elegant, melt-in-your-mouth mithai.
Gathering Your Ingredients and Tools
Simplicity is at the heart of this recipe. You only need three primary ingredients: high-quality raw cashews, sugar, and water. For the best texture, ensure your cashews are at room temperature and completely dry before you begin. A small amount of ghee is recommended for kneading to achieve a smooth finish, and a pinch of cardamom powder can be added for a gentle, aromatic flavour. For equipment, you will need a grinder (a spice grinder or food processor works well), a heavy-bottomed or non-stick pan, a spatula, and parchment paper for rolling.
Step 1: The Perfect Cashew Powder
This is a crucial first step. The goal is a fine powder, not cashew butter. To achieve this, grind the room-temperature cashews in short bursts or pulses. Grinding them continuously generates heat and will cause the nuts to release their natural oils, resulting in a paste. After grinding, it's a good idea to sift the powder to remove any larger pieces, which you can then grind again. A fine, flour-like texture is what you're aiming for, as this will produce the smoothest final product.
Step 2: Mastering the Sugar Syrup
The consistency of the sugar syrup is what determines the final texture of your Kaju Katli. In your pan, combine the sugar and water over medium heat, stirring until the sugar completely dissolves. Allow the syrup to come to a boil. The target is a 'one-string consistency'. To test this, carefully take a tiny drop of syrup (after letting it cool for a few seconds), and press it between your thumb and forefinger. When you pull them apart, a single, thin thread should form. Getting this right is key to a Katli that sets perfectly without being too hard or too sticky.
Step 3: Cooking the Cashew Dough
Once your syrup reaches one-string consistency, reduce the heat to low and immediately add the cashew powder. Stir continuously and vigorously to prevent lumps and ensure the powder is fully incorporated. The mixture will begin to thicken. Keep stirring constantly until it starts to pull away from the sides of the pan and comes together as a single, soft mass. This process usually takes around 8-10 minutes. Be careful not to overcook the mixture, as this will result in a dry and crumbly final product.
Step 4: Kneading, Rolling, and Cutting
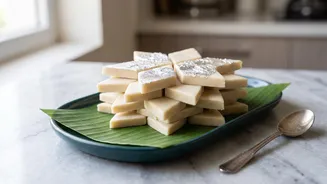
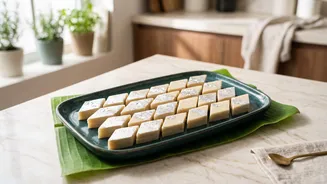
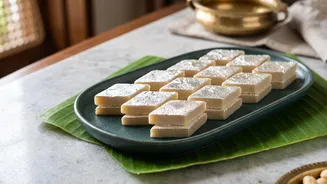
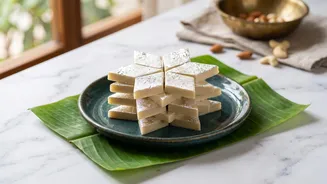
Transfer the warm cashew dough onto a sheet of parchment paper greased with a little ghee. Let it cool just enough so that you can handle it without burning your hands; it must still be warm. Knead the dough gently for a few minutes until it is smooth and pliable. This step is important for achieving a silky texture. Place another sheet of parchment paper on top and roll the dough out evenly to your desired thickness, typically around 3-5mm. Let it cool completely before carefully cutting it into the classic diamond shapes.
Troubleshooting Common Issues
If your final dough feels too sticky or loose, it's likely undercooked. You can try returning it to the pan to cook for a few more minutes, or knead in a small amount of milk powder to help it firm up. Conversely, if the dough seems dry and hard, it was probably overcooked. In this case, you can try to salvage it by kneading in a teaspoon of milk to add back some moisture. Remember that practice makes perfect, and even a less-than-perfect batch will still be a delicious homemade treat.