
Start With the Right Foundation
Achieving a sleek finish without heat begins long before you gather your hair. The process starts with proper preparation. You can begin with either dry or damp hair, but the key is to create a smooth canvas. If your hair is freshly washed and damp, apply
a leave-in conditioner or a smoothing cream to lock in moisture and begin the taming process. If you’re starting with dry hair, especially second or third-day hair, a light mist of water can help reset any texture and make it more pliable. Follow this with a small amount of hair oil, focusing on the mid-lengths and ends to add shine and reduce frizz. This initial product layer is not about hold; it's about conditioning the hair to lie flat and cooperate.
Assemble Your Smoothing Arsenal
With heat out of the equation, your choice of products becomes paramount. You need a combination of items that provide hold, smoothness, and shine. A strong-hold gel is non-negotiable for achieving that slicked-back look that lasts all day. Look for formulas that promise no flaking or stickiness. A styling cream or pomade is another essential, used to control frizz and flyaways while providing a workable texture. For the final touch, a luminous hairspray will lock everything in place and add a glossy sheen. The trick is to layer these products strategically. Start with the cream to manage the bulk of your hair, then use the gel to slick back the hairline and any stubborn sections, and finish with spray once the bun is secured.
The Unsung Hero: A Boar Bristle Brush
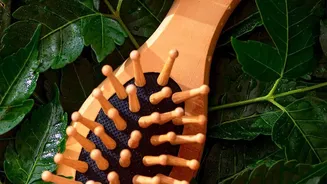
If there is one tool that can replace the smoothing effect of a flat iron, it is the boar bristle brush. This is your secret weapon for a flawless, bump-free base. Unlike standard plastic brushes, the dense, natural bristles of a boar brush are exceptional at gripping every strand of hair, smoothing the cuticle, and distributing your scalp's natural oils from root to tip. This action not only tames frizz but also creates a natural, healthy-looking shine that heat styling often dulls. When pulling your hair back, use the boar bristle brush to repeatedly smooth the hair from your hairline to the nape of your neck, creating tension and ensuring the surface is perfectly flat before you even think about securing it.
Technique Is Key: The Pull and Secure
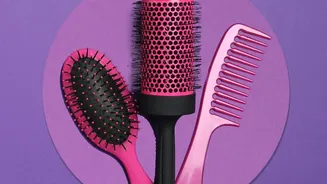
With your hair prepped and your tools ready, it's time to build the bun. First, decide on your part—middle or side—and create a clean line using a rat-tail comb. Apply your styling gel or cream along the part and around your hairline. Begin brushing your hair back towards the nape of your neck, following the contour of your head. Use the boar bristle brush to smooth down all the hair, working in sections if needed. Gather the hair into a low ponytail, continuing to brush out any bumps as you go. The key here is tension. Hold the base of the ponytail firmly with one hand while you use the other to brush the surface smooth. Once you are satisfied, secure it with a strong hair elastic. The ponytail itself should be tight and completely sleek before you proceed to create the bun.
Finishing Touches for a Glass-Like Finish
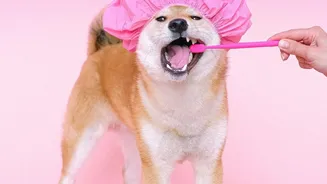
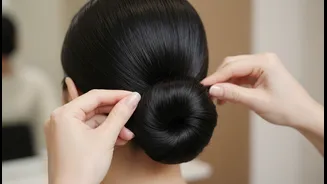
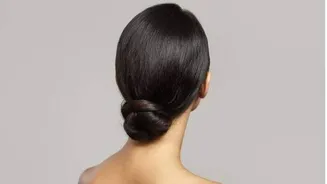
The ponytail is secure, but the work isn't over. To create the bun, you can twist the ponytail, wrap it around the elastic, and secure it with another hair tie or pins. For an even sleeker look, use bun twists, which anchor the bun without the bulk of bobby pins. Once the bun is in place, it's time for the final seal. Take your strong-hold hairspray and give your entire head a generous misting. For any remaining baby hairs or flyaways around the hairline, spray a little hairspray directly onto a small, clean toothbrush or an edge brush and gently comb them into place. This gives you precise control for that picture-perfect, ultra-sleek finish that looks professionally done.