

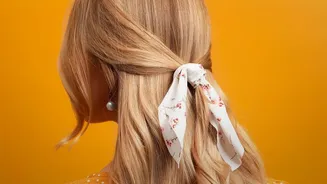


The classic bun is a go-to for a reason, but its tight, severe look isn't for everyone. Enter the loose low twist: an equally elegant but softer, more modern updo that promises sophistication without the scalp-pulling tension.
Why Softer Is Better
While a tightly pulled-back
bun can look sharp and polished, it often creates a severe aesthetic that can feel harsh. A looser style, like a low twist, provides a more relaxed and romantic finish. This approach frames the face more gently, creating a sophisticated look that feels effortless rather than constricted. Beyond aesthetics, looser updos are kinder to your hair and scalp. Constant pulling from tight hairstyles can lead to tension headaches and even a type of hair loss called traction alopecia. A soft twist, secured correctly, avoids this stress, making it a healthier choice for daily wear or special occasions.
The Right Tools for a Gentle Hold
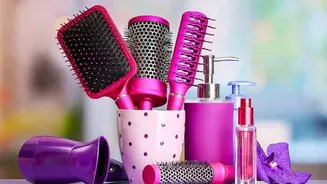
The secret to a successful loose updo isn't tightness; it's the strategic placement of the right fasteners. Forget trying to secure the entire style with a single hair tie. For a soft twist, you’ll need a small collection of tools. Standard bobby pins are great for tucking away stray ends. U-shaped hairpins, also known as French pins, are essential for securing the bulk of the twist without creating tension. These pins work by grabbing a small section of the bun and anchoring it to the hair at the scalp, providing a strong but flexible hold. For extra grip, especially in fine or silky hair, a light mist of texturizing spray before you start can make all the difference.
Step-by-Step: The Effortless Low Twist
Creating this elegant style is simpler than it looks. Start by gathering your hair into a low ponytail at the nape of your neck, but don't make it too tight. Secure it with a gentle hair tie. Next, create a small gap in the hair just above the tie. Flip your ponytail up and through this gap, a technique often called a topsy-tail. This creates the foundational twist. Now, take the length of the ponytail, twist it into a rope, and coil it around the base to form a bun. Don’t worry about making it perfectly neat; a bit of controlled messiness adds to the charm.
Securing the Style with Pins
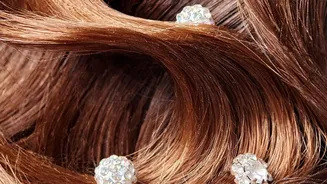
With your twist coiled into a bun, it's time to secure it. Instead of forcing a bobby pin through the center, use U-shaped pins to anchor the style. Slide a U-pin into the outer edge of the bun, catch a small amount of hair from the twist, and then push the pin toward the scalp to lock it in place. Repeat this around the bun with three to five pins until it feels secure but not tight. Use smaller bobby pins to discreetly tuck in any loose ends or unruly layers. The goal is for the pins to be invisible, providing structure from within the style.
Finishing Touches for a Polished Look
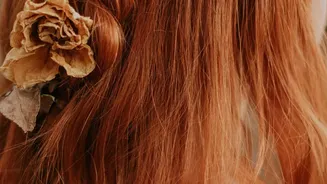
The final step is to personalize the style and ensure it lasts. Gently pull out a few face-framing tendrils to soften the look even further. You can also gently tug at the top of the twist and the crown of your head to create a little more volume, preventing the style from looking flat. Once you're happy with the shape, a light mist of a flexible-hold hairspray will keep everything in place without creating a stiff, helmet-like feel. For a more formal event, consider adding a decorative clip or a floral pin to one side of the twist.