


Plan a Balanced Menu
The key to a successful dessert tasting timeline is choosing the right mix of treats. A common mistake is selecting desserts that all require last-minute attention. Instead, create a menu with varied preparation needs. Aim for a combination of textures
and flavors: something rich and chocolatey, something light and fruity, something creamy, and something with a bit of crunch. More importantly, pick recipes with components that can be made at different stages. Think about including items like cookies, which can be made days in advance, a cheesecake that benefits from chilling overnight, and perhaps a simple fruit tart where only the final assembly is needed on the day of the party. This strategic selection is the foundation of a low-stress hosting experience, allowing you to spread the work across several days.
One Week Before: Doughs, Syrups, and Shopping
Your prep can start long before the party. A week out is the perfect time to handle foundational tasks. Make and freeze any cookie dough or pie crusts. Many pastry chefs swear by freezing doughs, as it doesn't just save time but can also improve the texture of the final product. This is also the time to make any stable components like syrups, caramels, or fruit compotes that will be used in your desserts. Once made and cooled, they can be stored in airtight containers in the refrigerator. Of course, this is also when you should finalize your recipes, make a detailed shopping list, and purchase all non-perishable ingredients. Getting this out of the way early prevents last-minute dashes to the store.
Two to Three Days Before: The Big Bakes
This is the ideal window for baking sturdy items that hold up well or even improve with a little time. Cheesecakes, for example, need at least a full day in the refrigerator to set properly and for their flavor to deepen. Un-iced layer cakes, brownies, and pound cakes can also be baked now. Once they have cooled completely, wrap them securely to prevent them from drying out and store them at room temperature or in the fridge, depending on the recipe. Baking these core components ahead of time frees up your oven and your focus for more delicate tasks closer to the event.
The Day Before: Assembly and Chilling
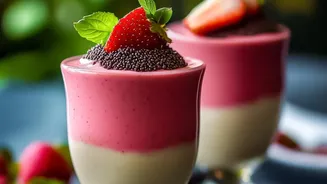
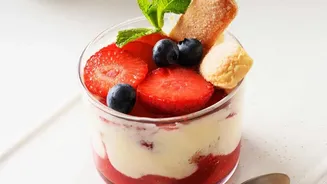
The day before your party is all about assembly and preparing items that need to chill. This is the time to make mousses, pastry creams, and puddings. If you're making a layered dessert like a trifle or an icebox cake, now is the time to put it together so the flavors can meld overnight. You can also bake off any cookies from the dough you prepared earlier. If you baked cake layers a few days ago, you can assemble and apply a crumb coat of frosting today, which makes the final icing on the day of the party much neater. By the end of the day, most of your desserts should be fully or almost fully constructed, leaving only the finishing touches for tomorrow.
The Day of the Party: Garnish and Plate
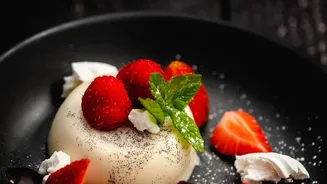
Your goal for the day guests arrive is to do as little actual cooking as possible. The focus should be on finishing touches and presentation. This is the time to whip fresh cream, prepare fruit garnishes, and apply final glazes. Take desserts that need to be served at room temperature out of the refrigerator an hour or two before guests arrive. Arrange your dessert spread, setting out plates, forks, and napkins. You can also brew coffee or set up a station for tea and other drinks. One professional trick is to bake one simple item, like a tray of ready-to-bake cookies, just before guests arrive. The welcoming aroma will fill your home and set a wonderfully inviting tone for the tasting to come.