

Why Make Your Own?
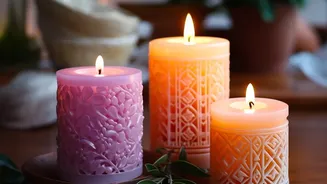
Beyond the inviting glow, a homemade candle is an expression of your personality. It’s a sensory signature for your living space, far more special than a generic vanilla or sandalwood scent from a big-box store. The process itself is a mindful craft,
allowing you to disconnect from screens and create something tangible and beautiful. You control the ingredients, the intensity of the fragrance, and the final look, ensuring the result is perfectly attuned to your taste. Whether you want to evoke the memory of a seaside holiday with salty, aquatic notes or create a calming oasis with lavender and chamomile, a DIY candle makes it possible. Plus, they make thoughtful, handmade gifts for friends and family.
Gathering Your Artisan Toolkit
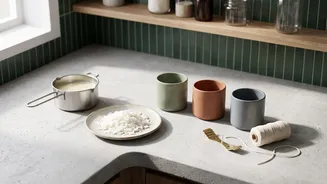
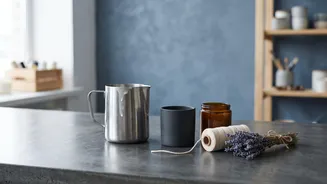
Before you begin, you'll need a few key supplies. The foundation of your candle is the wax. Soy wax is a popular choice for beginners as it's eco-friendly, burns cleanly, and holds fragrance well. Beeswax and coconut wax are other excellent natural options. You'll also need wicks; cotton or wood wicks work well, but ensure the size is appropriate for your container's diameter to prevent uneven burning. For the scent, use fragrance oils specifically designed for candle making, as essential oils can be a fire hazard and don't always blend properly with wax. Finally, you'll require a melting pot (or a double boiler setup), a heat-proof container for pouring, a kitchen thermometer, and stirring utensils. And of course, the vessel for your candle itself.
The Creation Process: A Step-by-Step Guide
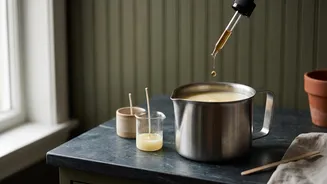
First, secure your wick to the bottom center of your chosen container. You can use a dab of hot glue or a wick sticker. Use a wick holder or two pencils laid across the container's mouth to keep the wick upright and centered. Next, melt your wax. Using a double boiler or a dedicated melting pot, gently heat the wax until it is completely liquid. Avoid direct heat, which can scorch the wax. Once melted, remove the wax from the heat and let it cool slightly. The temperature for adding fragrance is crucial; adding it when the wax is too hot can burn off the scent. A common target is around 80-85°C, but always check the recommendations for your specific wax and fragrance oil. Stir the oil in gently but thoroughly for about a minute. Let the wax cool a bit more before pouring it slowly into your container to avoid bubbles. Let the candle set at room temperature for at least 24 hours. Once fully hardened, trim the wick to about a quarter of an inch.
Crafting Your Signature Scent
This is where the 'personalisation' truly comes to life. The amount of fragrance oil to use, known as the 'fragrance load', is typically between 6-10% of the weight of your wax. Start with a lower percentage and make a small test candle to see if you like the strength. Blending scents is an art. Think about fragrance families: floral, woody, citrus, and spicy. A good starting point is to pair a dominant 'top note' with a subtler 'base note'. For a relaxing blend, try combining lavender with a touch of sandalwood. For an uplifting, fresh scent, mix grapefruit and mint. Don't be afraid to experiment with unexpected combinations. Keep notes on your ratios so you can recreate your favourite blends later.
More Than a Candle: A Decor Piece
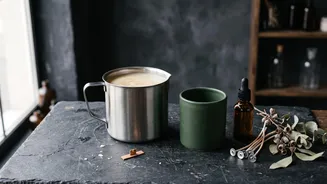
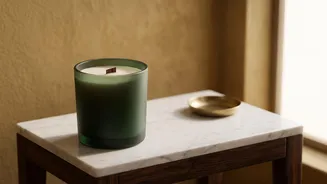
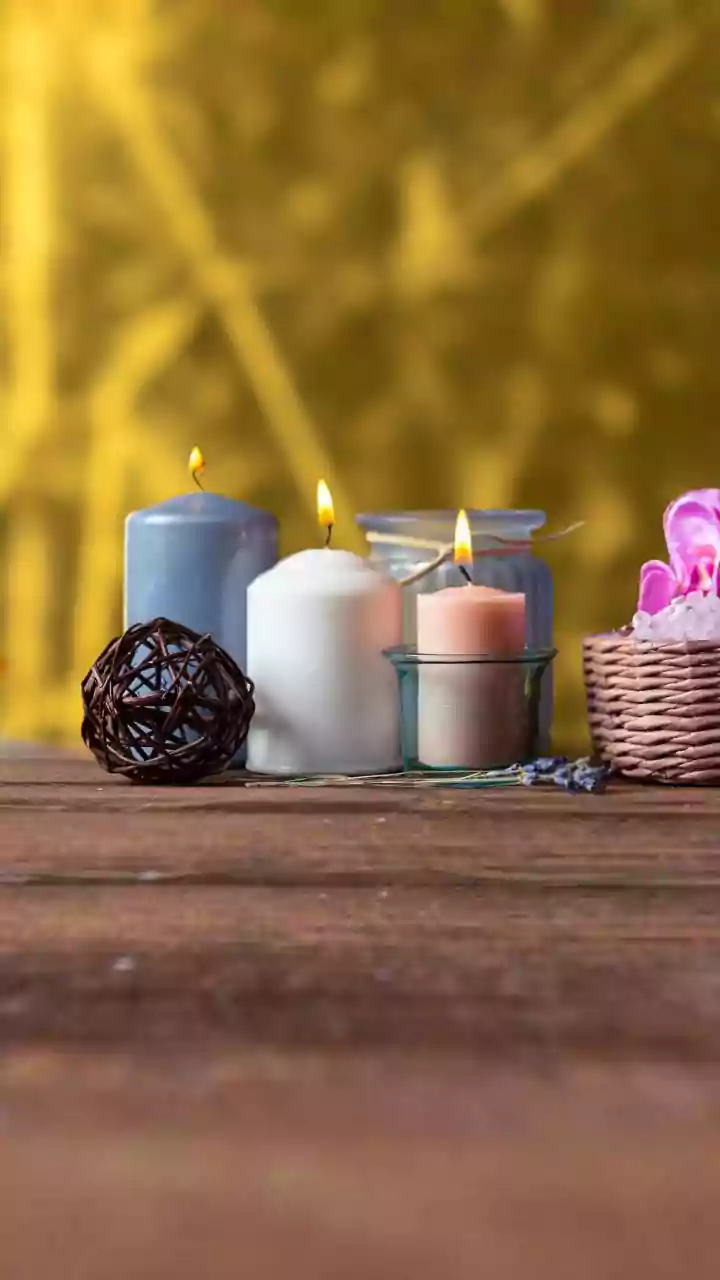
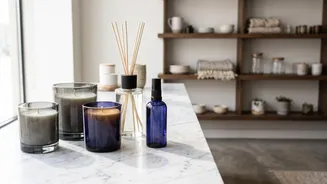
The container you choose transforms your candle from a simple light source into a decorative object. You can upcycle items you already own for a sustainable and unique touch. Old ceramic coffee mugs, mason jars, and vintage teacups make charming and heat-safe vessels. Concrete planters can offer a modern, industrial look. You can also decorate the exterior of simple glass jars. Wrap them in twine or twigs for a rustic feel, paint them, or cover them in newsprint for a vintage vibe. These finishing touches ensure your candle complements your existing home decor, making it a functional piece of art that is truly your own creation.