


Safety Above All Else
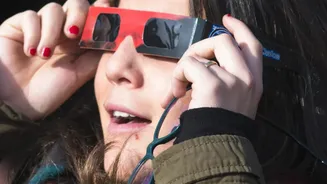
Before you even think about camera settings, the number one priority is safety—for your eyes and your equipment. Never look directly at the sun without certified solar eclipse glasses. Similarly, never point your camera at the sun without a proper solar filter
fitted over the front of your lens. Doing so can cause permanent damage to your camera's sensor and, more importantly, your vision if you look through an optical viewfinder. Standard sunglasses or even strong neutral density (ND) filters used for regular photography are not sufficient and are not safe for direct solar viewing or imaging. You need a dedicated solar filter designed to block the sun's intense light and harmful infrared and ultraviolet radiation. During the partial phases of the eclipse, the filter must always be on. The only time it is safe to remove the filter is during the brief moments of totality in a total solar eclipse.
Essential Gear for Eclipse Day
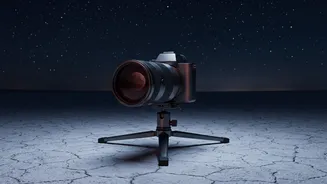
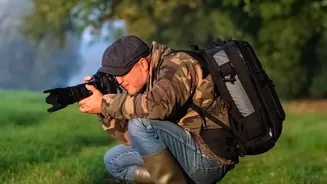
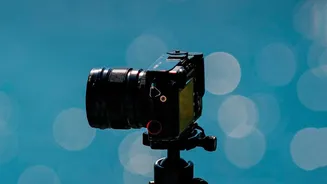
While any digital camera can capture the event, a camera with manual controls (like a DSLR or mirrorless camera) and a telephoto lens will yield the best results for close-up shots of the sun. A focal length of at least 300mm or longer is recommended to make the sun appear as more than just a small dot in your frame. The most crucial piece of gear is your solar filter, which must be specifically designed for photography and fit securely over your lens. A sturdy tripod is also non-negotiable; it will keep your camera stable for sharp images, especially as the light changes. Finally, a remote shutter release or using your camera’s built-in timer will prevent the camera shake that can occur when you press the shutter button, ensuring your photos are as crisp as possible.
Finding the Right Camera Settings
There are no universal magic settings, as they depend on your specific filter, lens, and weather conditions. However, a great starting point is to set your camera to Manual mode (M). Begin with the lowest native ISO on your camera (often ISO 100 or 200) to minimize grain. Set your aperture to a mid-range value like f/8 or f/11 to ensure a sharp focus. Shutter speed is what you will adjust most. With your solar filter on, your settings will be different than during totality. For the partial phases, start with a shutter speed around 1/250s and adjust as needed. It is highly recommended to shoot in RAW format, as this captures more data and gives you greater flexibility when editing your photos later.
Practice Makes Perfect
Do not wait until the day of the eclipse to figure out your equipment and settings. In the weeks leading up to the event, take your camera and solar filter outside on a clear day and practice shooting the sun. This will help you learn how to achieve a sharp focus, which should be set manually. Autofocus systems can struggle with the sun, so switch your lens to manual focus and use your camera's live view screen, zoomed in, to get the edge of the sun as sharp as possible. Practicing also allows you to determine the best exposure settings for your particular gear, so on eclipse day, your process will be second nature.
Photographing the Key Moments
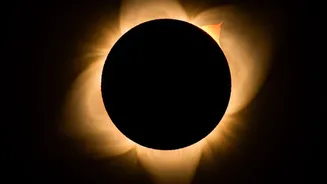
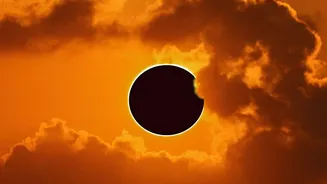
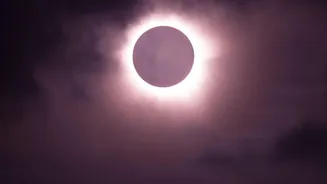
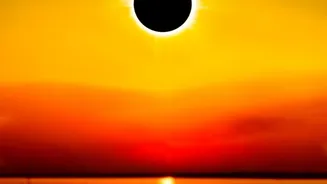
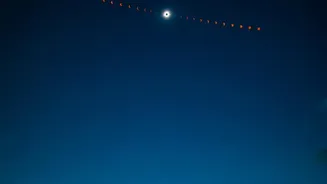
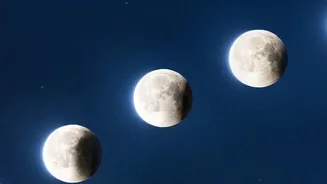
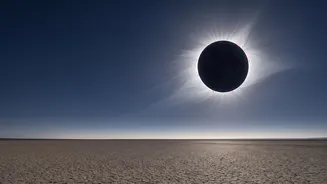
A total solar eclipse unfolds in several distinct stages. During the long partial phases, you can capture the moon slowly covering the sun. If you are in the path of totality, the moments just before and after are dramatic. You may capture Baily's Beads (points of light from the sun shining through lunar valleys) or the Diamond Ring effect. Once totality begins, and only then, you must remove your solar filter. This is your chance to photograph the sun's ethereal corona. The brightness of the corona varies, so it's best to bracket your exposures by shooting at a wide range of shutter speeds, from very fast to as long as one second, to capture its full detail. As soon as the sun begins to reappear, put your solar filter back on immediately.