







Start with the Right Rice
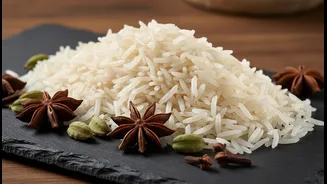
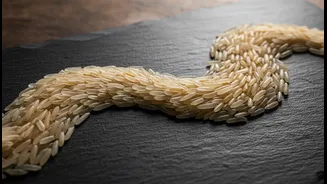
Every magnificent biryani begins with selecting the right hero ingredient: the rice. For a dish that demands long, separate, and non-sticky grains, aged basmati rice is the undisputed champion. Brands often age their premium basmati rice for one to two
years, a process that reduces its moisture content. This allows the grains to absorb the flavours from the spices and vegetable gravy without turning mushy. When cooked, these aged grains elongate beautifully, sometimes up to twice their original length, providing the signature texture that makes biryani so special. While other long-grain rice might be tempting, they often contain more starch, which can lead to clumping and a pasty result, sabotaging your efforts before you even begin.
The Crucial Soaking and Rinsing
Before any heat is applied, the most critical steps are rinsing and soaking. Rinsing the basmati under cool water until the water runs clear is non-negotiable. This process washes away excess surface starch, which is the primary culprit behind sticky, clumped rice. Once rinsed, the rice should be soaked for at least 30 minutes. Soaking allows the grains to hydrate evenly, which not only speeds up the cooking process but also helps them cook without breaking. This simple, patient step ensures that the grains expand to their full, slender potential during the cooking process, setting the stage for that sought-after fluffy texture.
The Art of the 70% Cook
One of the most common mistakes in making biryani is fully cooking the rice before layering. The rice should only be par-boiled to about 70-80% doneness. To do this, bring a large pot of water to a rolling boil, seasoning it generously with salt and whole spices like cardamom, cloves, and a bay leaf. The water should taste salty, as this is your chance to season the grains from within. Add the soaked and drained rice to the boiling water and cook for just 5-7 minutes. The grains should be tender but still have a firm bite. To check, press a grain between your thumb and forefinger; it should break into a few pieces rather than turning to mush. Immediately drain the rice in a colander to halt the cooking process.
Layering and the Dum Pukht Finale
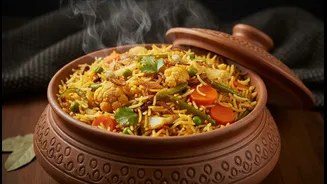
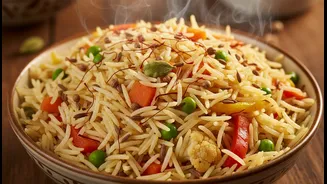
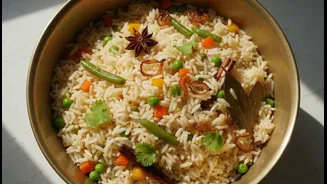
Layering is where the magic happens. In a heavy-bottomed pot (to prevent burning), alternate layers of your cooked vegetable masala with the par-boiled rice. Start with the vegetable layer, then add a layer of rice, sprinkling fried onions, fresh mint, and perhaps a drizzle of saffron-infused milk. Repeat until all components are used, finishing with a top layer of rice. Importantly, do not press the layers down; keeping them loose allows steam to circulate freely. This leads to the final, crucial stage: 'dum pukht'. This Persian-inspired slow-cooking method involves sealing the pot tightly—traditionally with dough, but aluminium foil works well—to trap all the steam. The pot is then placed on a low flame, often with a tawa (griddle) underneath to diffuse the heat, for about 20-30 minutes. This trapped, aromatic steam gently finishes cooking the rice, allowing it to absorb all the complex flavours from the vegetables and spices while ensuring each grain remains perfectly distinct and fluffy.