





Choose the Right Tool
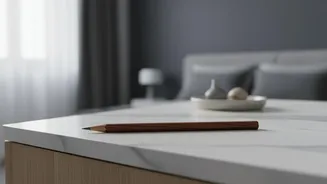
The first step to a damage-free style is ditching the wrong tool. While a standard No. 2 pencil works in a pinch, its sharp point, painted exterior, and metal ferrule holding the eraser are prime culprits for catching and breaking delicate strands. For
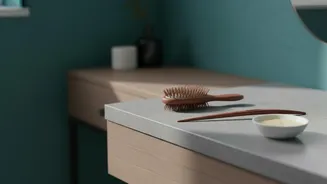
a truly hair-friendly approach, opt for a dedicated hair stick. These are specifically designed with smooth, polished surfaces and rounded ends. You can find them in beautiful wood, metal, or acrylic varieties. If you don't have a hair stick, a smooth, lacquered chopstick or even a completely smooth, unsharpened, round pencil can work as a much safer alternative. The goal is to use something that will glide through your hair, not fight it.
Prepare Your Hair for Success
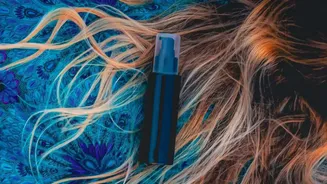
Starting with the right hair texture can make all the difference. While this style works on freshly washed hair, it often holds better on hair that's a day or two old, as the natural oils provide more grip. If your hair is very fine or silky, you might find the bun slips out easily. To counteract this, you can add a little texture. A light mist of texturizing spray or a small amount of dry shampoo at the roots can give your hair the grit it needs to hold the style securely. Before you begin, gently brush through your hair to remove any tangles. Starting with smooth, knot-free hair is essential for preventing snags during the twisting process.
Master the Basic Twist
The foundation of a good pencil bun is a tight, neat coil. Start by gathering your hair into a ponytail at your desired height—a low bun at the nape of your neck is classic and elegant, while a higher bun can feel more playful. You don't need a hair tie. Hold the base of the ponytail with one hand and begin twisting the length of the hair with your other hand until it forms a tight rope. The tighter the twist, the more secure your final bun will be. Once your hair is fully twisted, begin wrapping it around the base of the ponytail, creating a coiled bun shape. Keep the coil tight against your head and tuck the ends of your hair underneath the bun to hide them.
The Secure Weaving Technique
This is the most critical step for a secure, snag-free hold. Take your hair stick and, holding it almost parallel to your head, insert the tip into the edge of the bun. The key is a weaving or scooping motion. Push the stick so that it catches a small amount of the scalp hair just outside the bun. Then, flip the stick and push it through the center of the bun, aiming for the opposite side. You should feel it glide securely against your scalp under the bun. This technique uses the tension of the bun against the stability of your scalp hair to lock everything in place without needing to jam the stick through forcefully. Wiggle it gently to ensure the hold is firm but comfortable.
Tips for Different Hair Types
Not all hair behaves the same, so you may need to adjust your technique. For those with very thick or long hair, a single stick might not be enough. Don't be afraid to use two sticks, inserting them in an 'X' shape for maximum hold. If you have shorter, layered hair, some pieces may pop out. You can either embrace the messy-chic look or use a few bobby pins to secure any stray ends. For fine hair that struggles to hold a bun, ensure your initial twist is extra tight and consider making a smaller, more compact bun. The weaving technique is especially important here to grab enough scalp hair for a secure anchor.