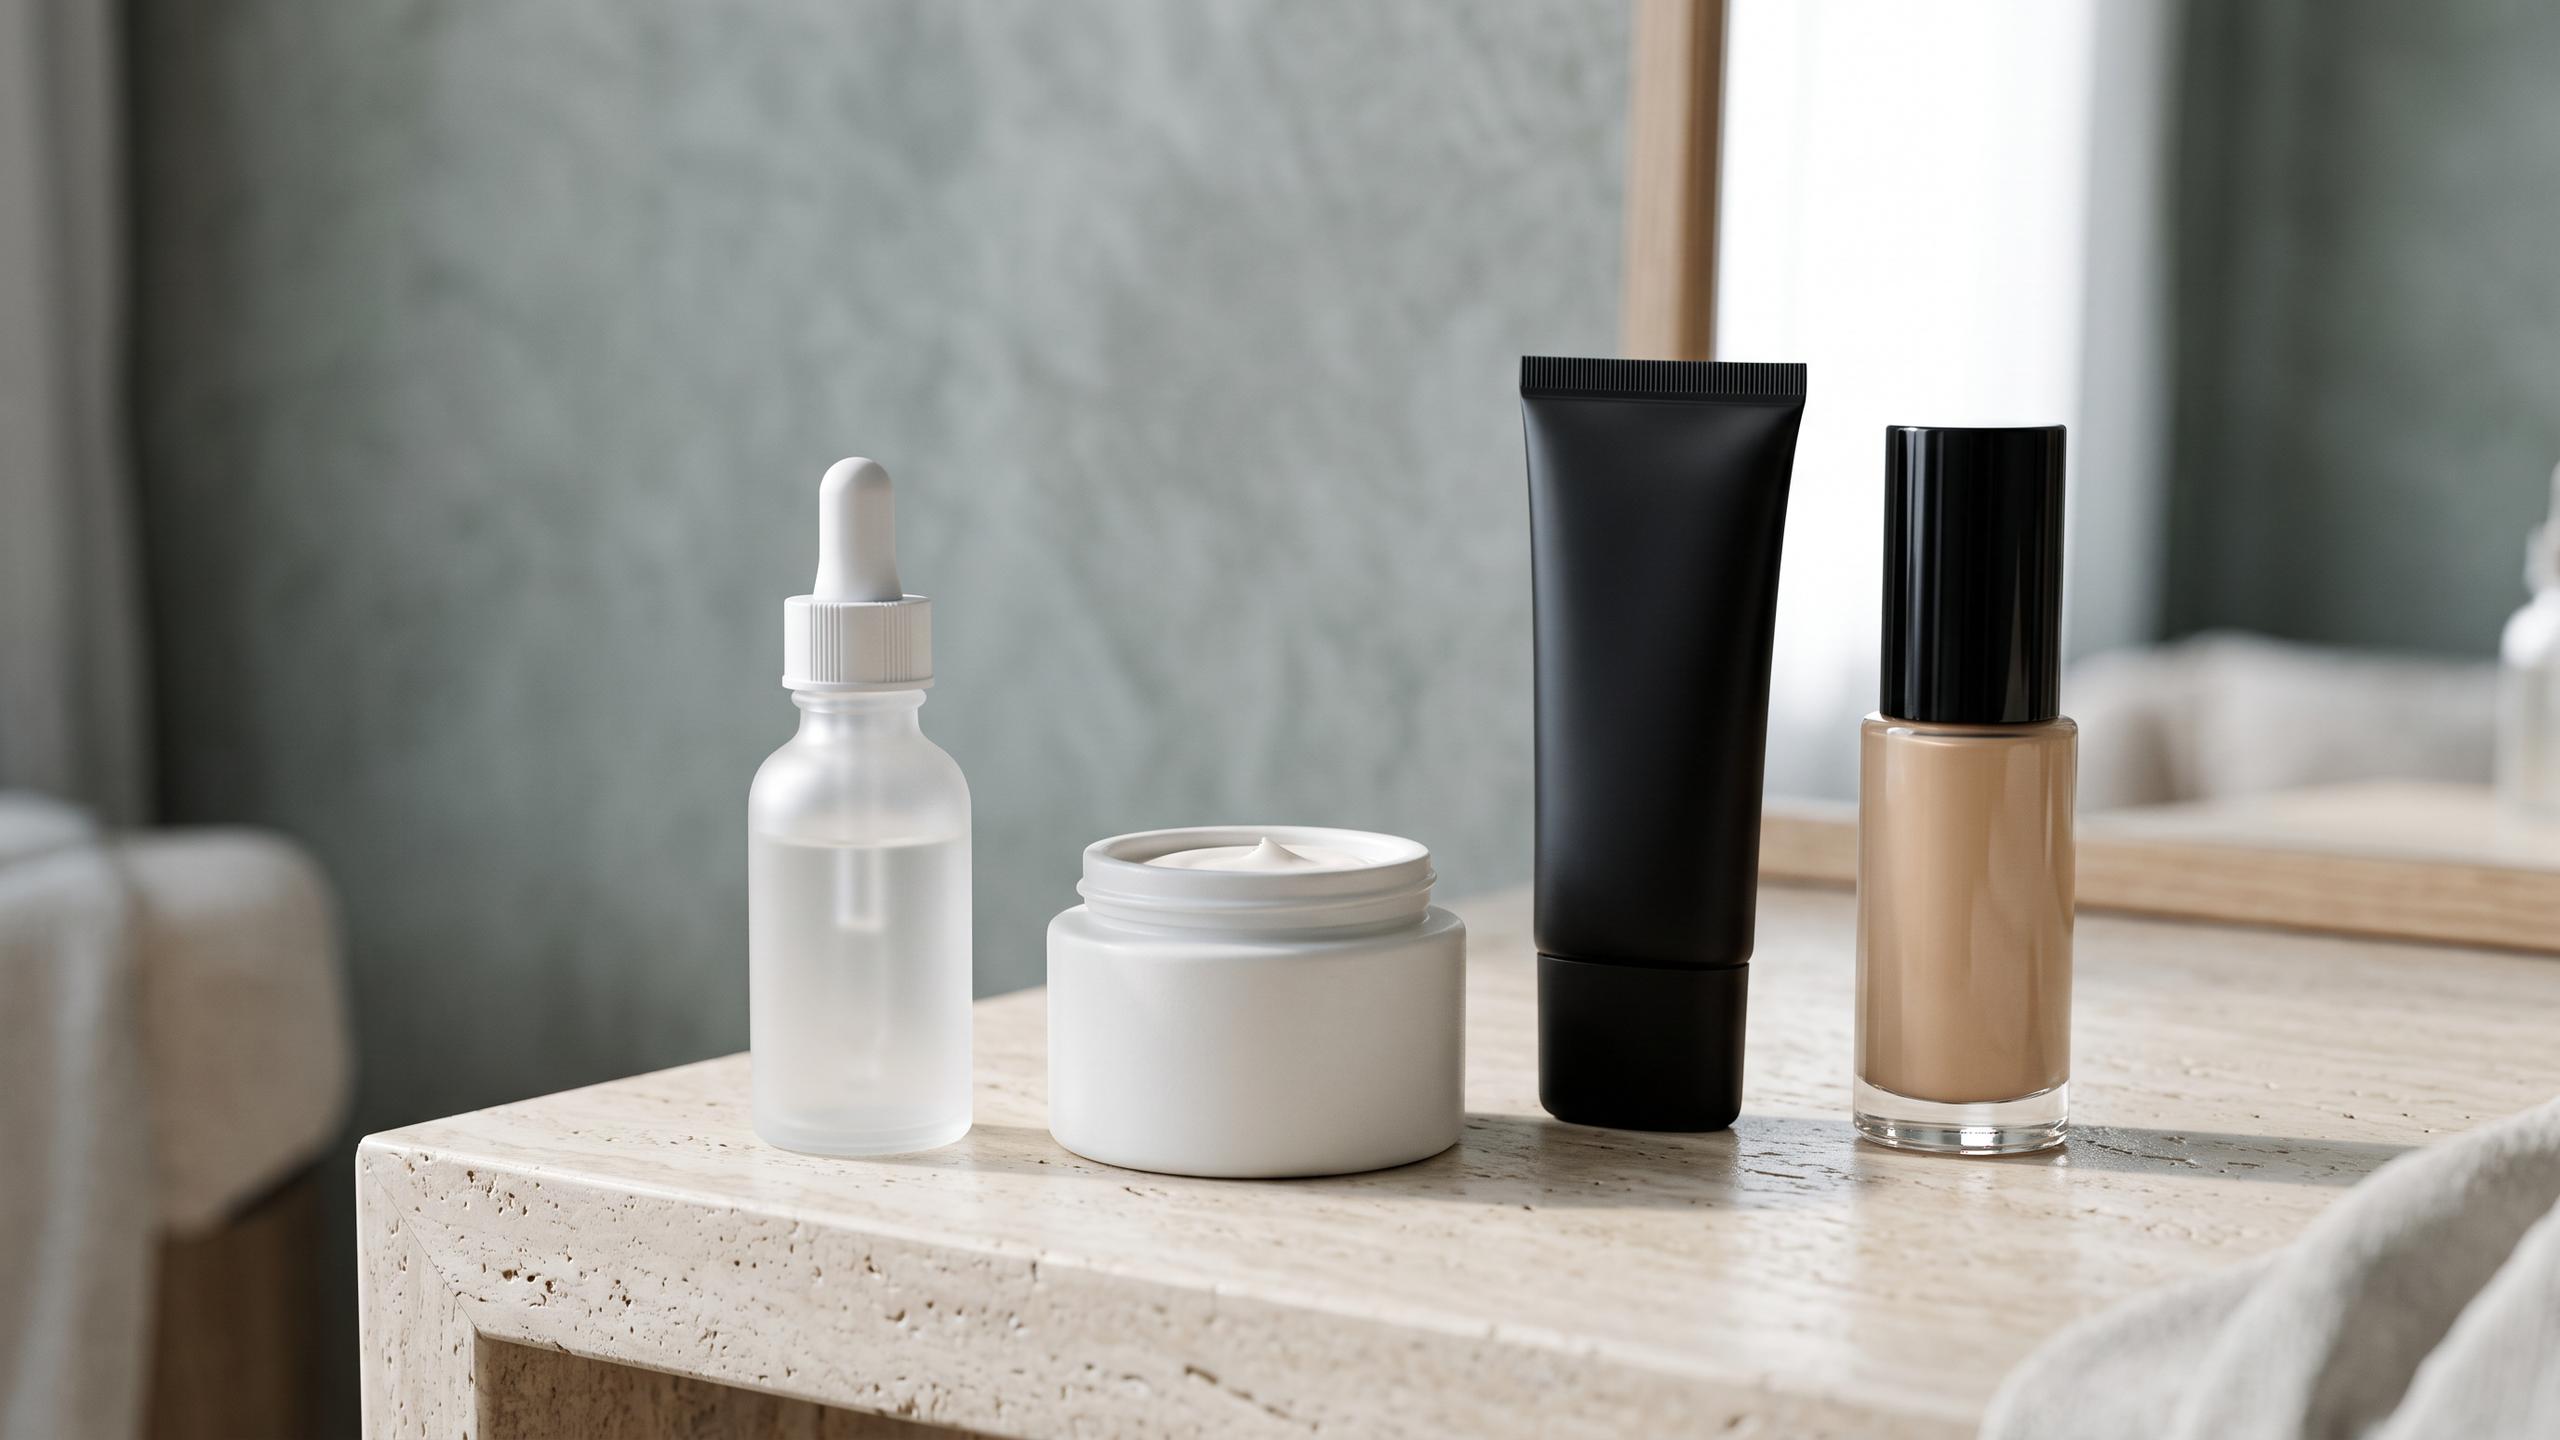





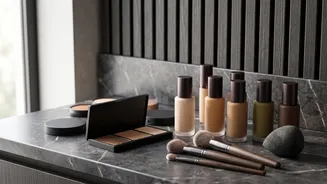
What Exactly Is Facial Layering?
Facial layering is a professional makeup technique that prioritises structure over sheer quantity. Instead of applying one thick coat of foundation, it involves building thin, intentional veils of product in a specific order. The philosophy is simple:
each layer has a distinct purpose and should be applied lightly, allowing it to meld with the skin before the next one is added. This method prevents the makeup from looking cakey or artificial. It ensures that products work together to enhance your features rather than masking them, resulting in a base that looks dimensional, blended, and incredibly natural. The core principle is applying products from the thinnest to thickest consistency—generally liquids, then creams, and finally powders.
The Benefits of Building in Layers
The primary advantage of facial layering is the natural, skin-like finish it creates. Thin layers are less likely to settle into fine lines or look heavy, a common issue with single, thick applications of foundation. This technique also significantly improves the longevity of your makeup. When each layer is given a moment to set, it adheres better to the skin and the layer beneath it, creating a more stable and durable base that resists shifting or breaking down throughout the day. It also allows for customisable coverage. You can build up product only in areas that need it, like covering blemishes or redness, while keeping the rest of your face light and fresh. This strategic placement avoids the uniform, mask-like effect that can happen when applying the same amount of coverage everywhere.
Your Step-by-Step Layering Guide
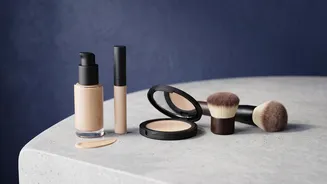
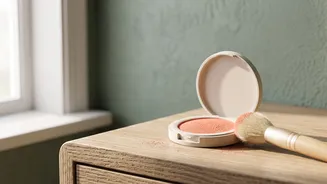
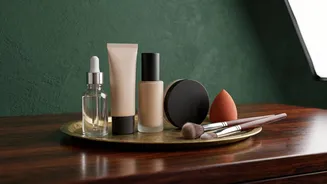
Achieving a flawless base with layering follows a logical progression. Here is a simplified guide: 1. Skincare First: Always start with a clean, hydrated canvas. Apply your moisturiser and, most importantly, sunscreen. Allow these to fully absorb for a few minutes to prevent pilling. 2. Prime the Canvas: Apply a pea-sized amount of primer to create a smooth surface and help your makeup grip for longer wear. 3. Foundation: Apply a thin layer of liquid foundation, starting from the center of your face and blending outwards. Use a damp sponge or a brush with stippling motions rather than dragging the product, which can disrupt the layers. 4. Conceal and Correct: After foundation, dab concealer only where needed—under the eyes or on blemishes. Using it after foundation prevents you from applying too much. Gently tap to blend. 5. Add Dimension with Creams: Now is the time for any cream or liquid products like blush or bronzer. Cream formulas melt into the skin for a natural flush of colour and warmth, blending seamlessly over the liquid foundation. 6. Set Strategically with Powder: Instead of powdering your entire face, use a translucent powder sparingly. Use a brush to gently press it onto areas prone to shine, like the T-zone, under the eyes, and around the nose. This sets the liquid and cream products without dulling your skin’s glow. 7. Finish with a Mist: A final spritz of a setting spray helps to meld all the layers together, removing any powdery look and locking everything in place for hours.
Pro Tips for a Perfect Finish
To elevate your layering technique, keep a few professional tricks in mind. Firstly, less is always more. Start with half the amount of product you think you need; you can always add more. Patience is also key. Give each layer, especially liquids and creams, about 30 to 60 seconds to settle before applying the next one. This prevents products from mixing and creating a patchy texture. Finally, consider your tools. While fingers can be great for melting in cream products, brushes offer precision for foundation and powder, and a damp sponge is excellent for a seamless, airbrushed blend of liquid products. The goal is to press or tap products into the skin, not swipe them, to maintain the integrity of each layer you’ve built.