



The Anatomy of a Perfect Tuile
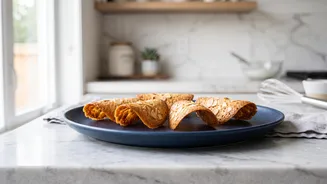
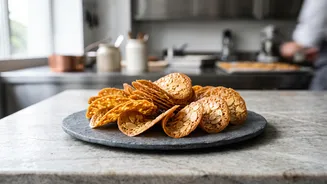
A classic tuile is a study in simplicity and texture. Made from a simple batter of egg whites, sugar, butter, and a little flour, these cookies are defined by what they are not: they are not soft, chewy, or thick. The magic lies in baking a very thin
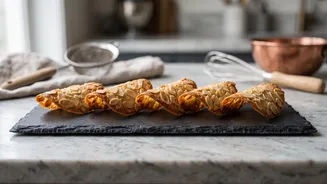
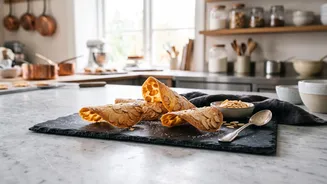
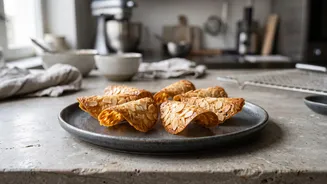
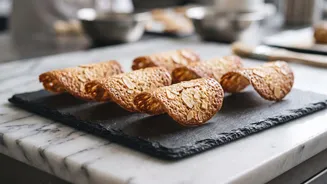
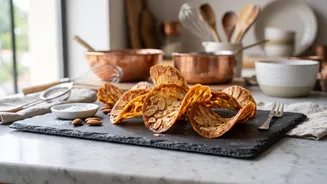
layer of batter until it caramelizes, creating a delicate, glassy wafer that is pliable when hot and exceptionally crispy when cool. They are often served alongside coffee, used as a garnish for mousses and ice creams, or shaped into cups to hold sorbet. The addition of sliced almonds adds a nutty flavour and a beautiful, dappled appearance.
Your Essential Ingredients
The ingredient list for almond tuiles is short, making the quality and proportion of each component critical. You will need: Egg Whites: These provide structure and crispness without the fat and emulsifiers from the yolk, which would make the cookie softer. Sugar: Caster or superfine sugar is ideal as it dissolves easily. Sugar is not just for sweetness; it is key to the cookie's spread and crisp, caramelized finish. Unsalted Butter: Melted butter adds rich flavour and contributes to the wafer-thin texture. All-Purpose Flour: A small amount of flour provides just enough structure to hold the cookie together. Too much flour will result in a thick, chewy cookie instead of a crisp one. Sliced Almonds: For that signature flavour and look. Lightly toasting them beforehand can deepen their nutty taste. Vanilla or Almond Extract: A touch of extract enhances the overall flavour profile.
The Secret to Golden Edges: Technique is Everything
The difference between a soft, pale cookie and a perfectly golden tuile comes down to a few key techniques. The most crucial step is spreading the batter. It must be spread as thinly as possible—almost transparent—on a silicone baking mat or parchment paper. An offset spatula is the best tool for this job. Don't be afraid to see the baking sheet through the batter; this is what ensures a crispy result. Bake in a moderately hot oven, around 170-180°C, and watch them like a hawk. The cookies are ready when the edges are a deep golden brown while the center remains slightly paler. Do not rely on time alone; the visual cue of the browning edge is your best indicator. If they are under-baked, they will be chewy and won't hold their shape.
Working Quickly: Shaping and Cooling
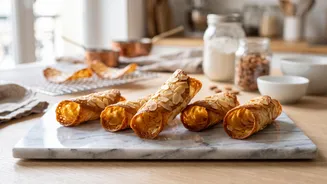
This is where you must be prepared and act fast. The cookies are only pliable for a few seconds after they come out of the oven. Before you even start baking, have your shaping tools ready. A rolling pin, wine bottle, or the handle of a wooden spoon all work perfectly. Bake only a few tuiles at a time—four to six is a manageable number—so you can shape them all before they cool and harden. As soon as the tray is out, let them sit for just a moment (no more than a minute) to firm up slightly, then use a thin spatula to lift each cookie and drape it over your rolling pin. If a cookie hardens before you can shape it, simply pop the tray back in the oven for a minute to make it pliable again. Once shaped, let them cool completely on the pin or a wire rack, where they will transform into their final, crispy state.
Troubleshooting and Storage
If your tuiles are chewy instead of crisp, it's almost always for one of two reasons: the batter was spread too thickly, or they were underbaked. Spreading the batter thinner and leaving them in the oven until the edges are properly caramelized should solve the problem. Because of their high sugar content, tuiles are prone to absorbing moisture from the air, which makes them go soft. To maintain their signature crispness, they must be stored in a completely airtight container as soon as they are cool. They are best enjoyed the day they are made but can last for a couple of days if stored properly. If they do soften, you can often revive them by placing them in a low temperature oven for a few minutes to dry them out.