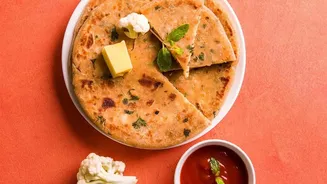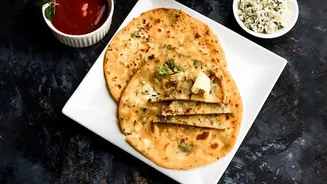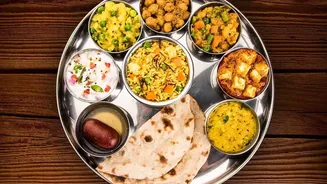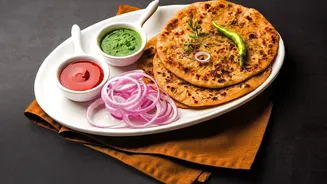


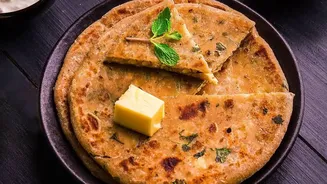

Craving a meal that is both comforting and impressive? The Vegetable Paneer Reshmi Paratha, known for its silky texture and flavourful filling, is a perfect choice. This guide will walk you through creating this delightful dish right at home.
The Secret to 'Reshmi' Dough
The word
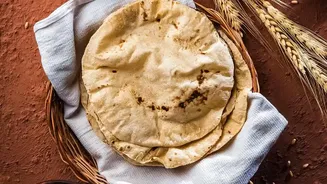
'reshmi' translates to silky, and that perfectly describes the texture of this paratha. The secret lies in creating an exceptionally soft and pliable dough. Unlike standard paratha or roti dough, the reshmi version is often enriched. To achieve this, some cooks add milk, a little cream, or even boiled and mashed potato directly into the whole wheat flour. This enrichment, along with a bit of ghee or oil and kneading with warm water, results in a smooth, elastic dough that is a pleasure to work with and yields a melt-in-your-mouth final product. Letting the dough rest for at least 20-30 minutes is a crucial step; it allows the gluten to relax, making the parathas easier to roll and ensuring they cook up soft rather than tough.
Preparing the Flavourful Filling
The heart of this paratha is its rich and savoury filling. The combination of fresh vegetables and soft paneer (Indian cottage cheese) makes it a complete meal. Start by grating or finely chopping vegetables like carrots, peas, and capsicum. Some recipes also use boiled and mashed potatoes as a base for the filling. The key is to ensure the vegetable mixture is relatively dry. Excess moisture can cause the parathas to tear when you roll them. To prepare the filling, sauté the vegetables with spices like cumin seeds, turmeric, garam masala, and chilli powder until they are cooked and the moisture has evaporated. Finally, fold in crumbled or grated paneer and freshly chopped coriander. Allow the mixture to cool completely before you begin stuffing the parathas.
Assembling the Parathas
Once your dough has rested and the filling is cool, it’s time for assembly. Divide the dough and the filling into equal-sized portions. Take a ball of dough and flatten it into a small disc, about 4 inches in diameter. Place a portion of the vegetable and paneer filling in the center. The trick is to not overfill it, which can make sealing a challenge. Carefully bring the edges of the dough up and around the filling, pleating as you go, until the filling is completely encased. Pinch the top to seal it securely. Gently flatten the stuffed ball, dust it with a little dry flour, and then carefully roll it out into a larger circle. Try to apply even pressure to prevent the stuffing from breaking through the dough.
Cooking to Perfection on the Tawa
Cooking the paratha on a tawa (a flat Indian griddle) is what gives it its characteristic texture and golden-brown spots. Preheat your tawa over a medium flame; a tawa that is too hot will burn the outside before the inside cooks, while one that isn't hot enough will make the paratha dry. Place the rolled paratha on the hot tawa and cook for about 30-60 seconds, until you see small bubbles start to form on the surface. Flip it over and cook the other side for another minute. Now, spread a little ghee or oil on the top surface, flip it again, and gently press down with a spatula. This helps it cook evenly and puff up. Apply ghee to the other side as well and continue flipping and cooking until both sides are a beautiful golden brown and crisp in spots.