





It All Begins with Skin Prep
The smoothest makeup application starts before a single drop of foundation is used. A well-prepared canvas is essential because hydrated, happy skin requires less makeup to look its best. When skin is dehydrated, makeup can cling to dry patches, resulting
in an uneven, textured appearance. Your pre-makeup routine should be simple but effective: start by washing your face with a gentle cleanser to remove any oil or residue that could interfere with application. Follow up with a hydrating moisturiser suited to your skin type. This step is crucial as it allows makeup to blend seamlessly. Allow your skincare products a few minutes to fully absorb before moving on to primer. A good primer creates a smooth base, helping makeup grip better and last longer.
The 'Less Is More' Philosophy
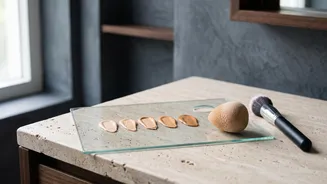
The most common mistake that leads to a heavy finish is using too much product at the outset. The golden rule of layering is to start with a minimal amount and build coverage only where it's truly needed. Think of it like painting: you apply thin, even coats rather than one thick layer. Dispense a very small amount of foundation—about a pea-sized drop—onto the back of your hand. This warms the product and gives you full control over how much you pick up with your brush or sponge. By applying products gradually, you maintain a fresh, natural look without overdoing it. This approach is far more effective than trying to blend out a large amount of product, which often just pushes it around the face and causes it to settle into fine lines.
Master the Order of Application
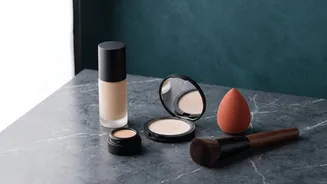
While there are no strict rules, a generally accepted order helps ensure products blend smoothly and wear evenly. The standard sequence is to apply liquid and cream products first, then set them with powders. This is because creams and liquids are designed to be blended together, while powders are meant to set them and reduce shine. A typical everyday routine would look like this: after skincare and primer, apply your liquid or cream foundation. Next, use concealer for targeted coverage, such as under the eyes or on blemishes. Follow with any cream bronzer or blush. Once all your cream products are blended, you can then selectively apply powder to set the makeup, focusing mainly on the T-zone or areas prone to oiliness.
The Right Tools for a Light Touch
How you apply your makeup is just as important as the products themselves. The tools you choose can dramatically affect the finish. For the lightest, most skin-like application, a damp beauty sponge is an excellent choice. It sheers out the product and presses it into the skin for a seamless blend, preventing a cakey look. Brushes offer more precision and control. A foundation brush can help you apply product evenly, while a smaller concealer brush is perfect for spot treating. Even your fingers can be great tools, as the warmth helps to melt cream products into the skin for a very natural finish. Investing in quality tools can significantly reduce the amount of product you need, as they apply it more efficiently and smoothly.
Apply Strategically, Not Uniformly
A natural makeup look is not about creating a uniform mask. To avoid this, apply foundation strategically. Start at the center of your face—around the nose and on the cheeks—and blend outwards towards your hairline. This concentrates coverage where it's often needed most (to cover redness) and allows it to fade into your natural skin at the edges of your face. Similarly, only apply concealer where you need it, rather than in large triangles under the eyes. This technique ensures your face retains its natural dimension and avoids the flat, heavy appearance that comes from a single, thick layer of product all over.