


Start with the Right Pea
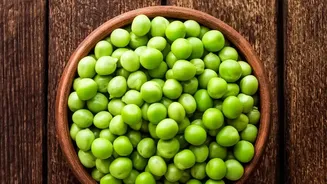
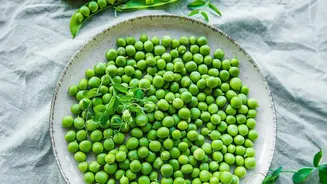
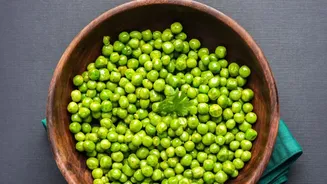
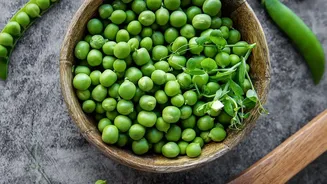
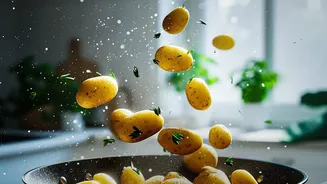
The journey to crispy perfection begins with your choice of pea. While you can use fresh peas, most seasoned snack makers find that frozen green peas work best for this recipe. They are convenient, available year-round, and their texture holds up beautifully
during the roasting process. If you do opt for fresh-shelled peas, it's a good idea to blanch them in boiling water for a couple of minutes first, then pat them completely dry. The goal is to start with a pea that is ready to shed its moisture, which is the secret to achieving that coveted crunch. For this method, a standard bag of frozen garden peas is your ideal starting point.
The Crucial Drying Step
This is the single most important part of the process. Moisture is the enemy of crispiness, so you must get your peas as dry as possible before they see any heat. After thawing your frozen peas—a quick rinse under warm water in a colander works well—spread them out on a clean kitchen towel or a few layers of paper towels. Gently blot them to remove excess water. For best results, let them air-dry for an additional 30 to 40 minutes. This extra patience allows any remaining surface moisture to evaporate, ensuring the peas roast and dehydrate rather than steam in the oven. Do not skip this step; it makes all the difference between a chewy pea and a truly crispy one.
Seasoning for Success
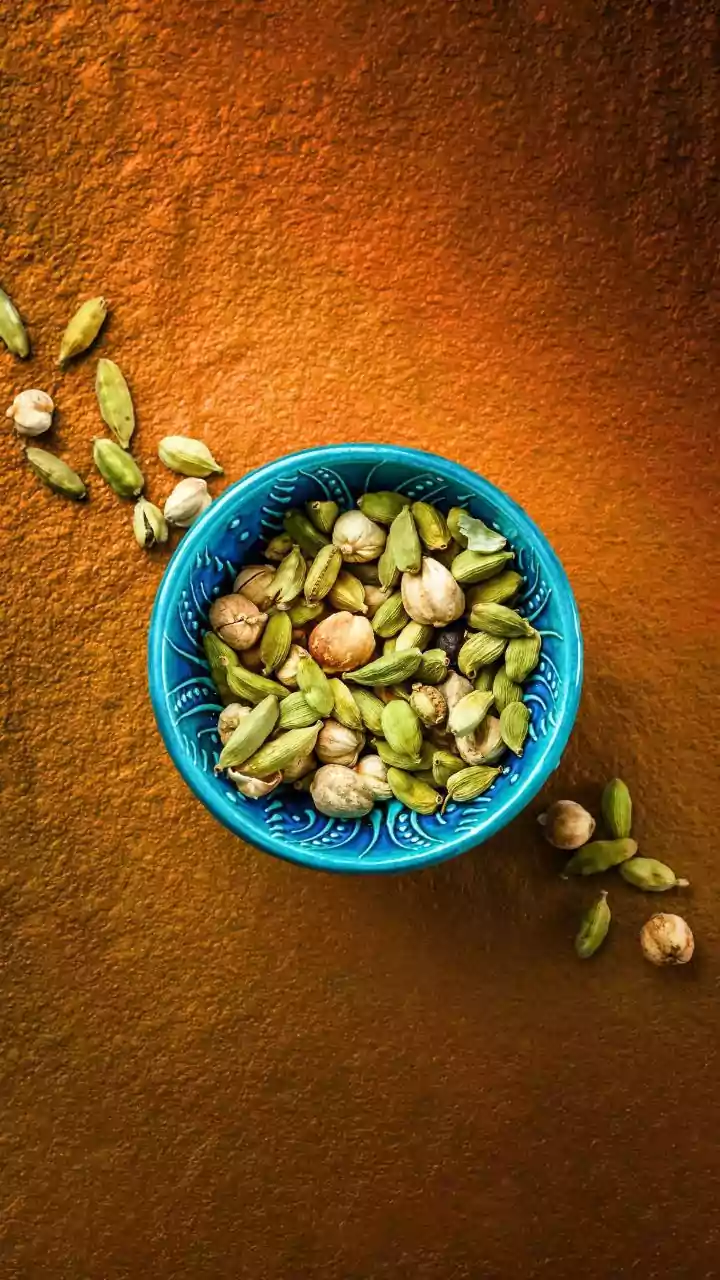
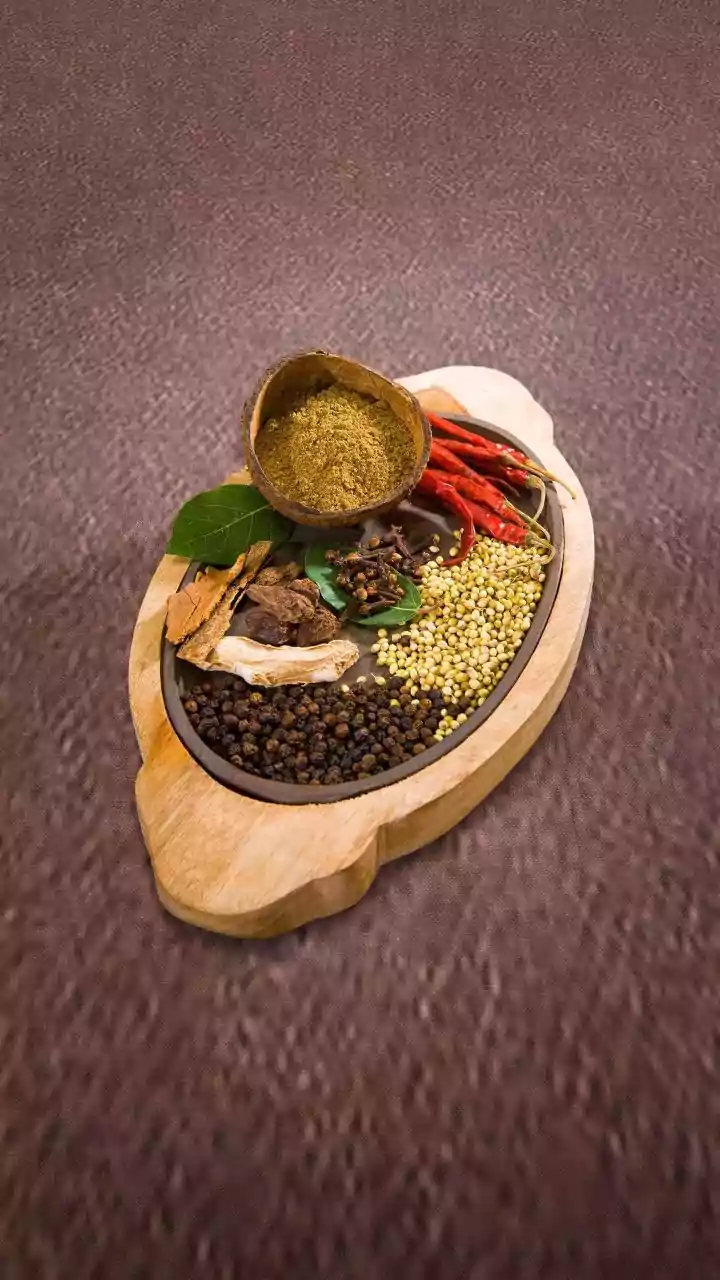
Once your peas are thoroughly dry, it's time to add flavour. Place them in a mixing bowl and toss with a light coating of oil. Olive oil, avocado oil, or even melted coconut oil will work well. The oil helps the seasonings adhere and promotes even browning. A simple combination of salt, black pepper, and garlic powder is a delicious starting point. However, the possibilities are nearly endless. For a smoky flavour, add a dash of paprika or chili powder. For a cheesy, savoury twist without the dairy, try a sprinkle of nutritional yeast. Other fantastic options include onion powder, cumin, or even Indian spice blends like garam masala. Toss everything together until the peas are evenly coated.
Roasting to Golden Perfection
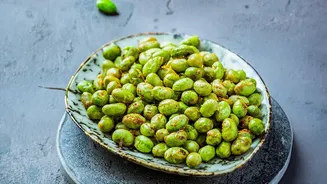
To achieve a deep, satisfying crunch, spread the seasoned peas in a single, even layer on a baking sheet. Overcrowding the pan will trap steam and prevent them from crisping up. Preheat your oven to around 190-200°C (375-400°F). Roasting times can vary, but a good baseline is 30 to 45 minutes. It's essential to shake the pan or stir the peas every 10 to 15 minutes to ensure they cook evenly, as the ones on the edges tend to crisp up faster. Keep a close eye on them towards the end of the cooking time; they can go from perfectly golden to overdone quite quickly. The peas are ready when they are shrunken, slightly golden-brown, and make a rattling sound when you shake the pan.
Alternative Method: The Air Fryer
If you have an air fryer, you can achieve crispy results even faster. After drying and seasoning the peas, preheat your air fryer to around 200°C (400°F). Place the peas in the air fryer basket, making sure not to overcrowd it. Cook for about 15 minutes, shaking the basket every 5 minutes to ensure all the peas are exposed to the hot, circulating air. Air fryer cooking times can differ based on the model, so start checking for crispiness after about 10 minutes. The result is a wonderfully crunchy snack with minimal effort.
Cooling, Serving, and Storing
Once you remove the peas from the oven or air fryer, they will continue to crisp up as they cool. Allow them to rest on the baking sheet for at least 10 minutes for maximum crunch. These crispy bites are fantastic on their own as a healthy, high-fibre snack. They also make an excellent topping for salads, soups, or pasta dishes, adding a delightful texture and flavour. To store them, let the peas cool completely and then place them in an airtight container at room temperature. They will be at their crunchiest on the day they are made but can last for several days.