



The Powerhouse Flour
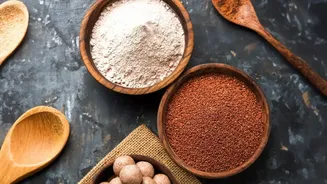
Ragi, or finger millet, has surged in popularity as a health-conscious choice for modern kitchens. This ancient grain is a nutritional heavyweight, celebrated for being naturally gluten-free and packed with nutrients. It boasts an impressive amount of
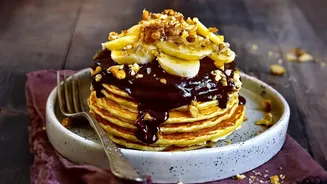
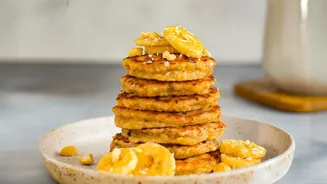
calcium—significantly more than other cereals—making it excellent for bone health. It's also a rich source of iron, protein, and dietary fibre. This profile makes it a fantastic addition to any diet, especially for growing children, pregnant women, and anyone looking to boost their nutrient intake. The switch from refined flour to ragi in breakfast staples like pancakes is an easy way to make a meal more wholesome without sacrificing comfort.
Why Ragi Behaves Differently
Working with ragi flour isn't the same as working with all-purpose or whole wheat flour. The key difference is the absence of gluten. In traditional pancakes, gluten forms an elastic network that traps air bubbles from leavening agents like baking powder, which creates a light, fluffy structure. Since ragi is gluten-free, it relies on different properties for its structure. Ragi flour is very absorbent and has a high water-binding capacity. The texture of ragi pancakes comes from the hydration of its starches and proteins. This unique characteristic is precisely why the mixing technique is so crucial.
The Overmixing Trap Explained
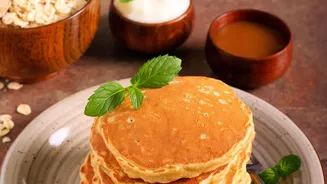
The headline claim is true: overmixing ragi pancake batter is a fast track to a dense, chewy result. When you vigorously mix batter made with wheat flour, you develop too much gluten, making the pancakes tough. With gluten-free ragi, a different problem occurs. Over-agitating the batter can cause the starches in the flour to release and absorb too much liquid too quickly. This doesn't create a light, airy network; instead, it results in a gummy, heavy batter that struggles to rise on the griddle. Furthermore, excessive mixing knocks out the delicate air bubbles created by your baking powder or soda, which are essential for lift. The result is a flat, dense pancake rather than a light and tender one.
How to Mix Your Batter Perfectly
The path to perfect ragi pancakes is paved with gentle handling. Most successful recipes follow a simple rule: mix just until the ingredients are combined. First, combine all your dry ingredients (ragi flour, leavening, salt, and any spices) in a large bowl. In a separate, smaller bowl, whisk your wet ingredients (milk, eggs or a substitute like mashed banana, and melted butter or oil). Pour the wet ingredients into the dry ingredients and fold them together with a spatula or a whisk. Stop mixing as soon as you no longer see streaks of dry flour. A few lumps in the batter are not only acceptable—they’re a sign you’ve done it right. Those little pockets of unmixed flour will hydrate as the batter rests and cooks, disappearing into the final product.
More Secrets to Light and Fluffy Results
Beyond proper mixing, a few other techniques can elevate your ragi pancakes. First, let the batter rest for 5 to 10 minutes after mixing. This allows the ragi flour to fully hydrate, resulting in a better texture and fluffier pancakes. Many recipes also benefit from combining ragi with a lighter flour, such as whole wheat or oat flour, to soften the final texture. Using a moist ingredient like mashed ripe banana or yogurt can also contribute to a softer, more tender crumb. Finally, cook the pancakes on medium heat. If the pan is too hot, the outside will burn before the inside has a chance to cook through and rise. Wait until bubbles form and pop on the surface before flipping.