






Recognising the Danger Signs
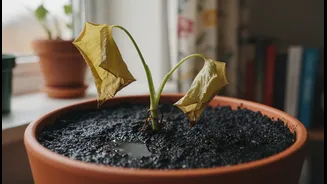
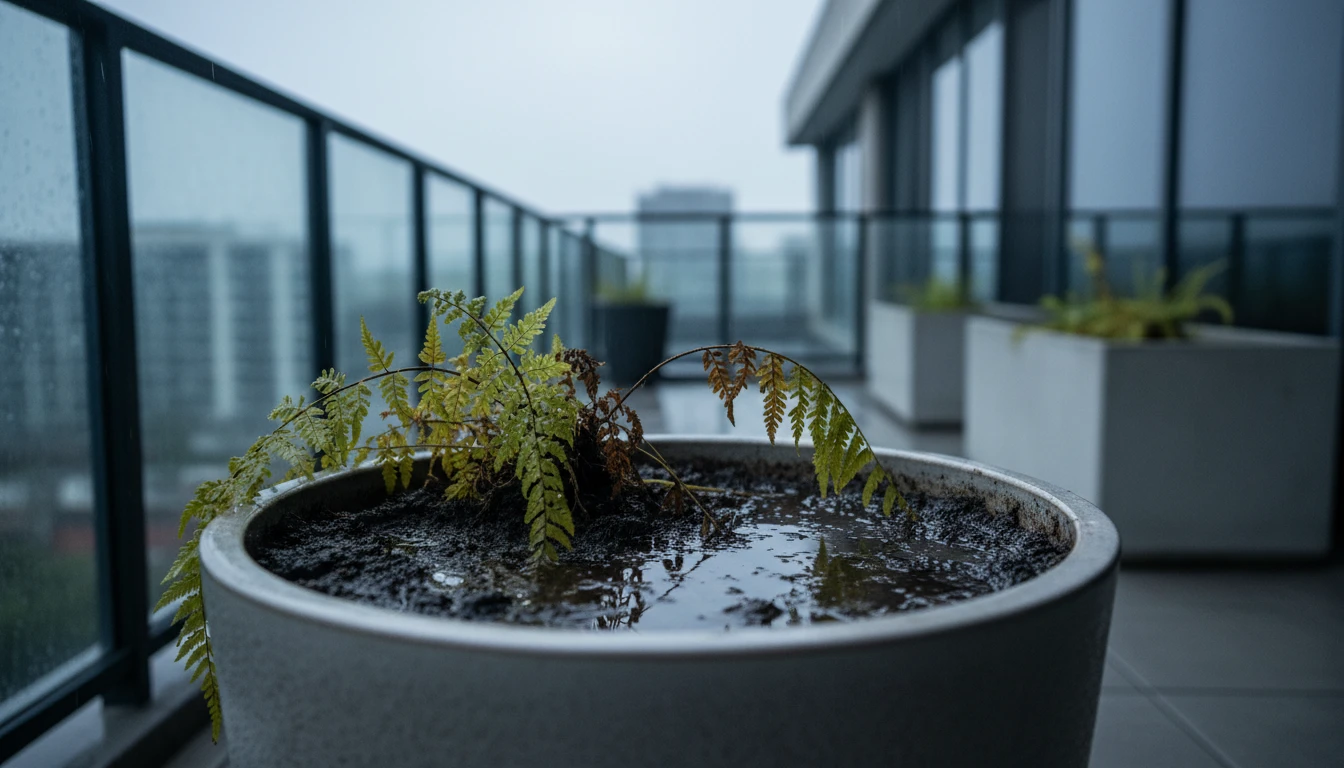
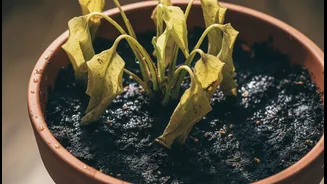
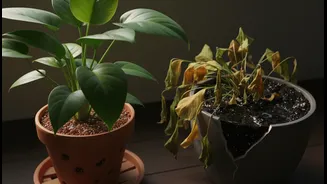
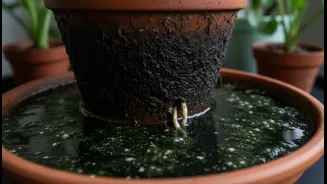
A pot that stays wet is a breeding ground for problems. The most immediate danger is root rot, a condition where roots suffocate from a lack of oxygen and begin to decay. A healthy plant can look sick with surprising speed. Telltale signs of a waterlogged
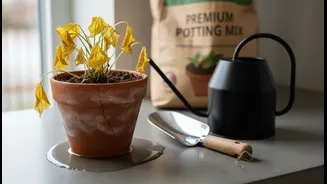
plant often mimic those of an underwatered one. You might notice leaves turning yellow and dropping, or the entire plant looking wilted and sad despite the soil being damp. Other clues include a sour or rotten smell coming from the soil, the appearance of fungus or algae on the surface, and a stem base that feels soft or mushy. If you see fungus gnats hovering around, that's another sign that the soil has been too wet for too long. The ultimate confirmation comes from checking the roots themselves: healthy roots are typically white and firm, while rotting roots will be brown or black, soft, and may fall apart when touched.
Why Drainage Fails in Pots
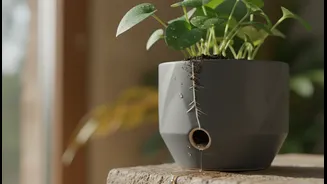
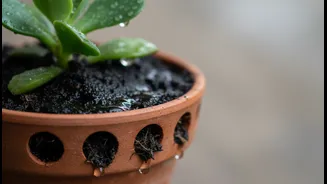
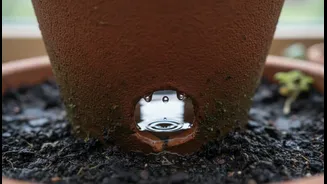
Before you can fix the problem, you need to understand its cause. The most obvious culprit is the pot itself. Many decorative pots are sold without drainage holes, which is a guaranteed recipe for waterlogging. Even if a pot has a hole, it can become blocked by compacted soil or roots. Another common issue is using a pot that is too large for the plant; the excess soil holds moisture that the plant's roots can't absorb, creating a perpetually damp environment. The type of soil you use is also critical. Heavy garden soil compacts easily in pots, preventing water from escaping. A good potting mix should be light and contain ingredients like perlite, bark, or vermiculite to create air pockets that allow water to drain freely. Finally, it's time to debunk a persistent myth: adding a layer of gravel to the bottom of a pot does not improve drainage. In fact, scientific studies have shown it does the opposite. Water does not move easily from the fine-textured potting soil to the coarse gravel below, creating a 'perched water table' that keeps the lower layer of soil saturated and actually raises the waterlogged zone closer to the plant's roots.
Emergency Rescue for Your Plant
If you suspect your plant is waterlogged, immediate action is necessary. First and foremost, stop watering. Gently remove the plant from its pot to assess the situation. If the soil is saturated, you need to help it dry out. You can carefully lay the plant on its side, perhaps on a stack of newspapers, to allow air to circulate and the paper to wick away moisture. This is also your chance to inspect the roots. Using clean, sharp scissors or pruners, trim away any roots that are brown, black, or mushy. Don't be afraid to remove a significant portion of the root ball if the rot is extensive; this is crucial for the plant's survival. If the rot is severe, you may even consider rinsing the old, potentially contaminated soil off the remaining healthy roots before repotting. Let the healthy roots air out for a few hours before proceeding to the next step.
Repotting for Long-Term Health
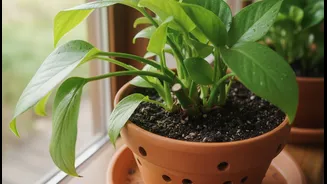
Once the root system has had a chance to dry, it's time to repot into a healthier environment. Choose a new pot that has ample drainage holes. If you're reusing the old pot, be sure to clean it thoroughly. The new pot should only be slightly larger—about 2-5 cm wider in diameter—than the plant's root ball. Use a fresh, high-quality potting mix designed for containers. To improve aeration and drainage further, you can mix in extra perlite, pumice, or orchid bark. Fill the bottom third of the new pot with this fresh mix, create a small mound, and then place the plant on top, spreading the roots out. Fill in around the plant with more soil, gently firming it down to eliminate large air pockets without compacting it. Water the newly repotted plant thoroughly until you see water flowing freely from the drainage holes, then empty any excess water from the saucer. This first watering helps the soil settle around the roots.
Smart Watering and Future Prevention
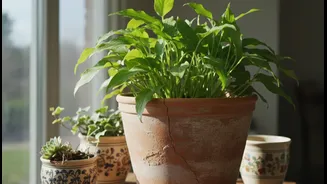
The key to avoiding future waterlogging issues is to change your watering habits. Instead of watering on a strict schedule, check the soil first. The simplest method is the finger test: stick your finger about an inch or two into the soil. If it feels damp, wait to water. If it's dry, it's time to give your plant a drink. When you do water, do so thoroughly. Pour water over the entire soil surface until it runs out the bottom. This encourages deep root growth. Always discard the water that collects in the saucer; never let the pot sit in standing water. Pot material can also make a difference. Porous pots like unglazed terracotta allow soil to dry out faster than plastic or glazed ceramic ones, which retain more moisture. Adjust your watering frequency based on the season, light levels, and temperature, as plants in bright, warm conditions will use water much more quickly than those in low-light, cool areas.