





The Power Of The Part
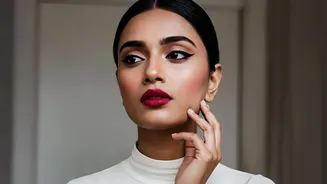
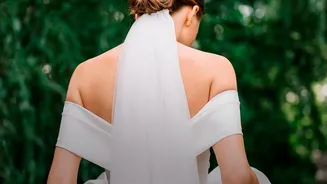
A sleek low bun is the epitome of sophisticated, minimalist style, seen everywhere from runways to red carpets. It is versatile enough for a day at the office, a casual brunch, or a formal wedding. While the bun itself is simple, its execution makes all
the difference. A crisp, intentional parting is what separates a hastily thrown-together look from a high-fashion statement. Whether you choose a sharp center part for a modern, symmetrical feel or a deep side part for a touch of classic glamour, getting this line perfectly straight is the foundation of a polished finish. It frames the face, creates clean lines, and signals that every detail of your look is deliberate.
Your Essential Toolkit
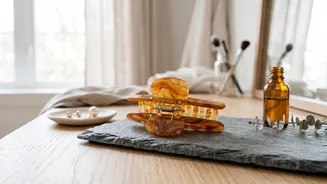
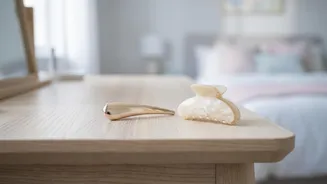
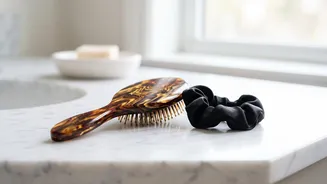
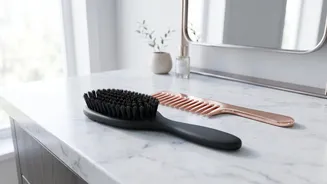
Achieving this level of polish does not require a professional stylist, but it does call for the right tools. Before you begin, gather your essentials. A rat-tail comb is non-negotiable for creating that precise part. You will also need a boar bristle brush to smooth down hair and eliminate bumps, a fine-tooth comb for refining, and your choice of elastics and U-pins or bobby pins to secure the bun. For products, a good styling gel or cream will help tame the hairline, a wax stick is invaluable for targeting stubborn flyaways, and a flexible-hold hairspray will provide the final seal without making your hair crunchy or stiff.
Step 1: Prepare The Hair
For the sleekest results, it is often best to work with second-day hair, as it has more grip than freshly washed strands. If your hair is clean, add a bit of texture with a light mousse or styling cream. To combat frizz and ensure a smooth surface, you might want to apply a heat protectant and quickly run a straightener over the top layer and hairline. This step makes the hair more compliant and is a key trick for preventing bumps at the crown. Once prepped, brush your hair thoroughly to remove any tangles.
Step 2: Master The Perfect Part
This is the most crucial step. Decide whether you want a middle or side part. For a middle part, place the tail of your comb at the center of your hairline, aligning it with the bridge of your nose for symmetry. For a side part, align the comb with the arch of your eyebrow. Press the tip of the comb firmly but gently against your scalp and draw a straight line back towards the crown of your head. Do not lift the comb until you have completed the line. Use your fingers to separate the two sections of hair cleanly along the new part. Apply a small amount of gel or cream along the part line to keep it sharp and control flyaways.
Step 3: Create The Sleek Bun
With your part established, use a boar bristle brush to smooth your hair back into a low ponytail at the nape of your neck. The brush is key to achieving that bump-free, 'snatched' look. Secure the ponytail tightly with an elastic. Now, twist the ponytail from base to ends until it forms a tight rope. Coil this twisted rope around the base of the elastic, creating the bun. Secure the end of the coil with bobby pins or U-pins, inserting them into the base of the bun to hide them from view. For a fuller-looking bun, you can gently 'pancake' or pull on the coil before pinning it.
Step 4: The Finishing Touches
A polished look is all about the details. Take a final look in the mirror. Use a wax stick or a clean toothbrush spritzed with hairspray to smooth down any remaining flyaways around your hairline and nape. A light mist of a shine spray or flexible-hold hairspray over the entire head will lock everything in place and give your bun a professional, glossy finish. Smooth your palms over your hair one last time to ensure everything is perfectly flat and sleek. This final touch helps meld the products and hair together for a seamless look that lasts all day.