




The Joy of Making More Plants
Why buy new plants when you can create them for free? Propagation is the simple process of growing new plants from pieces of a parent plant, such as stems or leaves. It’s a fantastic way to expand your own indoor jungle, rescue parts of a struggling plant, or create heartfelt,
living gifts for friends and family. Beyond the practical benefits, the act of watching a small cutting sprout new roots and grow into a full plant is deeply satisfying, connecting you more closely to the natural world right inside your home.
Choosing Your Easiest Candidates
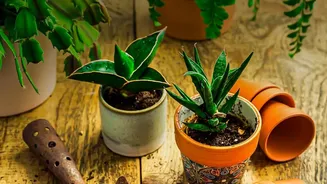
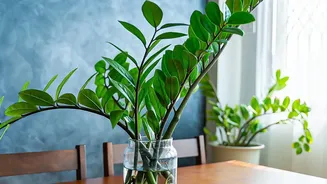
While many plants can be propagated, some are famously easy-going for beginners. Start with hardy houseplants that root readily to build your confidence. Excellent choices include Pothos, Philodendron, and Tradescantia (Wandering Dude), which often root quickly in just a glass of water. Other reliable options are Snake Plants, Succulents, and ZZ Plants, which can be propagated from leaf cuttings. Choosing a healthy, mature parent plant is crucial; avoid taking cuttings from plants that are stressed, diseased, or unhealthy.
The Two Main Methods: Water vs. Soil
There are two primary ways to root your cuttings: in water or directly in soil. Water propagation is popular because it’s visually rewarding—you can watch the roots grow day by day. However, these 'water roots' are finer and can experience shock when transferred to soil. Propagating directly in soil leads to stronger, more robust roots that are already adapted to their final environment, though it requires more attention to moisture levels and you can't see the progress. For beginners, water propagation with a hardy vine like a Pothos is often the most foolproof starting point.
A Step-by-Step Guide to Water Propagation
Ready to try? First, gather your tools: a clean, sharp pair of scissors or shears and a glass jar or vase. Identify a healthy vine on your parent plant. Look for the node—a small bump on the stem where a leaf grows from. This is where new roots will emerge. Make a clean cut with your shears about an inch below a node. Remove any leaves that would sit below the waterline to prevent rot. Place the cutting in your jar of water, ensuring at least one node is submerged. Put the jar in a spot with bright, indirect light and change the water weekly. In a few weeks, you should see roots! Once they are about two inches long, you can transplant your new plant into soil.
Common Mistakes and How to Avoid Them
If your cuttings fail, don't be discouraged. It's often due to a few common errors. The most frequent mistake is not including a node on the cutting; without a node, most plants cannot produce roots. Using dull or dirty tools can crush the stem or introduce bacteria, leading to rot. Always sterilize your scissors with rubbing alcohol first. Another issue is impatience. Some plants take weeks or even months to root, so give them time and resist the urge to disturb them too often. Finally, ensure your cuttings get bright, indirect light. Too much direct sun can scorch them, while too little light will hinder root development.