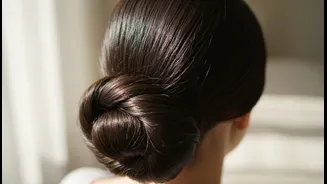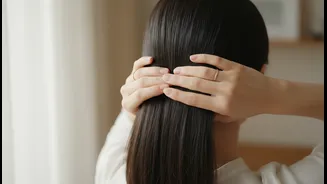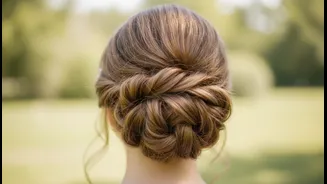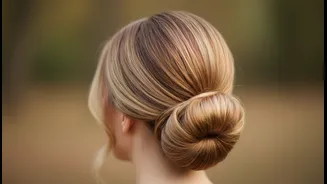



The Beauty of Simplicity
Why has this particular style become a go-to for so many? Its appeal lies in its beautiful paradox: it looks sophisticated and intentionally styled, yet it can be created in mere minutes with nothing more than your own two hands. Unlike tight, severe
buns that can pull at your scalp and cause breakage, a loose twist is gentler on your strands. It works with your hair's natural texture rather than fighting against it, creating a soft, flattering silhouette that can take you from a workday at the office to a casual coffee run or an evening dinner. This style is the epitome of 'less is more,' proving that you don’t need a drawer full of gadgets to achieve a polished look.
Prepping for the Perfect Twist
While this bun requires no special tools, a little preparation can help it look its best and last all day. The style often holds better on hair that isn't freshly washed, as the natural oils provide a bit of grip. If your hair is clean and silky, a light mist of texturizing spray or a touch of dry shampoo at the roots can add the volume and hold needed to keep the bun in place. Before you begin, simply brush or finger-comb your hair to remove any major tangles, ensuring a smooth and even base to work with. The goal isn't perfect sleekness, but a smooth foundation will make the twisting process much easier.
The Step-by-Step Guide to the Twist Bun
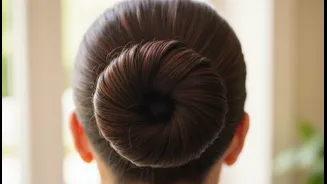
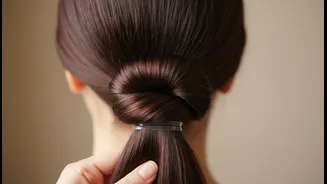
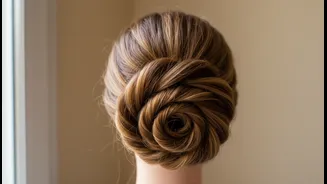
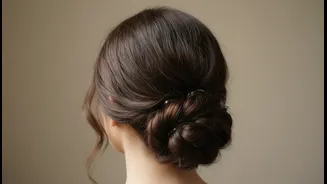
Ready to master the technique? It’s simpler than it looks. First, gather your hair into a low or mid-height ponytail, holding it securely at the base with one hand. You don't necessarily need a hair tie for this initial step. With your free hand, begin twisting the entire length of the ponytail. The tightness of the twist determines the final look; a looser twist will result in a softer, fuller bun, while a tighter twist creates a more compact, sleek knot. Once your hair is twisted from base to ends, begin coiling the twisted section around the base of the ponytail, creating the bun shape. As you coil the hair, it will naturally form a neat or messy bun depending on your twist. Finally, when you have a small tail of ends left, simply tuck them securely into the base of the bun or underneath the coil you've created. Many find the bun holds itself in place this way, especially with longer hair.
Tips for Extra Security
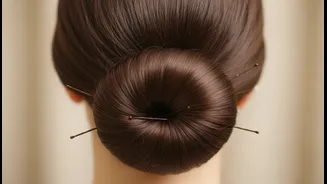
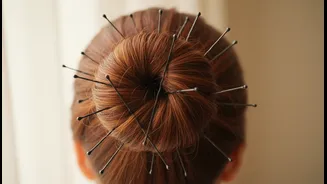
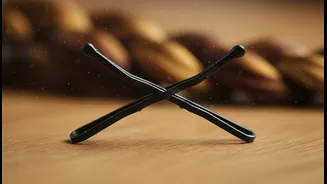
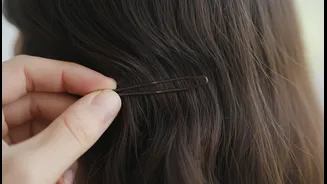
While the core method is tool-free, some hair types might need a little extra help to feel secure. If you have very thick, heavy hair or fine, silky hair, the bun might try to unravel over time. After tucking the ends, you can discreetly insert one or two bobby pins to lock the style in place. The key is that the pins are for securing, not for shaping—the twist has already done the hard work. Another popular method involves using a hair stick; after forming the bun, you can weave a single stick through the edge of the bun, under the base, and out the other side to anchor it firmly. For those who prefer an elastic, you can start with a loose ponytail secured with a hair tie before twisting and wrapping.
Customising Your Look for Any Occasion
The basic twisted bun is a blank canvas. To make it your own, consider small adjustments that align with your personal style or the occasion. For a softer, more romantic feel, gently pull out a few face-framing strands before you start twisting. For a more voluminous, 'messy bun' aesthetic, gently tug and pinch at the coiled sections to loosen them up, creating more texture and fullness. To transition the style from day to night, you can easily add an accessory. A decorative clip, a few floral pins, or even a silk scarf tied around the base of the bun can instantly elevate the look, making it suitable for a more formal event or a festive celebration.