




Start with a Soft, Rested Dough
The foundation of any great paratha is the dough. Street vendors and dhaba cooks know that the perfect texture starts here. The goal is a soft, pliable dough that is easy to roll without being sticky. This is typically achieved with whole wheat flour
(atta), salt, a little oil or ghee, and warm water. Using warm water helps create a softer dough. But the most critical, non-negotiable step is resting. After kneading, the dough must be covered and allowed to rest for at least 20-30 minutes. This period allows the gluten to relax, making the dough more elastic and preventing it from springing back when you roll it. A rested dough is not only easier to handle but also cooks more evenly, leading to a softer, less chewy paratha.
The Art of Creating Layers
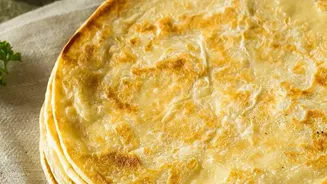
What separates a paratha from a simple roti are its layers. This is pure technique. The most popular method is for a 'lachha' or layered paratha. After rolling the dough into a large, thin circle, a generous layer of ghee or oil is spread across the surface. This fat is what separates the dough during cooking, creating the flaky texture. A light dusting of dry flour over the ghee helps define the layers even more. The oiled disc is then pleated like a paper fan, from one edge to the other. This pleated strip is gently stretched, then coiled into a tight spiral, resembling a snail's shell. After another brief rest, this coil is gently rolled out into the final paratha. It's important not to press too hard during this final roll, as that can compress the layers you just worked to create.
Keep the Fillings Simple but Bold
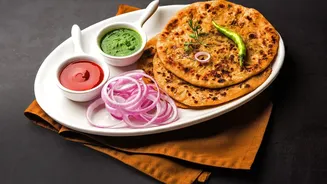
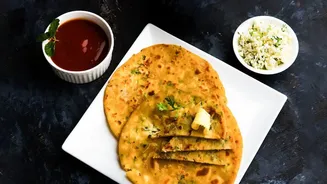
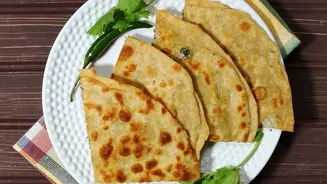
If you're making a stuffed paratha, the dhaba-style philosophy is to use simple fillings with a punch of flavour. Think spiced mashed potatoes (aloo), grated cauliflower (gobi), or paneer. The key is to ensure the filling is relatively dry. Excess moisture can make the dough soggy and cause it to tear during rolling. Dhaba cooks often squeeze out excess water from vegetables or even add a tablespoon of roasted gram flour (besan) to the filling to absorb any extra moisture. The seasoning is what makes it special, often a mix of basics like chilli powder, coriander, garam masala, and perhaps some tangy amchur (dried mango powder) or anardana (dried pomegranate seeds). The filling should be flavourful enough to stand on its own but not so complicated that it overpowers the buttery flavour of the paratha itself.
Mastering the Sizzle in the Pan
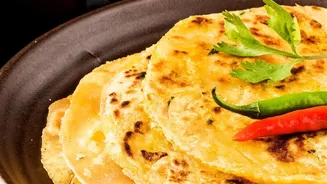
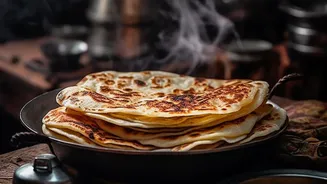
How you cook the paratha is just as important as how you prepare it. A heavy-bottomed pan or a traditional tawa is essential. The heat needs to be right—medium-high is the sweet spot. If the heat is too low, the paratha will become dry and hard; if it's too high, it will burn on the outside before the inner layers cook through. The paratha is first placed on the dry, hot tawa. Once small bubbles start to appear, it's flipped. Now, ghee or oil is applied. The paratha is flipped and pressed gently with a spatula, encouraging it to puff up. This puffing action helps steam cook the inside layers, making them soft. This process is repeated until both sides have golden-brown, crispy spots. That signature crispiness comes from the generous use of ghee and the consistent heat.
The Finishing Touch
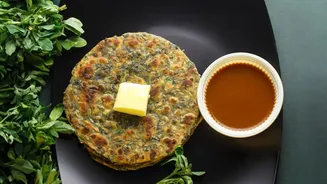
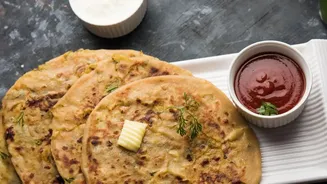
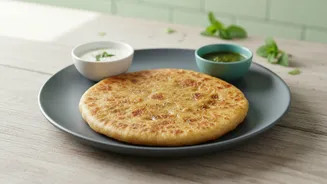
The final step is a simple one, but it makes all the difference. Once the paratha is hot off the tawa, it’s given a gentle crush. By holding it between your palms and giving it a quick scrunch, you instantly open up all the flaky layers you worked so hard to create. This releases steam and makes the texture irresistibly crisp and airy. Street vendors often do this right before serving, handing you a perfectly layered, steaming paratha that’s ready to be pulled apart. Served simply with a dollop of yogurt, a bit of pickle, or a hot cup of chai, it’s a culinary experience built not on a long list of ingredients, but on time-honoured technique.