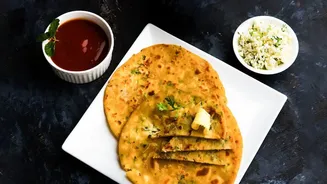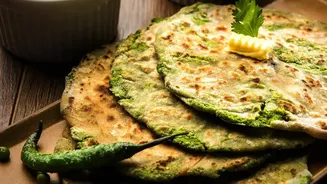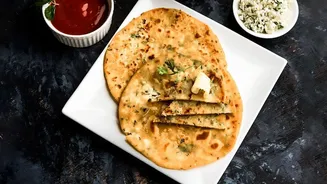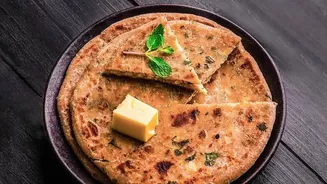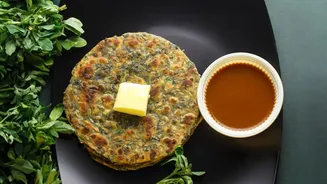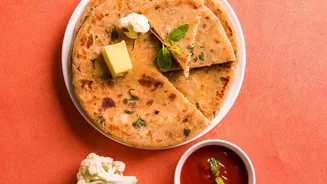




The Genius of the Paratha
The paratha is more than just a staple flatbread; it's a culinary canvas. Its structure is perfect for incorporating a wide array of fillings, turning forgotten scraps into a complete and satisfying meal. Whether you have leftover cooked sabzis, a small
amount of grated raw vegetables, or even some dal, the paratha can absorb these ingredients, giving them a new lease on life. This approach not only significantly reduces food waste but also saves time and effort, creating a new dish from something already cooked. The result is a flavourful, nutrient-packed meal for breakfast, lunch, or a light dinner.
What Leftovers Work Best?
The beauty of the mixed vegetable paratha lies in its flexibility. You can use a wide variety of leftovers. Dry or semi-dry cooked vegetable dishes like aloo gobi, matar paneer, or cabbage stir-fry are excellent candidates. Simply mash them well before using. Raw vegetables like carrots, cauliflower, cabbage, and beetroot can be grated and added to the mix. You can even use crumbled paneer or leftover dal, ensuring any excess liquid is drained. The key is to ensure the final filling mixture is not too wet, which can make the parathas difficult to roll.
Preparing the Perfect Filling
The secret to a great stuffed paratha is a well-prepared filling. For cooked sabzis, mash them thoroughly to break down any large chunks. If using raw, grated vegetables, it's a good idea to squeeze out excess moisture to prevent the dough from becoming soggy. Once your base of leftovers is ready, it's time to add flavour. A simple mix of spices can bring everything together. Consider adding finely chopped onions, ginger, green chillies, and fresh coriander leaves. Spices like cumin powder, garam masala, and aamchur (dry mango powder) can brighten up the flavours of the old sabzi. Mix everything well and taste for salt before you begin stuffing.
Two Ways to Form Your Paratha
There are two main methods for making these parathas. The first, and perhaps easier, method involves mixing the mashed vegetable filling directly into the whole wheat flour (atta) to form a single, integrated dough. This technique results in a soft paratha that is easy to roll, as there's no risk of the stuffing spilling out. The second method is the classic stuffed paratha. For this, you prepare the dough and the filling separately. You then pinch off a ball of dough, flatten it, place a portion of the filling in the centre, and seal the edges together before rolling it out. This method gives you a distinct layering of dough and filling.
Tips for Soft, Unbroken Parathas
The biggest challenge with stuffed parathas is preventing them from breaking while rolling. To avoid this, ensure your dough is soft and pliable. Using lukewarm water or even a bit of milk or yoghurt when kneading can help achieve this. Let the dough rest for at least 20-30 minutes after kneading; this allows the gluten to relax, making the dough more flexible. When rolling, use a light touch and apply gentle, even pressure, focusing more on the edges. If the filling is too moist, you can add a little gram flour (besan) or breadcrumbs to absorb the excess water. Finally, make sure the filling has cooled completely before you start stuffing, as hot filling can cause the dough to tear.
Cooking to Golden Perfection
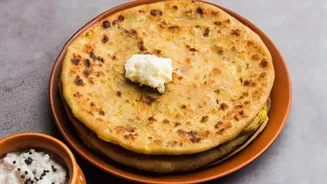
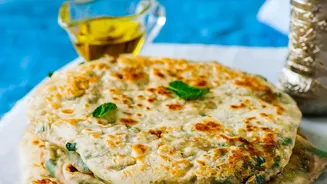
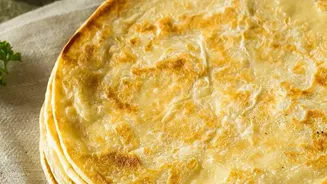
Cook your parathas on a hot tawa over medium to high heat. Cooking them on a flame that's too low will make them hard. Place the rolled paratha on the hot tawa and cook for about a minute until the top begins to change colour. Flip it, apply ghee or oil to the semi-cooked side, and flip again. Gently press the edges with a spatula to ensure it cooks evenly. Cook until both sides are golden brown and have crispy spots. The entire process for one paratha should be relatively quick to ensure it remains soft.