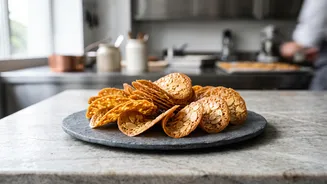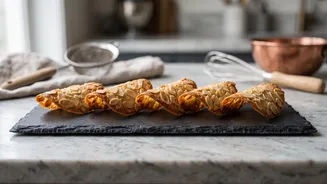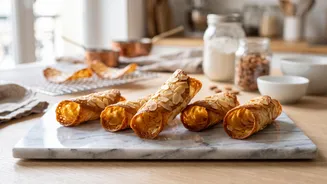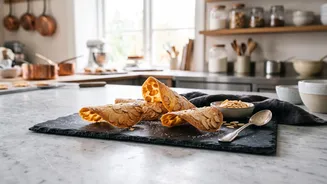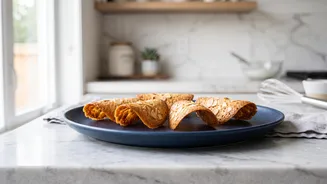






Elegant, impossibly thin, and shatteringly crisp, French almond tuiles seem like a treat reserved for fancy patisseries. But these delicate cookies are surprisingly achievable in a home kitchen with just a few simple ingredients.
An Elegant French Classic
A tuile (pronounced 'tweel')
is a classic French wafer, whose name means 'tile' in English. This is a nod to their traditional curved shape, which resembles the terracotta roof tiles found across the French countryside. Composed of a simple batter of sugar, egg whites, flour, and butter, these cookies are prized for their delicate texture and versatility. While pliable and warm from the oven, they can be draped over a rolling pin to create the signature curve, or even shaped into cones and bowls to hold ice cream or mousse. Once cooled, they develop a satisfying snap that provides a perfect textural contrast to creamy desserts.
Gathering Your Ingredients
The beauty of the tuile lies in its simplicity. You only need a handful of pantry staples to create the batter. The classic recipe calls for egg whites, sugar (either caster or confectioners'), all-purpose flour, and melted butter. This recipe focuses on almond tuiles, which get their nutty flavour and delicate texture from sliced or flaked almonds mixed into the batter. For the best results, use high-quality ingredients. Some recipes also include a splash of vanilla or a hint of orange zest to enhance the flavour.
Mastering the Thin Batter
The key to a successful tuile is a batter with the right consistency—thin and spreadable, but not watery. Start by whisking the egg whites and sugar together until just foamy, but not stiff like a meringue. Next, gently mix in the flour, followed by the cooled, melted butter and any flavourings. The final step is to fold in the sliced almonds. Some bakers recommend resting the batter in the refrigerator for at least 30 minutes. This allows the flour to hydrate fully, which helps ensure the cookies bake up into a paper-thin, lacy wafer.
Spreading and Baking to Perfection
The most critical step for achieving that signature crispness is spreading the batter as thinly as possible. Many bakers find this to be the most common pitfall; if the batter is too thick, the cookies will be chewy instead of crisp. On a baking sheet lined with parchment paper or a silicone mat, place small spoonfuls of batter a few inches apart. Use the back of a spoon or a small offset spatula to spread each dollop into a thin, translucent circle, about 3 to 4 inches in diameter. Bake in a preheated oven for just a few minutes, watching carefully. The tuiles are ready when the edges are a deep golden brown and the centers are pale.
The Art of the Shape
Here comes the most time-sensitive part of the process. Tuiles can only be shaped while they are hot and pliable, a window that lasts less than a minute after they leave the oven. Because of this, it is essential to work in small batches, baking only four to six cookies at a time. As soon as you remove the tray from the oven, use a thin metal spatula to carefully lift a cookie and drape it over a rolling pin, wine bottle, or the side of a bowl to create the classic curve. Gently press it into shape and hold for a few seconds until it sets. If your cookies harden before you can shape them, returning them to the oven for 10-20 seconds will make them pliable again.
Storing for Maximum Crispness
Due to their high sugar content and delicate structure, tuiles are very susceptible to moisture and can go soft if left exposed to the air. To maintain their wonderful crunch, allow the shaped cookies to cool completely on a wire rack before storing them. Once cool, place them in an airtight container at room temperature. Avoid storing them in the refrigerator, as the humidity can make them soggy. If they do lose some of their crispness, you can revive them with a couple of minutes in a low-temperature oven.