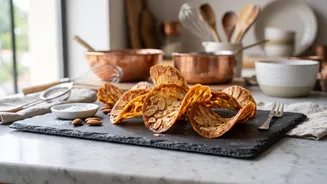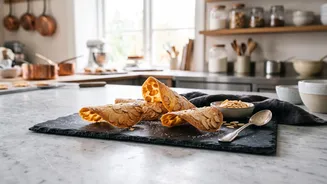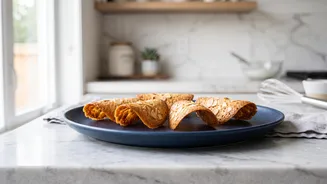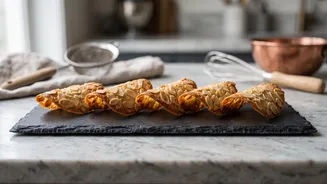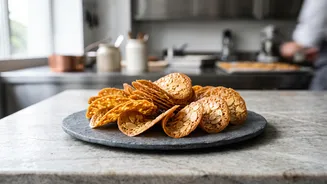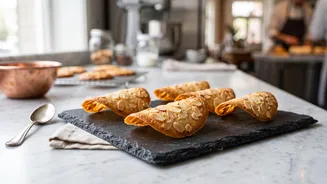




Elegant, delicate, and impossibly crisp, French almond tuiles look like they belong in a high-end patisserie window. But these sophisticated biscuits are surprisingly achievable at home, built from just a handful of pantry staples.
What Are French Tuiles?
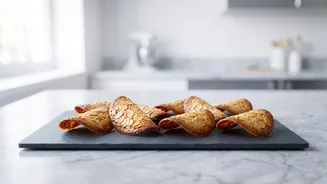
Tuiles are thin, crispy
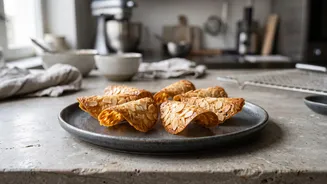
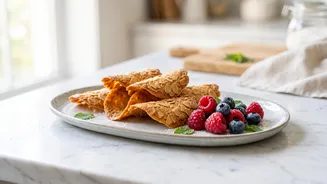
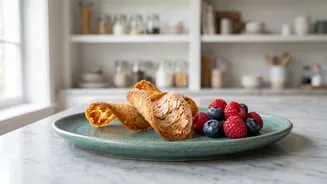
cookies named after the curved terra-cotta roof tiles seen across France, which they resemble. The batter is simple, typically made from egg whites, sugar, flour, and butter, creating a wafer-thin biscuit that’s light and delicate. While delicious flat, their signature curve makes them a stunning garnish for desserts like ice cream, mousse, or a simple cup of coffee. The key is their texture; a perfect tuile should have a satisfying snap.
The Essential Ingredients
The beauty of tuiles lies in their simplicity. You'll need just a few basic ingredients: egg whites, sugar, all-purpose flour, unsalted butter, and sliced almonds. Using blanched, slivered, or flaked almonds without the skin will give your tuiles a more refined look and even toast. Some recipes also call for a touch of vanilla or almond extract to enhance the flavour. For the best results, having your ingredients like egg whites at room temperature is recommended. Precision is key, so weighing your ingredients can make a significant difference in achieving the right texture.
The Step-by-Step Method
Making the batter is straightforward. Start by whisking the egg whites and sugar together until just foamy. There's no need to beat them into stiff peaks. Next, mix in the sifted flour, followed by the melted (but not hot) butter and any extracts. Finally, gently fold in the sliced almonds. Some chefs recommend resting the batter in the refrigerator for at least 30 minutes; this allows the flour to hydrate and makes the batter easier to spread. To bake, drop small spoonfuls of batter onto a baking sheet lined with a silicone mat or parchment paper, leaving plenty of space between them. Use the back of a spoon to spread the batter as thinly as possible—almost translucent is the goal. Bake in a preheated oven until the edges are golden brown.
The Secret to the Perfect Curve
This is the most critical and time-sensitive step. Tuiles can only be shaped while they are hot and pliable, directly out of the oven. You have a window of only a few seconds before they cool and harden. Before you even start baking, have your shaping tool ready—a rolling pin, a clean wine bottle, or even the handles of wooden spoons will work. Working quickly, use a thin metal spatula to lift one cookie at a time from the baking sheet and gently drape it over your rolling pin or bottle. You may need to hold it in place for a few moments until it sets into a curve. Because the process is so fast, it's best to bake only a few cookies at a time (4 to 6 is manageable) so you can shape them all before they cool.
Troubleshooting for Ultimate Crispness
If your tuiles come out chewy instead of crisp, there are a few likely culprits. The most common issue is that the batter was spread too thickly. Aim for a thickness of just 1–2mm for that signature snap. Another reason could be under–baking; they need to be baked until the edges are a clear golden brown. Don't worry if they seem soft right out of the oven—they crisp up as they cool. If your finished tuiles lose their crispness due to humidity, you can refresh them in a hot oven for a minute or two to bring back the crunch.
How to Serve and Store Your Creations
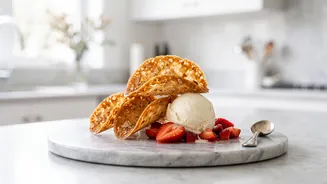
Tuiles are incredibly versatile. Serve them alongside a scoop of ice cream or sorbet, use them as a crunchy element with a creamy panna cotta or chocolate mousse, or simply enjoy them with a cup of tea or coffee. They can even be shaped into cups by draping them over the back of a small ramekin or muffin tin. To store them, wait until they are completely cool and then place them in an airtight container. Humidity is their worst enemy, so a tight seal is crucial to maintaining their crisp texture for a couple of days.