



The Golden Rule of Batter
The difference between a soft, thick pancake and a delightfully crisp chilla comes down to one thing: batter consistency. The goal is a smooth, pourable batter that is neither too thick nor too thin. Think of a consistency similar to that of a classic
dosa batter—it should flow freely from the ladle but not be watery. If the batter is too thick, it will be difficult to spread and result in a dense, heavy chilla. Conversely, if it's too watery, it may break apart in the pan and will struggle to become crisp. Getting this balance right is the most important step towards recreating that street-side magic in your own kitchen.
Soaking and Grinding: The Foundation
Your journey to the perfect chilla begins with the dal itself. Yellow split moong dal is the typical choice for its mild flavour and quick cooking time. Rinse the dal thoroughly until the water runs clear, then soak it for at least two to four hours. Some recipes suggest an overnight soak, but a few hours is generally sufficient. When it's time to grind, drain the dal completely. Add the soaked lentils to a blender with flavour-boosters like fresh ginger and green chillies. The key here is to start with very little water—just enough to get the blades moving. Blend until you have a completely smooth paste, only adding a tablespoon of water at a time if necessary to reach that perfect, flowing consistency.
Seasoning and Customising Your Chilla
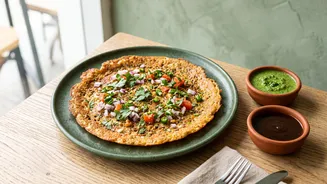
Once you have your base batter, it's time to add flavour. Classic additions include salt, turmeric powder for a beautiful golden hue, and a pinch of asafoetida (hing), which aids digestion. Many street vendors and home cooks also mix in finely chopped onions, tomatoes, fresh coriander leaves, and capsicum directly into the batter. These additions not only add flavour and texture but also boost the nutritional value. For an even crispier texture, some recipes recommend adding a tablespoon of rice flour or sooji (semolina) to the batter. Feel free to experiment with spices like cumin powder or chaat masala to find the flavour profile you love most.
The Art of the Crisp Edge
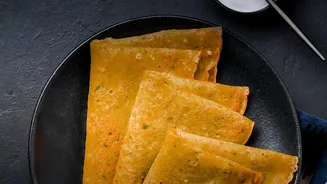
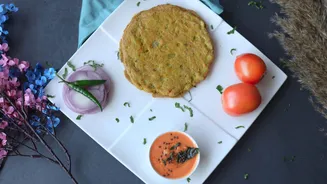
With your perfectly prepared batter ready, the final step is the cooking technique. A hot pan is non-negotiable. A well-seasoned cast-iron tawa is traditional, but a good non-stick pan works wonderfully too. Heat the pan over a medium-high flame and lightly grease it with oil or ghee. To check if it's ready, sprinkle a few drops of water; if they sizzle and evaporate instantly, you're good to go. Pour a ladleful of batter into the center of the pan. Working quickly, use the back of the ladle to spread the batter outwards in a circular motion, creating a thin, even circle. Don't make it as thin as a paper dosa, but aim for a crepe-like thickness. Drizzle a little oil around the edges, which helps them lift and crisp up.
Tips for Busy Mornings
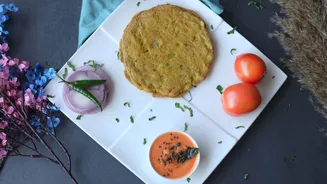
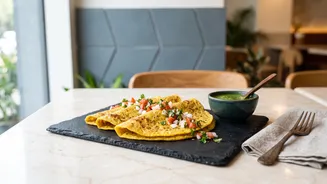
The 'busy morning' promise of moong chilla is no exaggeration. To save precious time, you can prepare the batter the night before and store it in an airtight container in the refrigerator. The batter keeps well for a day or two. When you're ready to cook, give it a good stir. It may have thickened slightly overnight, so you might need to add a tablespoon of water to bring it back to the right consistency. Each chilla cooks in just a few minutes, making it a genuinely fast and wholesome breakfast. Serve them hot off the pan with a side of green chutney, tamarind chutney, or a simple pickle for a complete and satisfying meal.