



The First Step: Roasting Rava
Before you even think about the tempering, the journey to perfect upma begins with the rava (semolina) itself. Many of the texture problems with upma, like stickiness and clumps, can be traced back to using unroasted rava. Dry roasting the rava in a pan
over a medium flame for five to seven minutes is a non-negotiable step. You are not looking to brown it, but to heat it until it becomes fragrant and the grains look dry and separate. This process does two things: it imparts a lovely nutty aroma and, more importantly, it helps prevent the semolina from becoming gummy when it hits the water. Properly roasted rava absorbs water more evenly, which is critical for avoiding lumps. You can even roast a large batch and store it in an airtight container to make your morning breakfast routine even quicker.
The Golden Ratio: Water is Key
While many traditional recipes suggest a 1:2 ratio of rava to water, this often results in a drier upma. For that soft, melt-in-your-mouth texture you find in South Indian cafes, a more generous ratio is needed. Most seasoned cooks recommend a ratio of 1 cup of rava to 2.5 or even 3 cups of water. The extra water ensures the semolina grains have enough liquid to swell up completely, resulting in a moister, fluffier dish. Another crucial tip is to always use hot, boiling water. Adding rava to cold or lukewarm water is a recipe for a pasty, sticky mess. Bring your measured water to a rolling boil—along with salt and any aromatics like ginger or green chillies—before you even think about adding the rava.
The Main Event: Steady Stirring
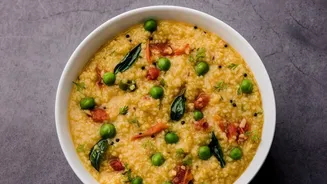
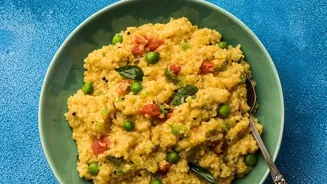
Here is where the headline's wisdom comes into play. Once your water is at a rolling boil, reduce the flame to low. Now, begin adding the roasted rava in a slow, steady stream with one hand, while stirring constantly with the other. Do not dump the rava in all at once. Adding it gradually while stirring ensures that each grain gets coated with water and starts to cook evenly without clumping together. Continuous stirring at this stage is what prevents lumps from forming. You are essentially keeping the grains separate as they begin to absorb the hot water. Stir just until all the rava is incorporated and the mixture has thickened, which should only take a minute or two.
The Final Flourish: Let It Steam
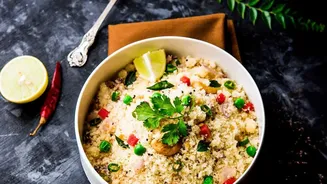
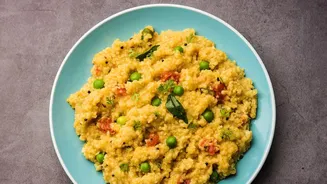
Once the rava has absorbed most of the water and the mixture has thickened, the active cooking is almost done. Now, it is time for the final, crucial step: steaming. Cover the pan with a tight-fitting lid, keep the heat on the lowest possible setting, and let the upma steam for two to three minutes. This resting period allows the grains to finish cooking in the residual steam, making them tender and distinct. After steaming, turn off the heat and let it rest for another minute or two before opening the lid. Instead of stirring with a spoon, which can mash the grains, fluff the upma gently with a fork. A final drizzle of ghee at this stage can add richness and further separate the grains, but it is for flavour and gloss, not to fix a texture that has gone wrong.