


Why Start with Assistance?
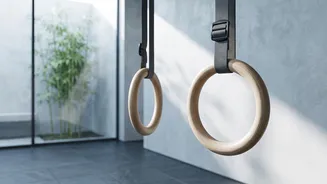
Ring dips are significantly more challenging than their parallel bar counterparts. The instability of the rings demands not only pressing strength from your chest, shoulders, and triceps, but also immense stabilization from your entire upper body and core.
Jumping into unassisted ring dips without the foundational strength can lead to poor form, frustration, and potential shoulder injury. Assistance bridges this gap. By reducing your body weight, you can focus on mastering the correct movement pattern, building muscle through a full range of motion, and developing the stability required to control the rings. This progressive approach ensures you build strength safely, paving a clear path toward your first unassisted repetition.
Method 1: Resistance Bands
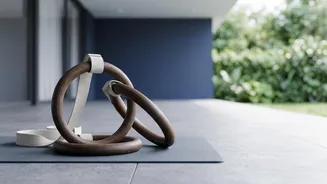
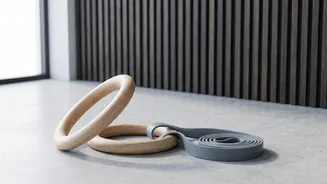
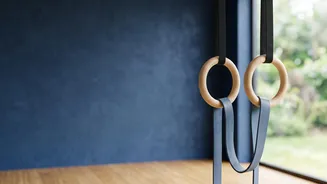
Resistance bands are one of the most popular tools for learning ring dips. To set one up, loop a thick band over both rings and position it under your knees or feet. The band provides the most help at the bottom of the dip, which is the most challenging portion of the movement for most people. This allows you to push out of the deepest position and complete the repetition with good form. As you get stronger, you can switch to thinner bands, which offer less assistance. This method is excellent because it allows you to perform the dip through its full range of motion while still mimicking the free-hanging nature of the exercise. To begin, set the rings at about hip or chest height, secure the band, and grip the rings with your arms straight before carefully placing your knees into the loop.
Method 2: Foot-Assisted Dips
Another highly effective technique is using your feet for support. This can be done by either placing your feet on the floor directly below you or on a box or bench positioned behind you. By keeping your feet on a surface, you can offload as much weight as necessary to complete the reps. As you press up, use your arms as much as possible, relying on your legs only for the assistance you need to keep moving. This method is fantastic for beginners because it's easy to adjust the difficulty in real-time. If you start to struggle, you can simply push more with your legs. Foot-assisted dips are a direct way to train the dipping pattern and build strength before you're ready to support your entire body weight.
Mastering Proper Form
Regardless of the assistance method you choose, maintaining proper form is crucial. Start at the top of the movement with your arms fully locked out and shoulders pulled down and back, away from your ears. As you lower yourself, keep the rings and your elbows close to your body to maintain stability and protect your shoulders. Aim to lower yourself until your shoulders are at or slightly below your elbows. Throughout the movement, your torso should remain relatively upright; leaning too far forward can place unnecessary stress on the shoulder joints. At the top of each rep, turn the rings outward so your palms face forward, a position known as the support hold, which solidifies stability. Focusing on these details while using assistance will build good habits that translate directly to unassisted dips.
Progressing Towards Your First Full Dip
The goal of using assistance is to eventually remove it. Progress is methodical. Start with a level of assistance that allows you to perform 3-5 sets of 5-8 clean repetitions. Once you can comfortably complete your sets and reps, it's time to reduce the support. If you're using bands, switch to a thinner one. If you're using foot assistance, try to rely less on your legs or lower the height of the box. Another powerful technique is practicing 'negative' ring dips, where you start at the top, lower yourself as slowly and controllably as possible (even without assistance), and then use your feet to get back to the start. This builds eccentric strength, which is vital for controlling the descent. By consistently and patiently reducing your assistance, you will build the strength and confidence to achieve that first, powerful unassisted ring dip.