


From Pungent to Profoundly Sweet
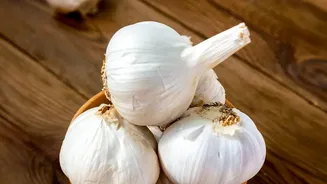
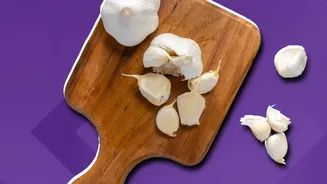
The difference between raw and roasted garlic is a tale of kitchen alchemy. Raw garlic gets its aggressive, spicy kick from a chemical reaction that happens when its cells are crushed or chopped. This process creates a compound called allicin, which is responsible
for that signature sharp taste. Roasting, however, uses slow, steady heat to change garlic's chemical structure entirely. The intense heat mellows the garlic, breaking down the compounds that cause sharpness. What you're left with is not a less-potent version of raw garlic, but a completely transformed ingredient. The flavour becomes deep, savoury, and surprisingly sweet, with nutty undertones. The texture also changes dramatically, from firm and crunchy to soft, creamy, and spreadable, almost like butter.
The Simple Path to Perfect Roasting
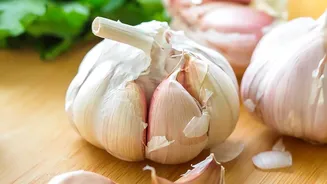
The beauty of roasting garlic is its simplicity. You don't need special equipment, just a head of garlic, some olive oil, and an oven. Start by preheating your oven; a moderate temperature around 180°C to 200°C works perfectly. While some recipes suggest higher heat, a lower temperature for a longer period allows for a more controlled caramelisation, resulting in a sweeter, creamier finish. Take a whole head of garlic and, without peeling it, slice off the top quarter-inch to expose the tops of the individual cloves. Place the head on a piece of aluminium foil, drizzle it generously with olive oil, ensuring the oil seeps down into the exposed cloves, and sprinkle with a pinch of salt. Wrap the foil tightly around the garlic to create a sealed packet. This traps the steam and helps the cloves soften as they cook. Roast for 40 to 60 minutes.
Knowing When It’s Ready
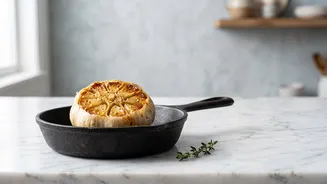
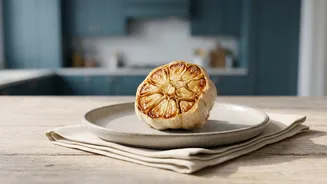
The headline gives the best clue: you want the cloves to be soft and caramelised. Your kitchen filling with a sweet, intoxicating aroma is the first sign that you're on the right track. Visually, the exposed tops of the cloves should be a beautiful golden-brown. For the ultimate test, let the foil packet cool for a few minutes until you can safely handle it, then gently squeeze the base of the garlic head. If it's ready, the cloves will feel very soft and almost mushy, ready to be squeezed out of their papery skins. If there's still a lot of resistance, wrap it back up and return it to the oven for another 10 to 15 minutes. This patience is key to achieving that perfect, jammy consistency.
How to Use Your Liquid Gold
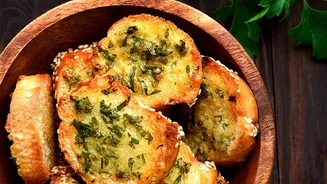
Once your garlic is roasted and has cooled slightly, using it is effortless. Simply squeeze the base of the head, and the soft, caramelised cloves will slide right out. From there, the possibilities are nearly endless. Mash the cloves with a fork to create a paste you can spread directly on warm, crusty bread. Mix it into softened butter with some herbs to create an incredible compound butter for steaks or garlic bread. Whisk it into salad dressings, stir it into soups, or fold it into mashed potatoes for an instant flavour upgrade. Unlike raw garlic, which can sometimes overpower a dish, roasted garlic adds a subtle, savoury depth that complements other ingredients beautifully. As a general rule, you can use about one teaspoon of roasted garlic paste in place of one large raw clove.
Storing Your Roasted Garlic
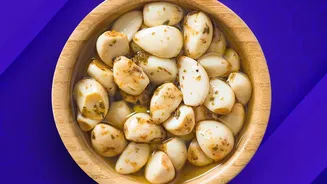
Since roasting garlic is so easy, it’s tempting to make a large batch. For short-term use, you can store the roasted cloves in an airtight container in the refrigerator for up to four days. It is very important not to store roasted garlic submerged in oil at room temperature, as this creates an environment where botulism can develop. For longer-term storage, the freezer is your best friend. You can freeze whole roasted cloves on a baking sheet before transferring them to a freezer-safe bag. This method allows you to grab as many as you need, and they'll keep for months, ready to add a touch of sweet, garlicky magic to your next meal.