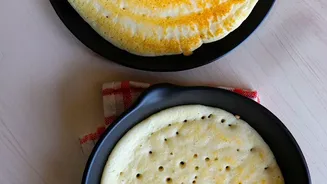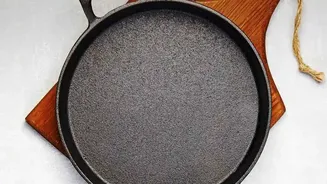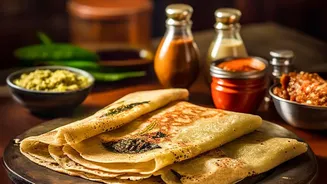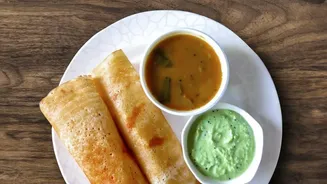






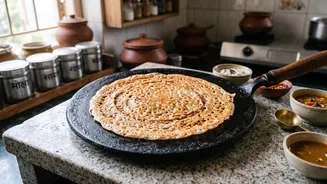

The dream is a golden, paper-thin dosa that lifts effortlessly off the tawa. The reality is often a sticky, torn mess. But the secret to mastering the cast-iron tawa isn't magic; it’s about understanding heat and proper preparation.
The Foundation: It Starts With Seasoning
Before you even think
about heat, your tawa needs a good 'seasoning'. This isn't about salt and pepper; it’s the process of baking oil onto the iron, creating a natural, non-stick surface. When you heat oil on cast iron, it polymerizes, filling the microscopic pores of the metal to form a smooth, glass-like coating. This protective layer is what prevents dosas from sticking and also protects your tawa from rust. Many new tawas come 'pre-seasoned', but they still benefit from a few more layers at home. To season, wash and thoroughly dry your tawa. Apply a very thin layer of a high-smoke-point oil like sesame or groundnut oil all over. Heat the tawa on a medium flame for 10-15 minutes until it starts to smoke lightly, then let it cool completely. Repeating this process two or three times builds a robust, slick surface that improves with every dosa you make.
Mastering The Flame: The Art of Heat Control
This is where most cooks go wrong. Cast iron heats slowly but retains heat incredibly well. The key is patience. Start by heating your tawa on a medium flame for at least 4-5 minutes. Don't rush it. The most reliable way to check the temperature is the water test: sprinkle a few drops of water onto the surface. If they sizzle and boil away, it's not hot enough. If they vaporize instantly with a loud hiss, it's too hot. The perfect temperature is when the water droplets skitter and dance across the surface before evaporating. If the tawa is too cold, the batter won't set properly and will stick. If it's scorching hot, the batter will seize and stick before you can spread it, resulting in a thick, burnt dosa. Once the tawa is hot, you can often lower the flame to medium-low to maintain the perfect cooking temperature.
The Pre-Dosa Ritual
Even a perfectly seasoned and heated tawa needs a final prep step before the batter hits the pan. This creates a temporary, extra-slick barrier. The classic method is to rub half an onion dipped in a little oil across the hot surface. The onion cleans the surface and imparts a subtle flavor. Alternatively, you can use a cloth or paper towel to wipe on a very thin sheen of oil. The goal is a light gleam, not a puddle of oil, which would cause the batter to slide around instead of spreading evenly. After making a dosa, you may need to cool the pan slightly before the next one. Wiping the tawa with a damp cloth between dosas helps regulate the temperature, ensuring it's not too hot for the next pour.
Technique and Aftercare
With your tawa ready, the rest is technique. Use batter that is at room temperature and has a smooth, pourable consistency, similar to thin cream. Pour a ladleful in the center and, using the back of the ladle, spread it outwards in a quick, single spiral motion. Don't go back over areas you've already spread. Drizzle a little oil or ghee around the edges to help them crisp up. Be patient and wait for the edges to turn golden brown and begin to lift on their own; this is the sign that the dosa is ready to be lifted. After cooking, maintenance is simple but crucial. Avoid washing your tawa with harsh soaps or steel scrubbers, which can strip the seasoning you've worked so hard to build. For stuckon food, a gentle scrub with salt and a cloth is effective. Most of the time, a simple wipe with a paper towel or a rinse with hot water is enough. Always dry your tawa completely, either by wiping or placing it on a low flame for a minute, and then apply a whisperthin layer of oil before storing to prevent rust.