







Gathering Your Materials
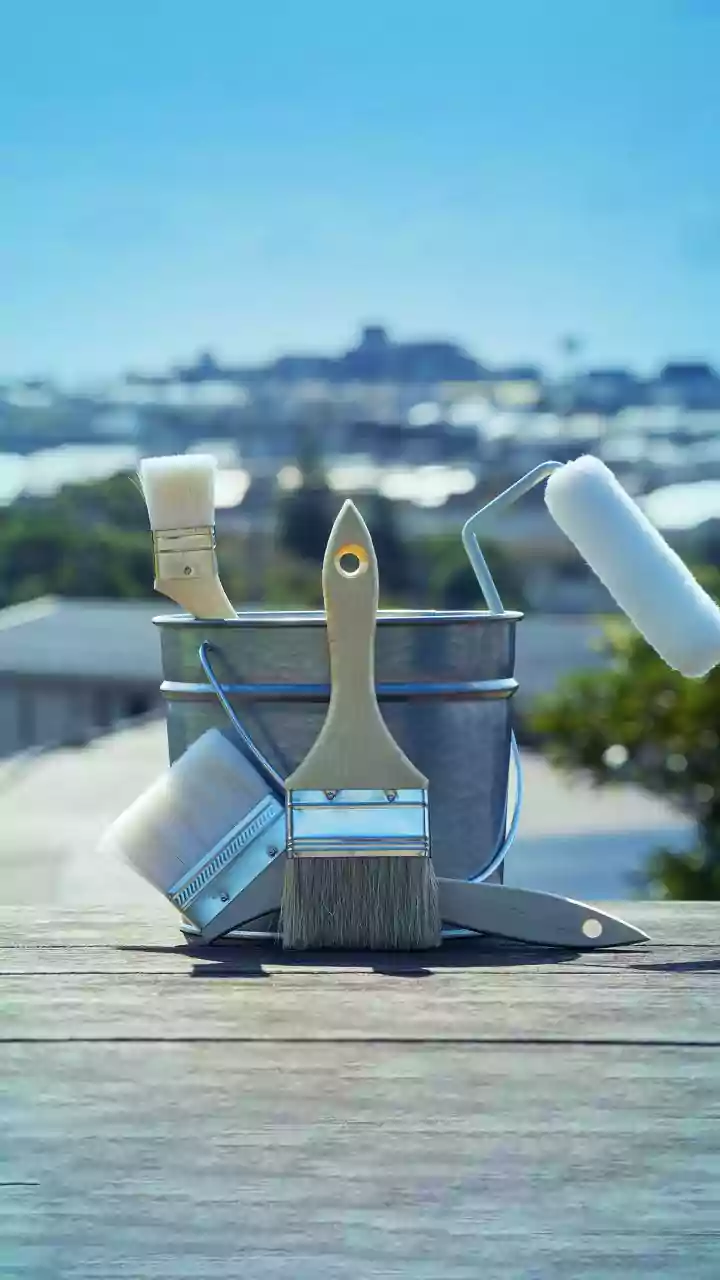
Before you begin, assembling the right tools will ensure your project goes smoothly. You will need smooth, flat stones, which provide the best canvas. For painting, acrylic paints are the top choice as they adhere well to stone and are weather-resistant.
You can use standard craft acrylics or specialty multi-surface paints designed for outdoor use. You’ll also want a variety of paintbrushes, including fine-tipped ones for details and wider brushes for base coats. Other helpful items include a pencil for sketching your design, a palette for mixing colours, a container of water for rinsing brushes, and paper towels for clean-up.
Finding and Preparing Your Canvas
The hunt for the perfect stones is part of the adventure. Look for smooth, somewhat flat river rocks or pebbles. When collecting, it's crucial to be ethical and responsible. Avoid taking stones from national parks, protected areas, or private property without explicit permission. A good practice is to follow the 'Leave No Trace' principle, ensuring you don't disturb the environment. Once you have your stones, preparation is key. Wash them thoroughly with water and a mild detergent to remove any dirt, oil, or debris. Use a brush to scrub them clean, then rinse and allow them to dry completely before you start painting. A clean surface helps the paint adhere properly.
Choosing Your Wildlife Subjects
Let the shape of the stone inspire your creation. A long, thin stone could become a snake, while a round one is perfect for a ladybug, a hedgehog, or an owl's face. Simple animal shapes are great for beginners. Think about creatures like frogs, fish, cats, and foxes. You can find endless inspiration online, with simple tutorials available for everything from safari animals to cute bunnies. Don't worry about perfect realism; the goal is to capture the spirit of the animal and have fun. Even a simple paw print on a small stone can be an adorable creation.
Bringing Your Creatures to Life
Start by lightly sketching your animal design onto the stone with a pencil. This provides a guide without being permanent. Once you're happy with the outline, begin applying your acrylic paint. It's often best to work in layers, starting with a solid base colour and allowing it to dry before adding details. For instance, paint the entire stone orange for a fox before adding the white snout and black-tipped ears and tail. Use fine-tipped brushes for intricate details like eyes, whiskers, or feather patterns. Don't be afraid to experiment with techniques like stippling to create texture for fur. Patience is key; let each layer of paint dry to avoid smudging.
Sealing and Protecting Your Art
To ensure your painted rocks can withstand the elements and keep their colours vibrant, sealing them is a crucial final step. This is especially important if you plan to place them outdoors. There are several types of sealers available, including brush-on and spray-on varieties, in finishes from matte to high gloss. A clear acrylic spray sealer is a convenient and popular choice, offering good protection and a quick drying time. Apply the sealer in a well-ventilated area, preferably outside. It's best to apply two or three light coats rather than one heavy one, allowing each coat to dry completely in between. This builds up a durable, protective layer without causing the paint to run or drip.
Displaying Your Finished Collection
Once your wildlife stones are painted and sealed, it's time to show them off. You can place them in your garden as delightful hidden surprises for visitors to find. Grouping them by theme, such as farm animals or forest creatures, can create a charming scene. They also make wonderful indoor decorations, arranged on a bookshelf, windowsill, or as part of a centrepiece. Painted stones can be used as unique paperweights, story stones for children, or given as thoughtful, handmade gifts. The possibilities are as limitless as your imagination.