





Why the Foundation Matters
Think of creating a sleek bun like painting a wall—you need to prime the surface first. A smooth, well-prepped base is what separates a hastily gathered knot from an intentional, high-fashion updo. Stylists agree that what your hair looks like before
you start the updo is what it will look like at the end. If it’s frizzy and bumpy going in, it will be a frizzy and bumpy bun. Taking the time to create a flawless foundation ensures the final look is sharp, clean, and lasts all day without unruly flyaways or lumps disrupting the silhouette. This initial effort is the key to that coveted “model-off-duty” polish.
Step 1: The Right Hair Prep
Contrary to popular belief, you don’t need day-old dirty hair. Many stylists now prefer to work on clean, dry hair, as modern products can add the necessary grip and texture. Start by washing and completely drying your hair. If your hair is prone to frizz, use a hydrating conditioner or even a hair mask in the shower. On dry hair, apply a volumizing mousse or root-lift spray, focusing on the roots and mid-lengths. Blow-dry the product in, using your fingers or a vent brush to direct the hair back and away from your face. This initial product application creates the “grit” needed for the style to hold.
Step 2: Create a Glass-Like Surface
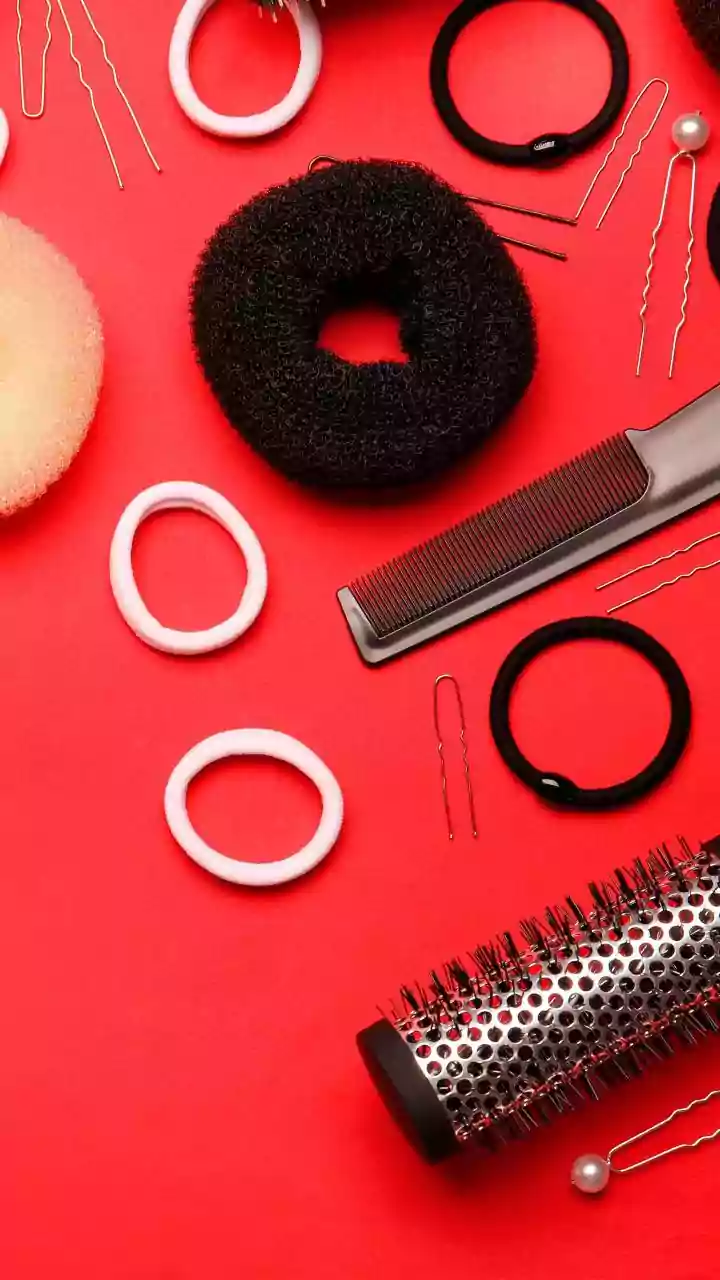
For a truly sleek finish, the goal is to eliminate as much texture and frizz as possible before you even think about putting it up. After your initial blow-dry, you may want to run a flat iron through your hair to get it exceptionally smooth. Before applying heat, always use a heat protectant spray. As you straighten, work in small, manageable sections. Once your hair is straight, it's time to build the base of your bun: a flawless low ponytail. A boar bristle brush is essential here; its natural fibres are perfect for smoothing hair down and distributing natural oils for shine. Comb your hair back into a low ponytail at the nape of your neck, using the brush to eliminate any bumps.
Step 3: Secure the Perfect Ponytail
Your ponytail is the anchor of the entire style, so it needs to be tight and smooth. Decide on your part—a sharp centre part often lends a more modern, severe look. As you gather your hair, apply a small amount of styling gel or a smoothing cream to control the surface. For an extra-snatched look, use a strong elastic hair tie. Brush everything back one last time before securing the ponytail tightly at the nape of your neck. To tame any remaining flyaways around the hairline, spray a strong-hold hairspray onto your boar bristle brush or a clean toothbrush and gently brush them into place. This technique provides targeted control without making your hair look stiff or heavy.
Step 4: Twist and Pin the Bun
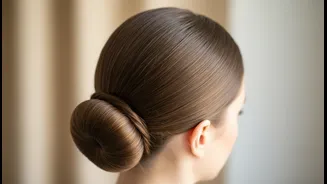
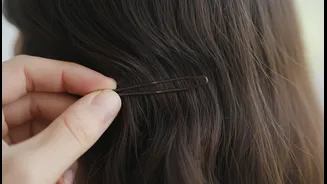
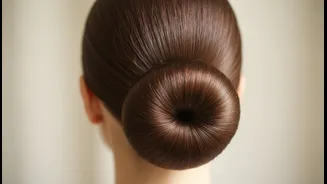
With a perfect ponytail as your base, creating the bun is simple. There are several methods, but a classic twist is foolproof. Split the ponytail into two sections and twist them together. Then, wrap the twisted rope of hair around the base of the ponytail, forming the bun. Secure it tightly against your head using bobby pins. A pro tip is to choose bobby pins that are darker than your hair, as they will recede and be less visible. Another popular method, favoured by celebrity stylist Chris Appleton, involves not pulling the ponytail all the way through on the last loop of the hair tie, creating a small bun and leaving the ends out. You then twist and criss-cross the ends around the elastic to hide it, pinning them underneath.
Step 5: The Finishing Touches
A truly polished bun is all about the final details. Look in the mirror from all angles to spot any stray hairs. You can use a styling wax stick to glide over the surface for precise control and a high-shine finish. Lightly mist your entire head with a firm-hold hairspray to lock everything in. For an extra dose of glamour, finish with a spritz of shine spray, which will give your sleek style a glossy, almost wet look. These final steps ensure your hard work stays put and looks impeccably sharp.