




The Essential Toolkit
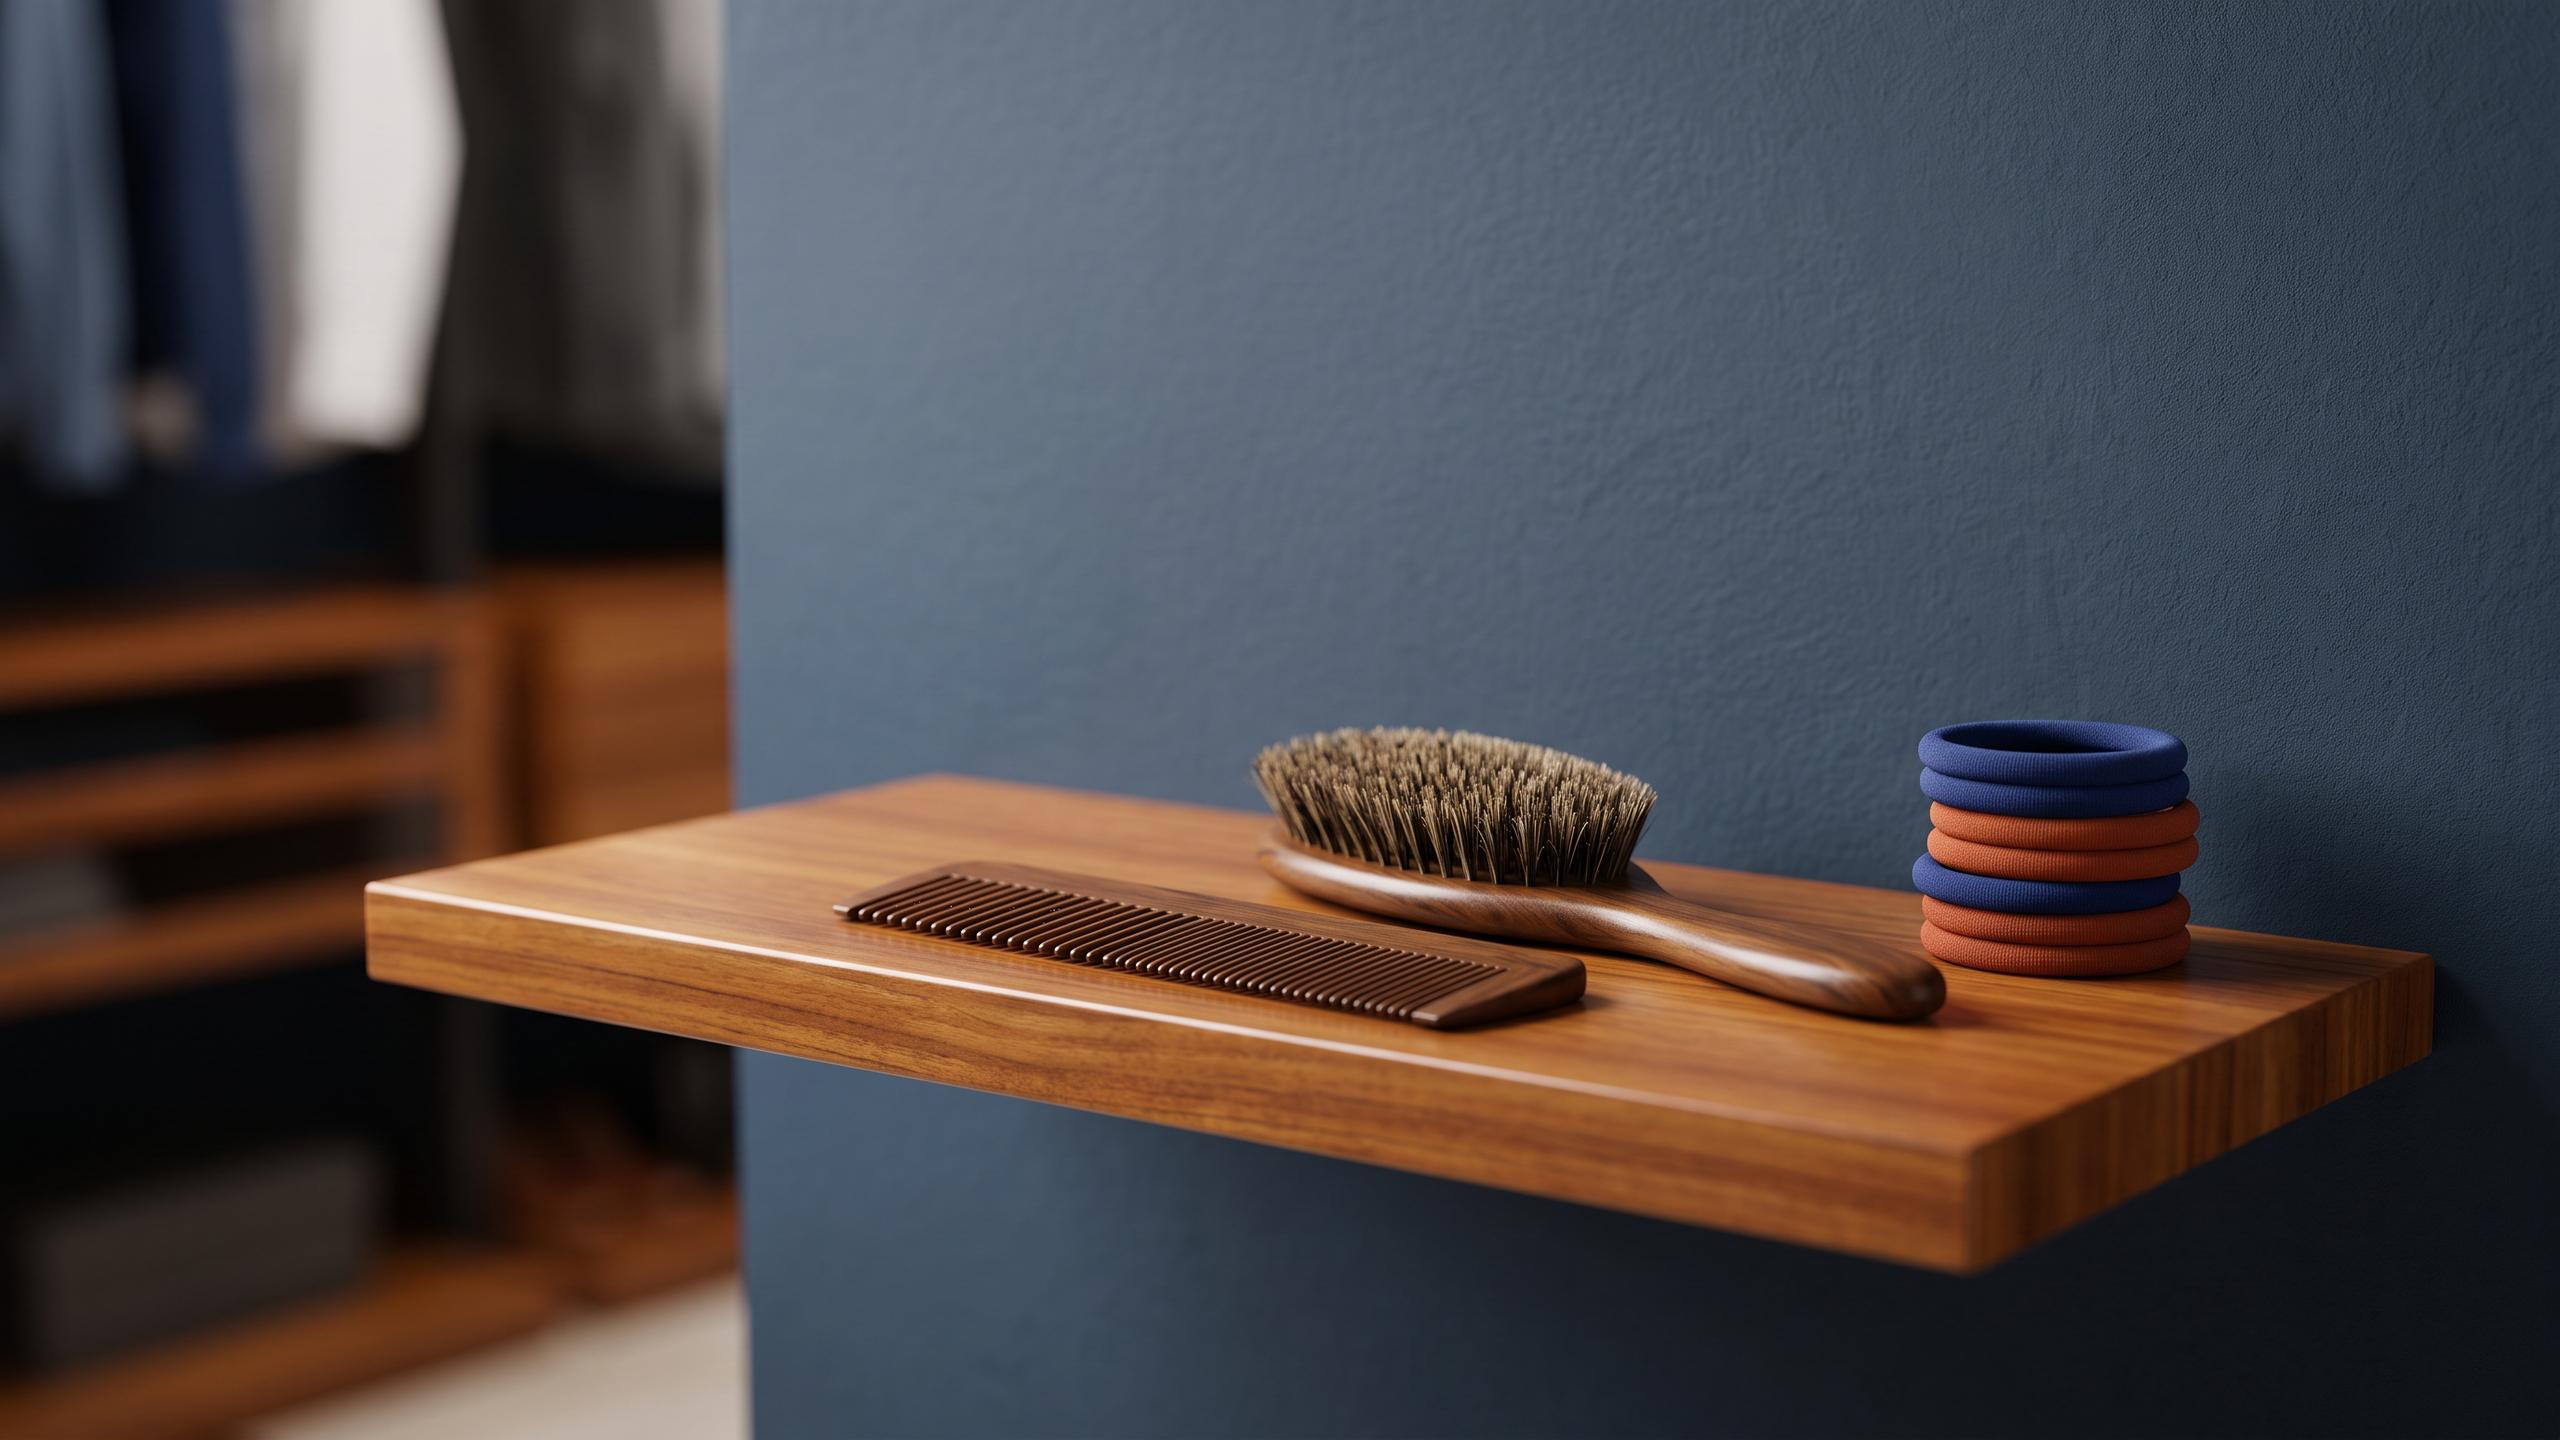
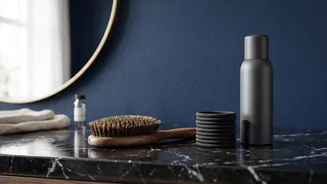
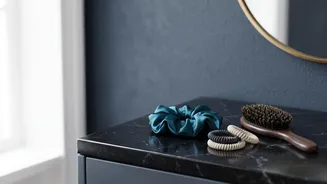
Before you begin, gathering the right tools will make the process smoother and the result more professional. You don’t need a salon’s worth of products, just a few key items. Start with a brush to detangle, a fine-tooth comb for creating a clean part,
and a hair elastic that matches your hair colour. You will also need bobby pins or stronger, U-shaped hair pins to secure the bun. For a sleek finish, have a light-hold hairspray, smoothing cream, or a styling gel on hand.
Step 1: Prep and Part Your Hair
A great bun starts with good prep. While you can create a bun on freshly washed hair, many find that second-day hair has a bit more grip and is easier to style. If your hair is clean, a light mist of texturizing spray can add some hold. First, decide on your part—a sharp centre part offers a modern, symmetrical look, while a deep side part can add a touch of softness. Use your fine-tooth comb to create a straight, clean line. Then, apply a small, pea-sized amount of smoothing cream or gel to your palms and run it over the top of your hair to begin taming any flyaways.
Step 2: Create a Sleek Low Ponytail
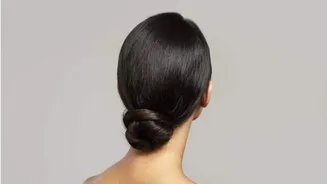
The foundation of a neat low bun is a flawless ponytail. Brush your hair back, following the direction from your part, and gather it at the nape of your neck. Ensure the hair is smooth and free of bumps. A boar bristle brush is excellent for this, as it smooths the surface for a shinier finish. Secure the ponytail tightly with your hair elastic. For an extra-sleek look, you can take a small strand of hair from the ponytail, wrap it around the elastic to conceal it, and secure the end with a bobby pin.
Step 3: Twist and Form the Bun
There are a few simple ways to form the bun itself. For the classic method, twist the entire ponytail tightly from the base to the ends. Once twisted, coil the hair around the base of the ponytail, creating the bun shape. Another easy option is the loop method. On the final pull-through of your hair elastic, don't pull the ponytail all the way. Instead, create a loop, leaving the ends out. You can then wrap the remaining ends around the elastic and pin them underneath.
Step 4: Secure and Refine
Securing the bun properly is the key to making it last all day. Use bobby pins or U-shaped hair pins to anchor the bun to the base of your head. Instead of just pushing them in, try to 'catch' a bit of hair from the bun and then anchor it into the base hair close to your scalp. This creates a much stronger hold. Place pins around the entire circumference of the bun until it feels completely stable. Once secure, give your hair a final look. Use a pomade stick or a small amount of gel on a clean spoolie or toothbrush to smooth down any remaining flyaways around your hairline and nape.
Tips for Different Hair Types
Not all hair behaves the same, so you may need to adjust your technique. For thin or fine hair, teasing the ponytail before you twist it can create the illusion of a fuller bun. Using a hair donut can also add significant volume. For very thick hair, you may need stronger elastics and larger, more robust pins, like spiral pins, to hold the weight. For naturally curly or textured hair, working with slightly damp hair and a good styling cream can help manage frizz and create a defined, polished bun.