





What You Will Need
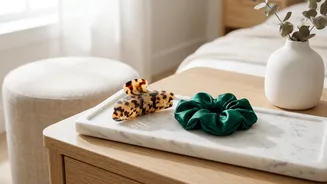
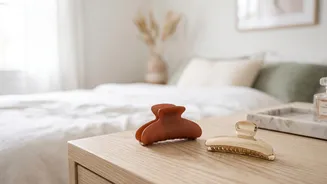
The beauty of these styles is their simplicity. You do not need a salon's worth of equipment to achieve a polished look. Before you begin, gather a few essentials that you likely already have on hand: a hairbrush, a few hair elastics (clear or matching
your hair colour is ideal), and a handful of bobby pins. For sleeker styles, a fine-tooth comb and a touch of hairspray or gel can help tame flyaways. For messier looks, some texturising spray or dry shampoo can add helpful grip and volume, especially on clean, fine hair.
The Classic Sleek Knot
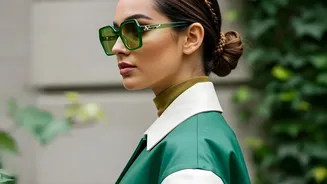
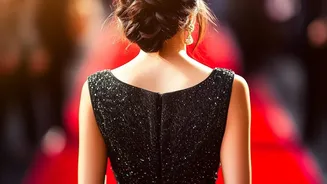
This is your go-to for a polished and professional look that works for the office or an evening out. Start with brushed, smooth hair. For an extra sleek finish, part your hair cleanly down the middle or on the side with a comb. Gather your hair into a low ponytail at the nape of your neck and secure it tightly with an elastic. To eliminate bumps, use a soft bristle brush or a comb with a bit of hairspray on it to smooth the hair down before you tie it. Twist the ponytail tightly from base to ends, then wrap it around the elastic to form a compact bun. Tuck the ends underneath the bun and secure everything firmly with bobby pins. For a lasting hold, criss-cross two bobby pins at the base of the bun to create a strong anchor.
The Effortless Messy Bun
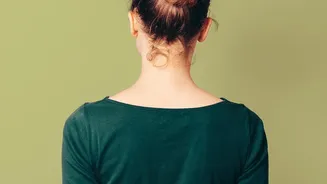
For a relaxed, romantic vibe, the messy low bun is a timeless choice. The key here is not to overthink it. It is meant to look artfully undone. Start by gathering your hair at the nape of your neck, but use your fingers instead of a brush to maintain a softer, more textured look. Loosely tie your hair into a ponytail. On the last pull-through of the elastic, only pull the hair halfway to create a loop. Take the remaining ends of the hair and wrap them around the base of the loop to hide the hair tie. Secure the ends by tucking them into the elastic or using a couple of bobby pins. Finally, gently pull and tug at the sides of the bun to give it more volume and create that perfectly imperfect shape. Pull out a few face-framing tendrils to complete the soft look.
The Elegant Braided Bun
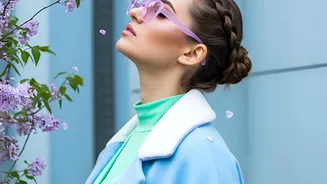
Adding a braid instantly elevates a simple bun, making it look more intricate than it actually is. There are a couple of ways to achieve this. The first method involves creating two braids. Part your hair down the middle into two equal sections. Braid each section and secure the ends with temporary elastics. Cross the two braids over each other at the nape of your neck, then wrap them around each other to form a bun, tucking the ends in and pinning them securely. For a simpler version, start with a single low ponytail. Braid the entire ponytail and secure the end with an elastic. Then, simply wrap the braid around its base to form a bun and pin it in place. Gently pull on the sections of the braid before you wrap it to make it appear fuller and more voluminous.
Tips for Different Hair Types
Not all hair behaves the same, but the low bun is adaptable. If you have fine or thin hair, creating volume is key. Before styling, spritz your roots with dry shampoo or a texturising spray to add grit and lift. When creating a messy bun, teasing the ponytail before twisting can also create the illusion of thickness. For those with very thick hair, the challenge is often management. To avoid a bun that feels too bulky or heavy, try using a stronger elastic or even two for extra security. You can also divide your ponytail into two sections, twisting and wrapping each one separately around the base to distribute the weight more evenly. For curly hair, embrace your natural texture. A low bun can be a great way to protect your curls. Use your fingers to gather your hair to keep the curl patterns intact and allow a few curls to frame your face for a soft, natural finish.