


The Foundation: Soaking the Dal
The journey to a perfect chilla begins hours before you even approach the stove. The key is using either split yellow moong dal (dhuli moong) or split green gram. For that authentic texture, you must soak the lentils properly. Rinse one cup of dal thoroughly
under running water until the water is clear. Then, submerge it in two to three cups of water for at least three to four hours. Some home cooks even prefer soaking it overnight to ensure the dal softens completely, which is crucial for grinding a smooth batter. This soaking process is non-negotiable; it softens the lentils, making them easy to grind and also aids in digestion. Don't rush this step, as it's the bedrock of a great chilla.
Creating the Perfect Batter
Once soaked, drain the dal completely. Now, it's time to grind. Transfer the dal to a blender with flavour-enhancing basics: a piece of ginger, a green chilli or two for a bit of heat, and some salt. The amount of water you add here is critical. Start with a small amount, perhaps half a cup, and blend. You are aiming for a smooth batter that has a pouring consistency but is not too thin or runny. A batter that's too thick will be difficult to spread, while a batter that's too watery will result in a soft, limp chilla instead of a crispy one. To elevate the flavour and nutritional value, you can stir in finely chopped onions, grated carrots, and fresh coriander leaves after the batter is ground. A pinch of turmeric can add a lovely golden hue.
Secrets to a Crisp Finish
Replicating that street-side crispiness is an art, but it's one you can master. The secret lies in a combination of batter consistency, pan temperature, and a special ingredient. For an extra crunch, many experts recommend adding a tablespoon or two of rice flour or semolina (sooji) to the batter. This is a game-changer for achieving a brittle texture. Next, heat your pan—a cast-iron tawa is highly recommended for its even heat distribution—until it's hot, but not smoking. An overheated pan will cause the batter to cook and clump instantly, making it impossible to spread. A pan that isn't hot enough will cause the chilla to stick. Test it by sprinkling a few drops of water; if they sizzle and evaporate immediately, you're ready.
The Cooking Technique
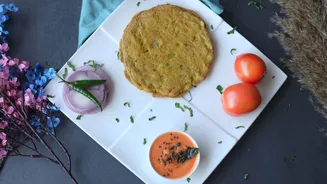
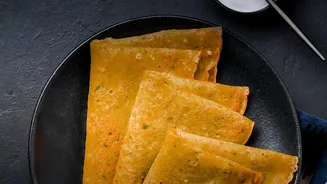
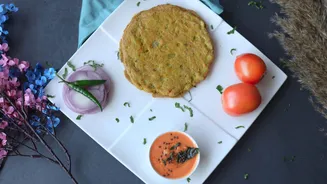
Grease the hot pan lightly with oil or ghee. Pour a ladleful of batter in the center and, using the back of the ladle, quickly spread it outwards in a circular motion to form a thin pancake. The thinner you spread it, the crispier it will be. Drizzle a little oil around the edges and on top, and cook on a medium flame. You'll know it's time to flip when the edges start to lift away from the pan and the surface appears cooked. Flip it carefully and cook the other side until it has golden-brown spots. For an exceptionally crisp chilla, you can flip it back and cook for another minute on low heat.
Delicious Fillings and Serving
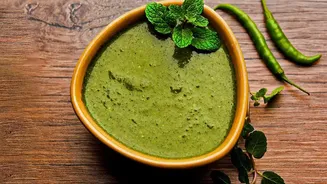
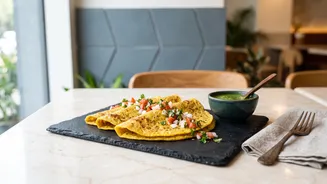
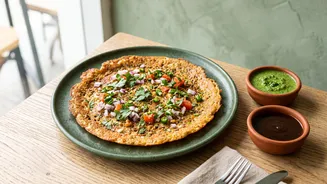
While a plain moong dal chilla is delicious, the street-style experience often includes a flavourful filling. The classic choice is a simple mixture of grated paneer, finely chopped onions, and a sprinkle of chaat masala. You can prepare this filling ahead of time. Once your chilla is cooked on one side, flip it, add a spoonful of the paneer mixture onto one half, and then fold the other half over. Press down gently and cook for another 30 seconds to warm the filling through. Other popular additions include finely chopped capsicum, carrots, and spring onions mixed into the paneer. Serve your hot, crispy chillas immediately with a side of green coriander chutney and tamarind chutney for a complete and satisfying meal that tastes just like it came from your favourite street vendor.