




Imagine a cookie so thin it shatters at first bite, releasing a wave of buttery, nutty flavour. That's the magic of a French almond tuile. While they look elegant and complex, making them at home is surprisingly simple with the right technique.
What Exactly Are Tuiles?
Tuiles
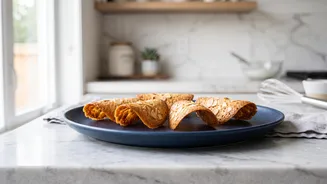
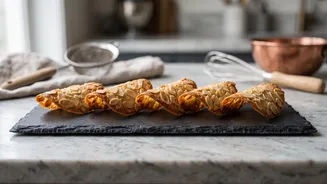
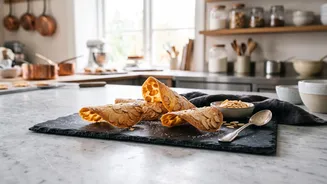
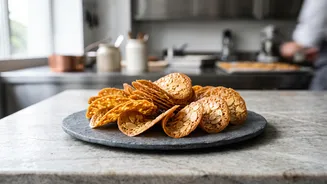
(pronounced 'tweels') are traditional French wafers named after the curved roof tiles they resemble. Their signature is a shatteringly crisp texture and a delicate, lace-like appearance. The secret lies in a very thin, liquid-like batter made from just a few core ingredients: egg whites, sugar, flour, butter, and almonds. The batter is spread into thin rounds, baked until golden, and then quickly shaped while still hot and pliable. Though they look like something from a high-end patisserie, they are a fantastic way to use up leftover egg whites and impress your guests with minimal fuss.
The Secret to Even Baking and Crispiness
The main challenge with tuiles is achieving that uniform, golden-brown colour and perfect crispness without burning the edges. Uneven baking often leads to cookies that are chewy in the centre and burnt on the sides. The single most important step is spreading the batter as thinly and evenly as possible. Aim for a layer so thin you can almost see the baking sheet through it. Use the back of a wet spoon or an offset spatula to spread small spoonfuls of batter into large, consistent circles. Don't worry about perfect shapes; they tend to even out in the oven. Baking on a silicone mat can also help prevent sticking and tearing, which can be an issue with delicate parchment paper.
Getting the Oven and Timing Just Right
Oven temperature is critical. A fully preheated oven ensures the cookies crisp up properly instead of just drying out. Most recipes call for a moderate temperature, around 180°C (350°F). Since tuiles are so thin, they bake incredibly fast—often in just 5 to 8 minutes. You must watch them closely, as they can go from perfectly golden to burnt in under a minute. Pull them out when the edges are a deep golden brown and the centre is still slightly pale. For the most even results, bake one tray at a time in the middle of the oven and consider rotating the pan halfway through. If your first batch comes out soft, don't panic. You can often pop them back in the oven for another minute or two to crisp up.
A Simple Recipe for Success
This recipe focuses on simplicity and reliable results. You will need: 2 egg whites, 3 tablespoons of caster sugar, a pinch of salt, 1 tablespoon of all-purpose flour, 30g of slivered almonds, and 2 tablespoons of melted butter. First, gently whisk the egg whites, sugar, and salt until just foamy—you are not trying to make a meringue. Whisk in the flour until the mixture is smooth. Stir in the slightly cooled melted butter, followed by the slivered almonds. Let the batter rest for a few minutes. To bake, spoon about a teaspoon of batter onto a silicone mat or parchment-lined baking sheet, leaving ample space between cookies. Spread each spoonful into a thin, 3_inch circle. Bake for 5_8 minutes at 180°C, or until the edges are golden.
The Art of Shaping and Storing
To get the classic curved shape, you must work quickly. The cookies are only pliable for about 10_20 seconds after they come out of the oven. Use a thin spatula to lift each hot cookie and immediately drape it over a rolling pin, a wine bottle, or the side of a tall glass. It's best to bake in small batches of just 4 to 6 cookies so you have time to shape them all before they harden. If they become too brittle, you can return them to the oven for a minute to soften again. Once completely cool, their crisp texture is set. Store your tuiles in a truly airtight container, as any humidity will make them soft and sticky. They will stay wonderfully crisp for several days, ready to accompany a cup of coffee or a scoop of ice cream.