
Gathering Your Supplies
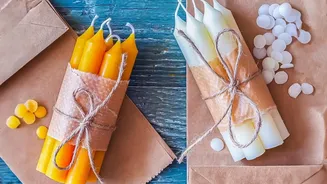
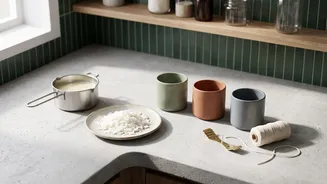
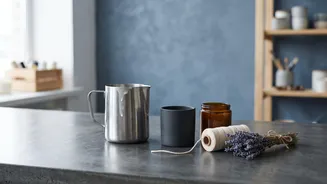
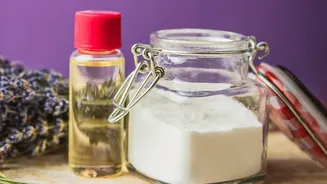
Before you begin, you'll need to assemble your candle-making toolkit. The essentials are straightforward: wax, wicks, fragrance oils, and containers. For wax, soy wax flakes are highly recommended for beginners because they are forgiving, burn cleanly,
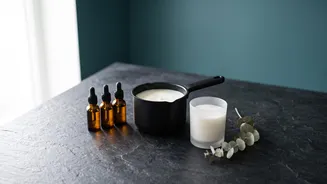
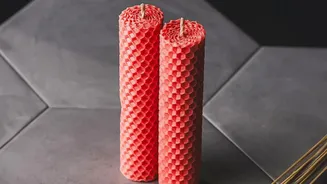
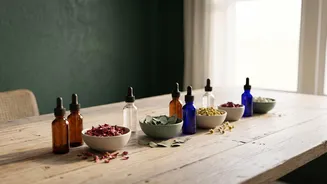
and hold scent well. Other options include natural beeswax, which has its own subtle honey aroma, or paraffin for a potentially stronger scent throw. You will need pre-tabbed wicks, which have a metal base that makes them easy to secure. For fragrance, choose high-quality fragrance oils designed for candles, as essential oils can have a much subtler scent. Finally, select heat-safe containers like glass jars, tins, or ceramic pots. You will also need a pouring pot or a heat-safe pitcher to melt the wax in, a larger pot to create a double boiler, a kitchen scale for accuracy, a thermometer, and something to hold the wick in place, like clothespins or pencils.
Setting Up Your Workspace
Safety and preparation are crucial. Find a clean, flat, and protected surface to work on; laying down newspaper or parchment paper is a good idea. Ensure your space is well-ventilated by opening a window or using a fan to avoid inhaling concentrated vapors. It's also wise to wear long sleeves and closed-toe shoes to protect yourself from any potential wax splashes. Before you melt any wax, prepare your containers. Clean them thoroughly and ensure they are completely dry. Use a wick sticker or a dab of hot glue to affix the metal tab of the wick to the exact center of the container's bottom. This anchor is key to ensuring the wick doesn't float or move when you pour the hot wax.
Melting and Scenting the Wax
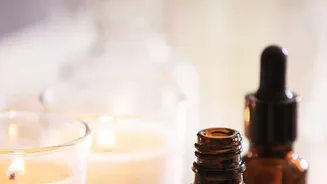
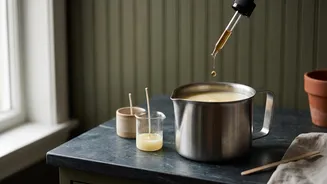
The safest way to melt wax is with a double boiler. If you don't have one, you can create your own by placing your pouring pot inside a larger saucepan filled with a few inches of water. Measure your wax flakes by weight using a kitchen scale—a good rule of thumb is that the weight of the wax should be slightly less than the volume of your container. Heat the water to a simmer and stir the wax occasionally as it melts. Clip a thermometer to the side of the pouring pot to monitor the temperature. Most soy wax should be heated to around 170-185°F. Once the wax is fully melted, remove it from the heat and let it cool slightly before adding your fragrance oil. This is a critical step; adding oil when the wax is too hot can cause the scent to burn off. Stir the fragrance in gently but thoroughly for about 30 seconds to ensure it's fully incorporated.
Pouring and Curing Your Candle
After adding the fragrance, let the wax continue to cool to the recommended pouring temperature, which is often around 135-140°F for soy wax. Pouring at a lower temperature helps prevent cracks and 'sinkholes' from forming as the candle cools. Pour the wax slowly and steadily into your prepared container. Immediately after pouring, secure the top of the wick to keep it centered and taut. You can do this by laying two pencils or a clothespin across the mouth of the jar and wedging the wick in between. Now comes the hardest part: waiting. Place the candle on a flat, heat-safe surface in an area where it won't be disturbed. It needs to cure, which allows the fragrance and wax to bind fully. While it may look solid in a few hours, it's best to let your candle cure for at least a week for the best scent throw when you finally light it.
The Finishing Touches
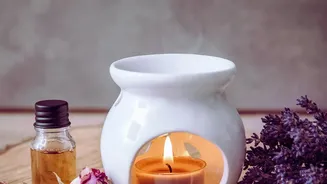
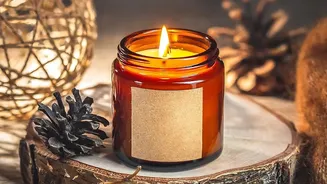
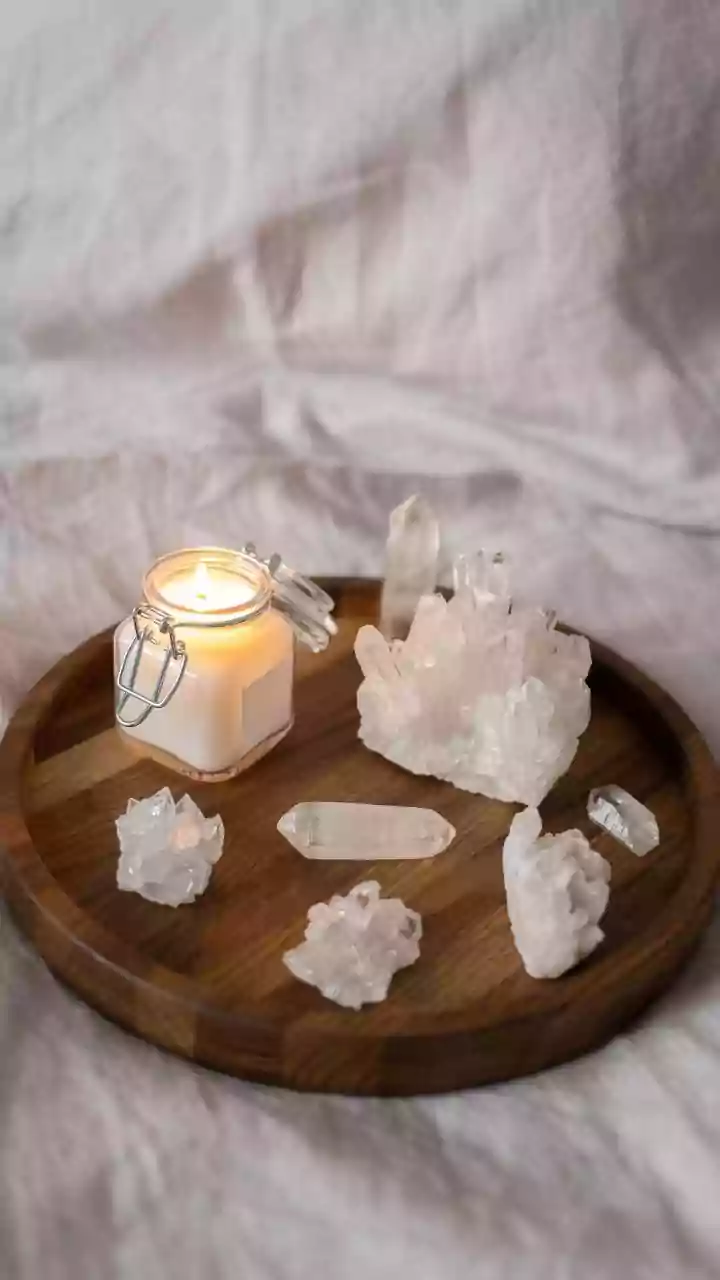
Once your candle has fully cured, the final step is to trim the wick. Before its first burn, trim the wick to about a quarter of an inch. A long wick can create a large, smoky flame. Keeping the wick trimmed before each use will ensure a cleaner, safer, and longer-lasting burn. Now, your homemade fragrance candle is ready to light and enjoy. You’ve not only created something beautiful and functional but also learned a new skill that allows for endless creativity. Experiment with different fragrance blends, containers, and even wax types to craft candles that are uniquely yours.