



Gather Your Essential Tools
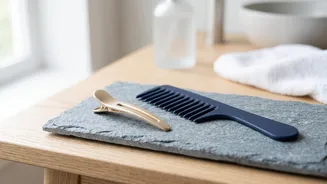
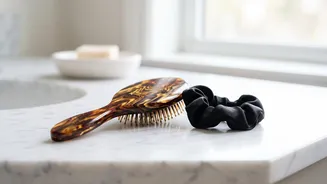
Before you begin, assembling the right tools will make the process much smoother and ensure your style lasts. You don't need a professional kit, just a few key items. Start with a good brush to detangle your hair completely. You'll also want a fine-tooth
comb for creating clean parts and smoothing any bumps. Have a few hair elastics on hand; it's best to use ones that match your hair colour. Bobby pins are crucial for securing the bun and any stray hairs. For a fuller, more voluminous bun, especially if you have fine or shorter hair, a bun maker or 'hair donut' is an excellent tool. Finally, have a light-hold hairspray or finishing spray ready to set the style and tame flyaways.
The Foundation: A Perfect Low Ponytail
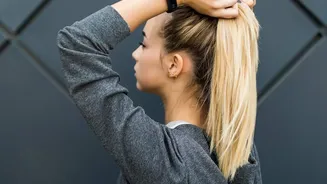
The secret to a great bun is a solid foundation. This style works best on hair that isn't freshly washed; second-day hair has more grip and texture, which helps it hold the style better. If your hair is too clean and slippery, a spritz of dry shampoo or a texturizing spray can add the grit you need. Start by brushing your hair to remove any knots. Decide on your part—a center part offers a sleek, modern look, while a deep side part can create a more romantic feel. Gather all your hair at the nape of your neck. Secure it with a hair tie to create a low ponytail. Don't pull it too tight; the aim is for an elegant, relaxed base, not a high-tension slicked-back look. For a braided accent, you will need to leave a section of hair out of this initial ponytail.
Creating the Bun: Twist and Secure
With your low ponytail in place, you're ready to form the bun. The simplest method is to twist the ponytail from the base to the ends. Once it's tightly twisted, begin wrapping it around the hair elastic. As you coil the hair, it will naturally form a bun shape. Tuck the ends of the ponytail underneath the bun to hide them. Now, take your bobby pins and begin securing the bun to your head. For a strong hold, insert the pins so they catch hair from the bun and anchor it to the base hair against your scalp. Don't be afraid to use several pins, placing them all around the circumference of the bun until it feels stable and secure.
Adding the Braided Detail
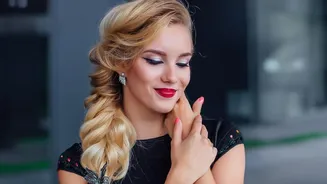
The braided detail is what makes this style special. There are a few ways to achieve this. One popular method is to separate a section of hair from the front, near your hairline, before creating your bun. Once the bun is secure, take this loose section and create a simple three-strand braid. Braid it all the way to the end and secure it with a small, clear elastic. Gently tug on the sides of the braid to 'pancake' it, making it look fuller and more prominent. Now, wrap this braid over or around the top of your bun, like a headband. Use bobby pins to secure the braid in place, tucking the end of the braid under the bun to hide it. This creates a beautiful, decorative frame for your bun.
Alternative Method: Braiding the Ponytail
Another beautiful variation involves braiding the ponytail itself before creating the bun. After securing your hair in a low ponytail, divide the ponytail into three sections and create a standard braid all the way to the end, securing it with an elastic. You can gently pull at the edges of the braid to add texture and volume. Then, wrap the entire braid around its base, just as you would with a twisted ponytail. Pin it securely in place. This technique results in a wonderfully textured bun that has an intricate, woven appearance. It's an equally elegant look that is just as easy to execute and offers a different take on the classic braided bun.
Finishing Touches for a Lasting Look
Once your braided bun is pinned and feels secure, it’s time for the finishing touches. To create a softer, more romantic look, you can gently pull out a few face-framing tendrils around your face. If you prefer a sleek, polished finish, use a fine-tooth comb and a little hairspray or styling wax to smooth down any flyaways or baby hairs. A final, all-over mist of a firm-hold hairspray will lock everything in place and ensure your elegant style lasts all day or night. For extra security, especially for those with thick hair, you can use a hairnet that matches your hair colour to invisibly hold everything together.