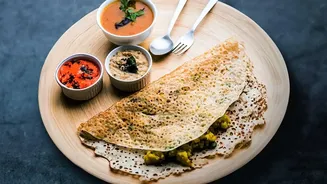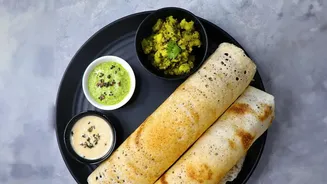

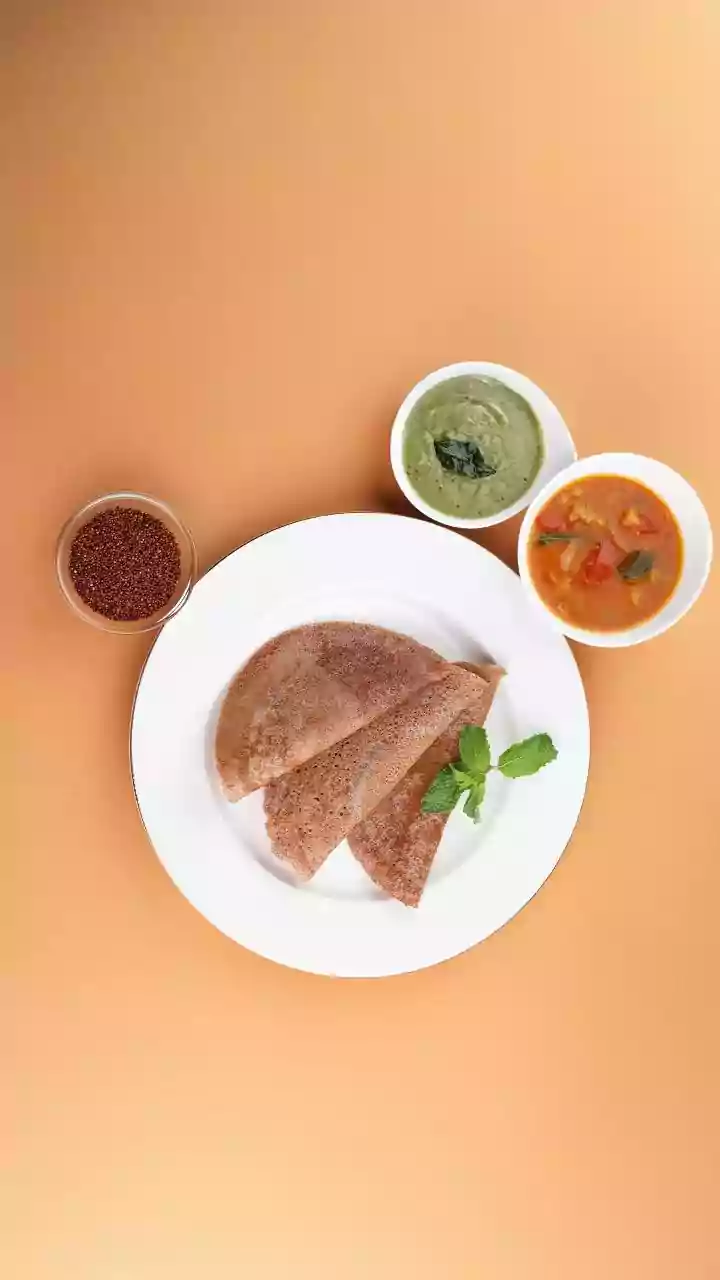


The perfect dosa—golden, impossibly crisp, and intensely satisfying—is a culinary triumph. But for many home cooks, it remains an elusive goal, often ending in a sticky, torn mess. The secret isn't just in the batter; it’s in your pan.
Why Cast Iron Reigns Supreme
While non-stick
pans offer convenience, traditionalists and culinary experts agree that a cast-iron tawa is the superior tool for making dosas. Cast iron excels at heat retention and distribution. It takes time to heat up, but once hot, it maintains a steady, even temperature, which is crucial for cooking the batter quickly and uniformly. This consistent heat is what creates the coveted crispy texture. Moreover, a well-maintained cast-iron pan develops a natural non-stick surface, known as a patina, which gets better with every use. This surface is created by layers of oil bonding to the metal through a process called polymerization, offering a chemical-free alternative to synthetic coatings.
The Art of Seasoning Your Tawa
An unseasoned or poorly seasoned cast-iron pan is the primary reason dosas stick. Seasoning is the process of creating that protective, non-stick layer. If you have a new pan, start by washing it with mild soap to remove any factory residue, then dry it completely. Any moisture can lead to rust. Apply a very thin layer of a high-smoke-point oil (like sesame, groundnut, or vegetable oil) over the entire surface, including the back and handle. Heat the pan on the stovetop on a medium flame for 10-15 minutes until it starts to smoke lightly, then let it cool. Repeating this process two or three times builds a robust initial seasoning. This patina is what ensures your dosa lifts off the pan effortlessly.
Batter: The Other Half of the Equation
Even a perfectly seasoned pan can't save a bad batter. The consistency should be creamy and pourable, not too thick or too watery. A thick batter won't spread thin enough to become crisp, while a watery one might not hold together. Proper fermentation is also key. A wellfermented batter will have tiny bubbles and a slightly sour aroma, which contributes to both the taste and the texture of the dosa. If your batter hasn't fermented properly, the dosa is more likely to stick. Finally, ensure your batter is at room temperature before you start cooking; cold batter can lower the pan's temperature and cause sticking.
Mastering Temperature and Technique
Heat management is a delicate dance. The tawa must be hot enough, but not smoking hot. A common test is to sprinkle a few drops of water on the surface; they should sizzle and dance before evaporating. If they disappear instantly with a lot of steam, the pan is too hot and the batter will stick before you can spread it. If they just sit and boil, it’s not hot enough. Before pouring your batter, many cooks rub the hot surface with half an onion dipped in oil. This lightly greases the pan, cleans it, and helps regulate the temperature. Once you pour a ladleful of batter in the center, spread it quickly and thinly in a circular motion. Let the dosa cook until the edges start to lift and the surface looks dry before attempting to fold it.
Troubleshooting and Daily Care
If your first few dosas stick, don't despair. It's often a sign that the pan wasn't hot enough or the seasoning is still developing. After each dosa, some cooks wipe the pan with a damp cloth to cool it slightly and remove any residue before making the next one. After cooking, maintenance is simple. Avoid washing the tawa with harsh soaps, which can strip the seasoning. For most uses, a rinse with hot water and a gentle scrub is sufficient. The most important step is to dry the pan thoroughly immediately after washing to prevent rust. Many people place it back on a low flame for a minute to ensure all moisture has evaporated before applying a final, thin coat of oil for storage.