

The Enduring Appeal of Effortless Chic
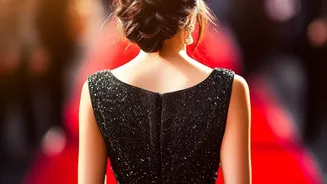
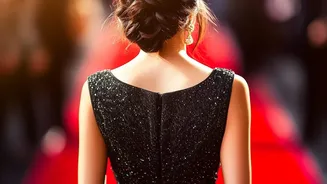
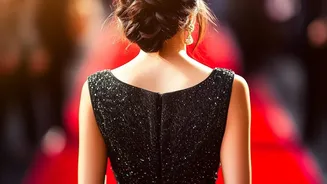
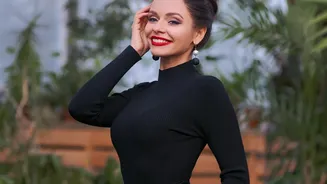
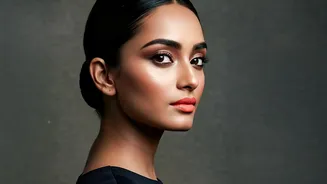
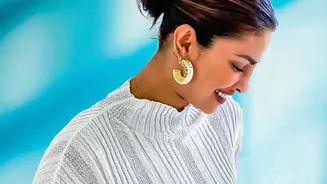
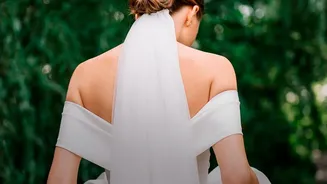
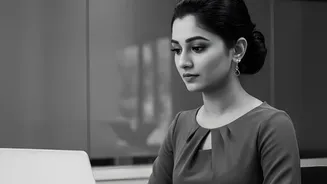
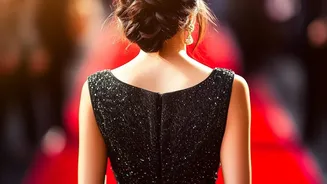
There's a certain magic to the low bun with face-framing pieces. It’s a style that whispers 'I woke up like this' while simultaneously being appropriate for a wedding, a business meeting, or a casual weekend brunch. Celebrities like Hailey Bieber have
perfected this look for major events, proving its versatility. The appeal lies in its balance: the bun itself is structured and tidy, while the loose tendrils add a touch of romance and softness, preventing the style from looking too severe. It’s a universally flattering look that works because it combines elegance with a relaxed, approachable vibe. Whether messy or sleek, it’s a go-to for looking put-together in minutes.
Hair Prep for the Perfect Foundation
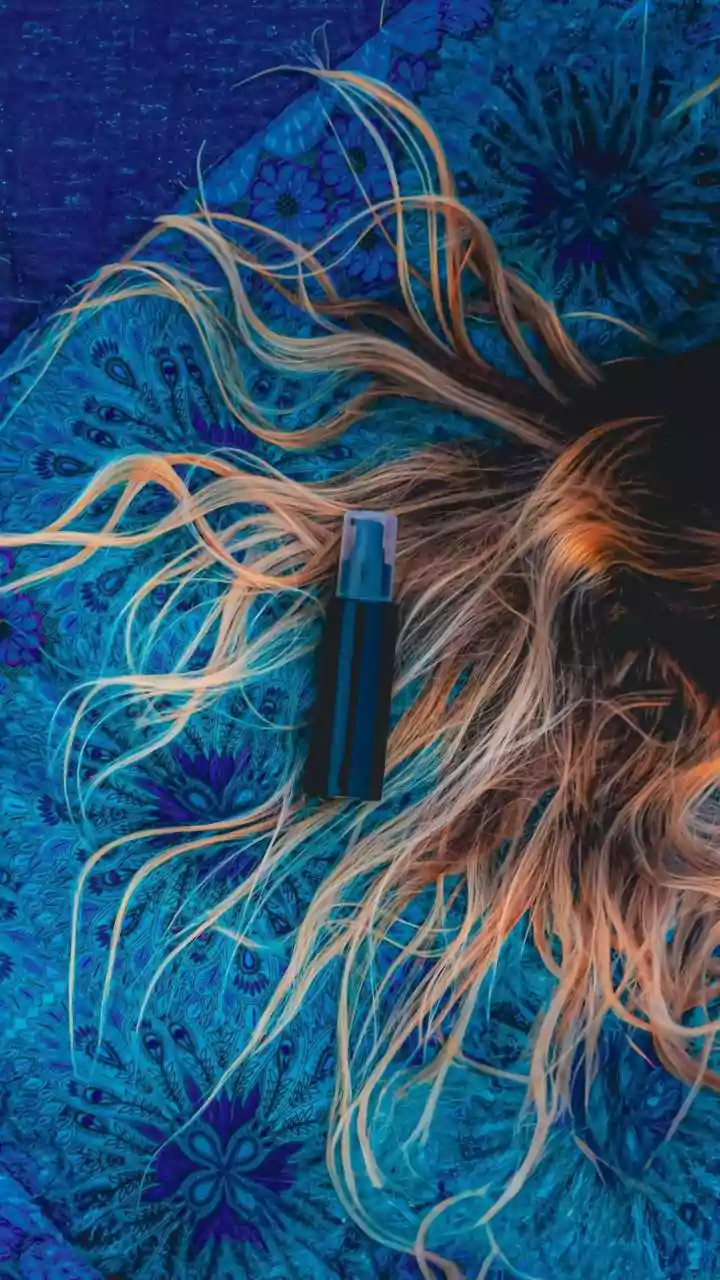
The secret to a great bun often starts before you even gather your hair. This style works well on second or third-day hair, as the natural oils provide more grip and texture than freshly washed, slippery strands. If your hair is clean, create some texture with a dry shampoo or a texturizing spray, focusing on the roots to add volume. This step is especially crucial for fine hair, as it helps the style hold its shape and appear fuller. Lightly brushing through your hair to remove any major tangles is a good idea, but don't aim for perfectly smooth unless you're going for a super sleek look. A little bit of natural texture will only enhance the effortless feel.
How to Create the Low Bun
First, decide where you want your face-framing pieces and separate them. Gently pull out a few thin strands around your face and temples before you do anything else. Clip them out of the way for now. Next, gather the rest of your hair into a low ponytail at the nape of your neck. For a classic bun, twist the ponytail, then wrap it around its base, securing it with bobby pins or another hair tie. For a quicker 'loop' bun, don't pull the ponytail all the way through the elastic on the last wrap, leaving a looped bun and the ends out. You can then tuck the ends around the base for a cleaner finish. Don't be afraid to gently pull and stretch the bun to make it appear larger and more relaxed.
Mastering Those Face-Framing Strands
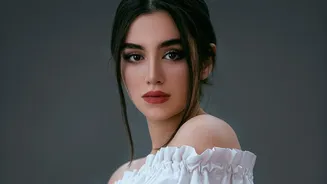
Now, let's focus on the detail that makes this style special. Unclip the strands you separated earlier. The key is to make them look intentional, not like random flyaways. If you have natural waves or curls, you might be able to leave them as is. For straight hair, use a curling iron or straightener to add a very slight bend or soft wave, curling them away from your face for a flattering sweep. This helps them frame your features, like your cheekbones or jawline, beautifully. For a rounder face, longer tendrils can create an elongating effect, while wispy pieces can soften a square jaw. The goal is a soft, romantic effect, so avoid stiff, perfect curls. A light mist of flexible-hold hairspray will keep them in place without looking crunchy.
Customize Your Look
This hairstyle is wonderfully adaptable. For a more formal or dramatic look, try a sharp center part before creating your bun. For a softer, asymmetrical vibe, a deep side part works beautifully and is particularly flattering on round or square face shapes. If you have very thick hair, you can make a larger, more voluminous bun. If your hair is on the finer side, teasing the ponytail before twisting it into a bun can add the illusion of fullness. You can also incorporate braids; a French braid leading into the bun or a braided bun itself adds another layer of texture and interest.