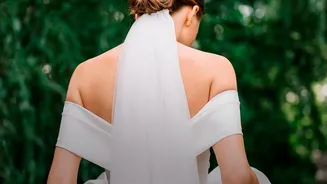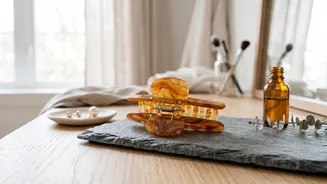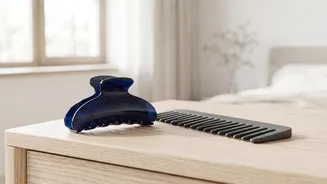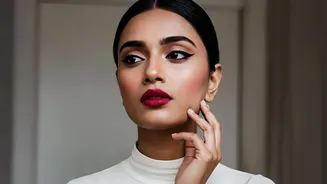





Why Choose the Twisted Low Bun?
Versatility is the main appeal of the twisted low bun. It can be styled sleek and polished for a professional setting or pulled apart slightly for a soft, romantic, and messy look. It's a sophisticated updo that keeps hair neatly off your neck while adding
a touch of intentional style that a simple ponytail or messy top knot might lack. The twisting technique adds visual interest and texture, making the hairstyle appear intricate and professionally done, even when you’ve only spent a few minutes on it. Furthermore, it’s a style that works beautifully across different hair types and lengths, from medium to long.
Gather Your Essential Tools
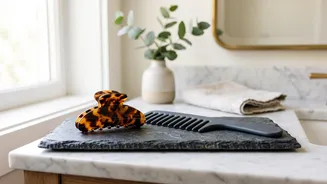
Before you begin, having the right tools on hand will make the process much smoother. You don't need a professional kit, just a few key items. Start with a brush to smooth out any tangles. You'll need at least one strong hair elastic for the base ponytail and a few bobby pins or larger hair pins to secure the bun. Using pins that match your hair color will help them disappear into the style for a cleaner look. A light-hold hairspray or a texturizing spray can also be helpful; texturizing spray or dry shampoo adds grip to freshly washed, silky hair, while hairspray will tame flyaways and lock in the final look.
The Best Pins for the Job
The success of your bun often comes down to the pins you use. While standard bobby pins are a common choice, they aren't always the best for securing the full weight of a bun. For a truly secure hold, especially in thick or heavy hair, consider U-shaped hair pins or larger 'power pins'. These are designed to grip more hair and anchor the bun to the base more effectively. When using pins, the goal is to pin the bun to the hair at the base of your scalp, not just tucking them into the outer layers of the bun. Crossing two bobby pins in an 'X' shape can also create a stronger hold.
Step-by-Step: Creating the Bun
First, brush your hair to remove tangles and decide on your part. A center part can look modern, while a side part often reads as softer. Gather your hair into a low ponytail at the nape of your neck and secure it with an elastic. Next, split the ponytail into two equal sections. Twist each section individually until it becomes a tight rope, then twist the two ropes around each other. Secure the end of your twisted ponytail with a small, clear elastic if you like. Finally, wrap the twisted ponytail around the base elastic to form the bun. Tuck the ends underneath and begin securing the bun with your hair pins, making sure to anchor them into the base.
Tips for a Flawless Finish
Once your bun is secure, you can personalize the finish. For a fuller, more textured look, gently tug on small sections of the twist. This 'pancaking' technique makes the bun appear more voluminous and romantic. Be careful to pull gently to avoid loosening the bun too much. For a sleeker style, use a small amount of pomade or hairspray on a brush to smooth down any flyaways around your hairline and the bun itself. You can also leave a few face-framing tendrils out at the front for a softer effect.
Adapting for Different Hair Types
This style is highly adaptable. If you have fine hair, using a texturizing spray before you start can provide much-needed grip and volume. Creating a knot with your hair before pinning can also give the illusion of a fuller bun. For those with thick hair, the main challenge is security. Consider splitting your ponytail into two separate twists and wrapping them one after the other, pinning each layer as you go. Using stronger, larger hair pins is also crucial for holding the weight. If you have curly hair, embrace your natural texture. A twisted bun can look beautiful without being perfectly smooth, allowing your curls to give the style body and dimension.